Food

Dairy
Butter and Cheese
Butter and cheese are two very basic foods that we use day in day out. We buy them from the supermarket after someone has made them in a myriad of fancy packages. Some will buy it from the deli and in paper wrapped blocks in the case of butter (This is me) and some will buy it in fancy packaging. But these things are really easy to make in a standard kitchen.
I found the recipe for cheese a while ago and have been meaning to try it out but put aside making it till I started this column and decided what could be more perfect for it than home-made cheese? The cheese was the first plan. As I went to buy the ingredients I also decided to buy some pure cream and see about butter, remembering the many times I have over whipped cream and it started to separate. As an experiment I wanted to see if you could separate it out to butter in a standard kitchen. It turns out you can and below you will see the method and recipes.
First a basic idea on some things you will need for both. The thing you should have pre-prepared is calico cloth cut into the right size to cover your colander/strainer boiled, or cleaned in boiled water. This is not something to put your hands in obviously, so use a fork or butter knife to swirl and take out cloths for squeezing out. Do this just before use even if washed to sterilise your cloths as they will be in contact with food.

Butter
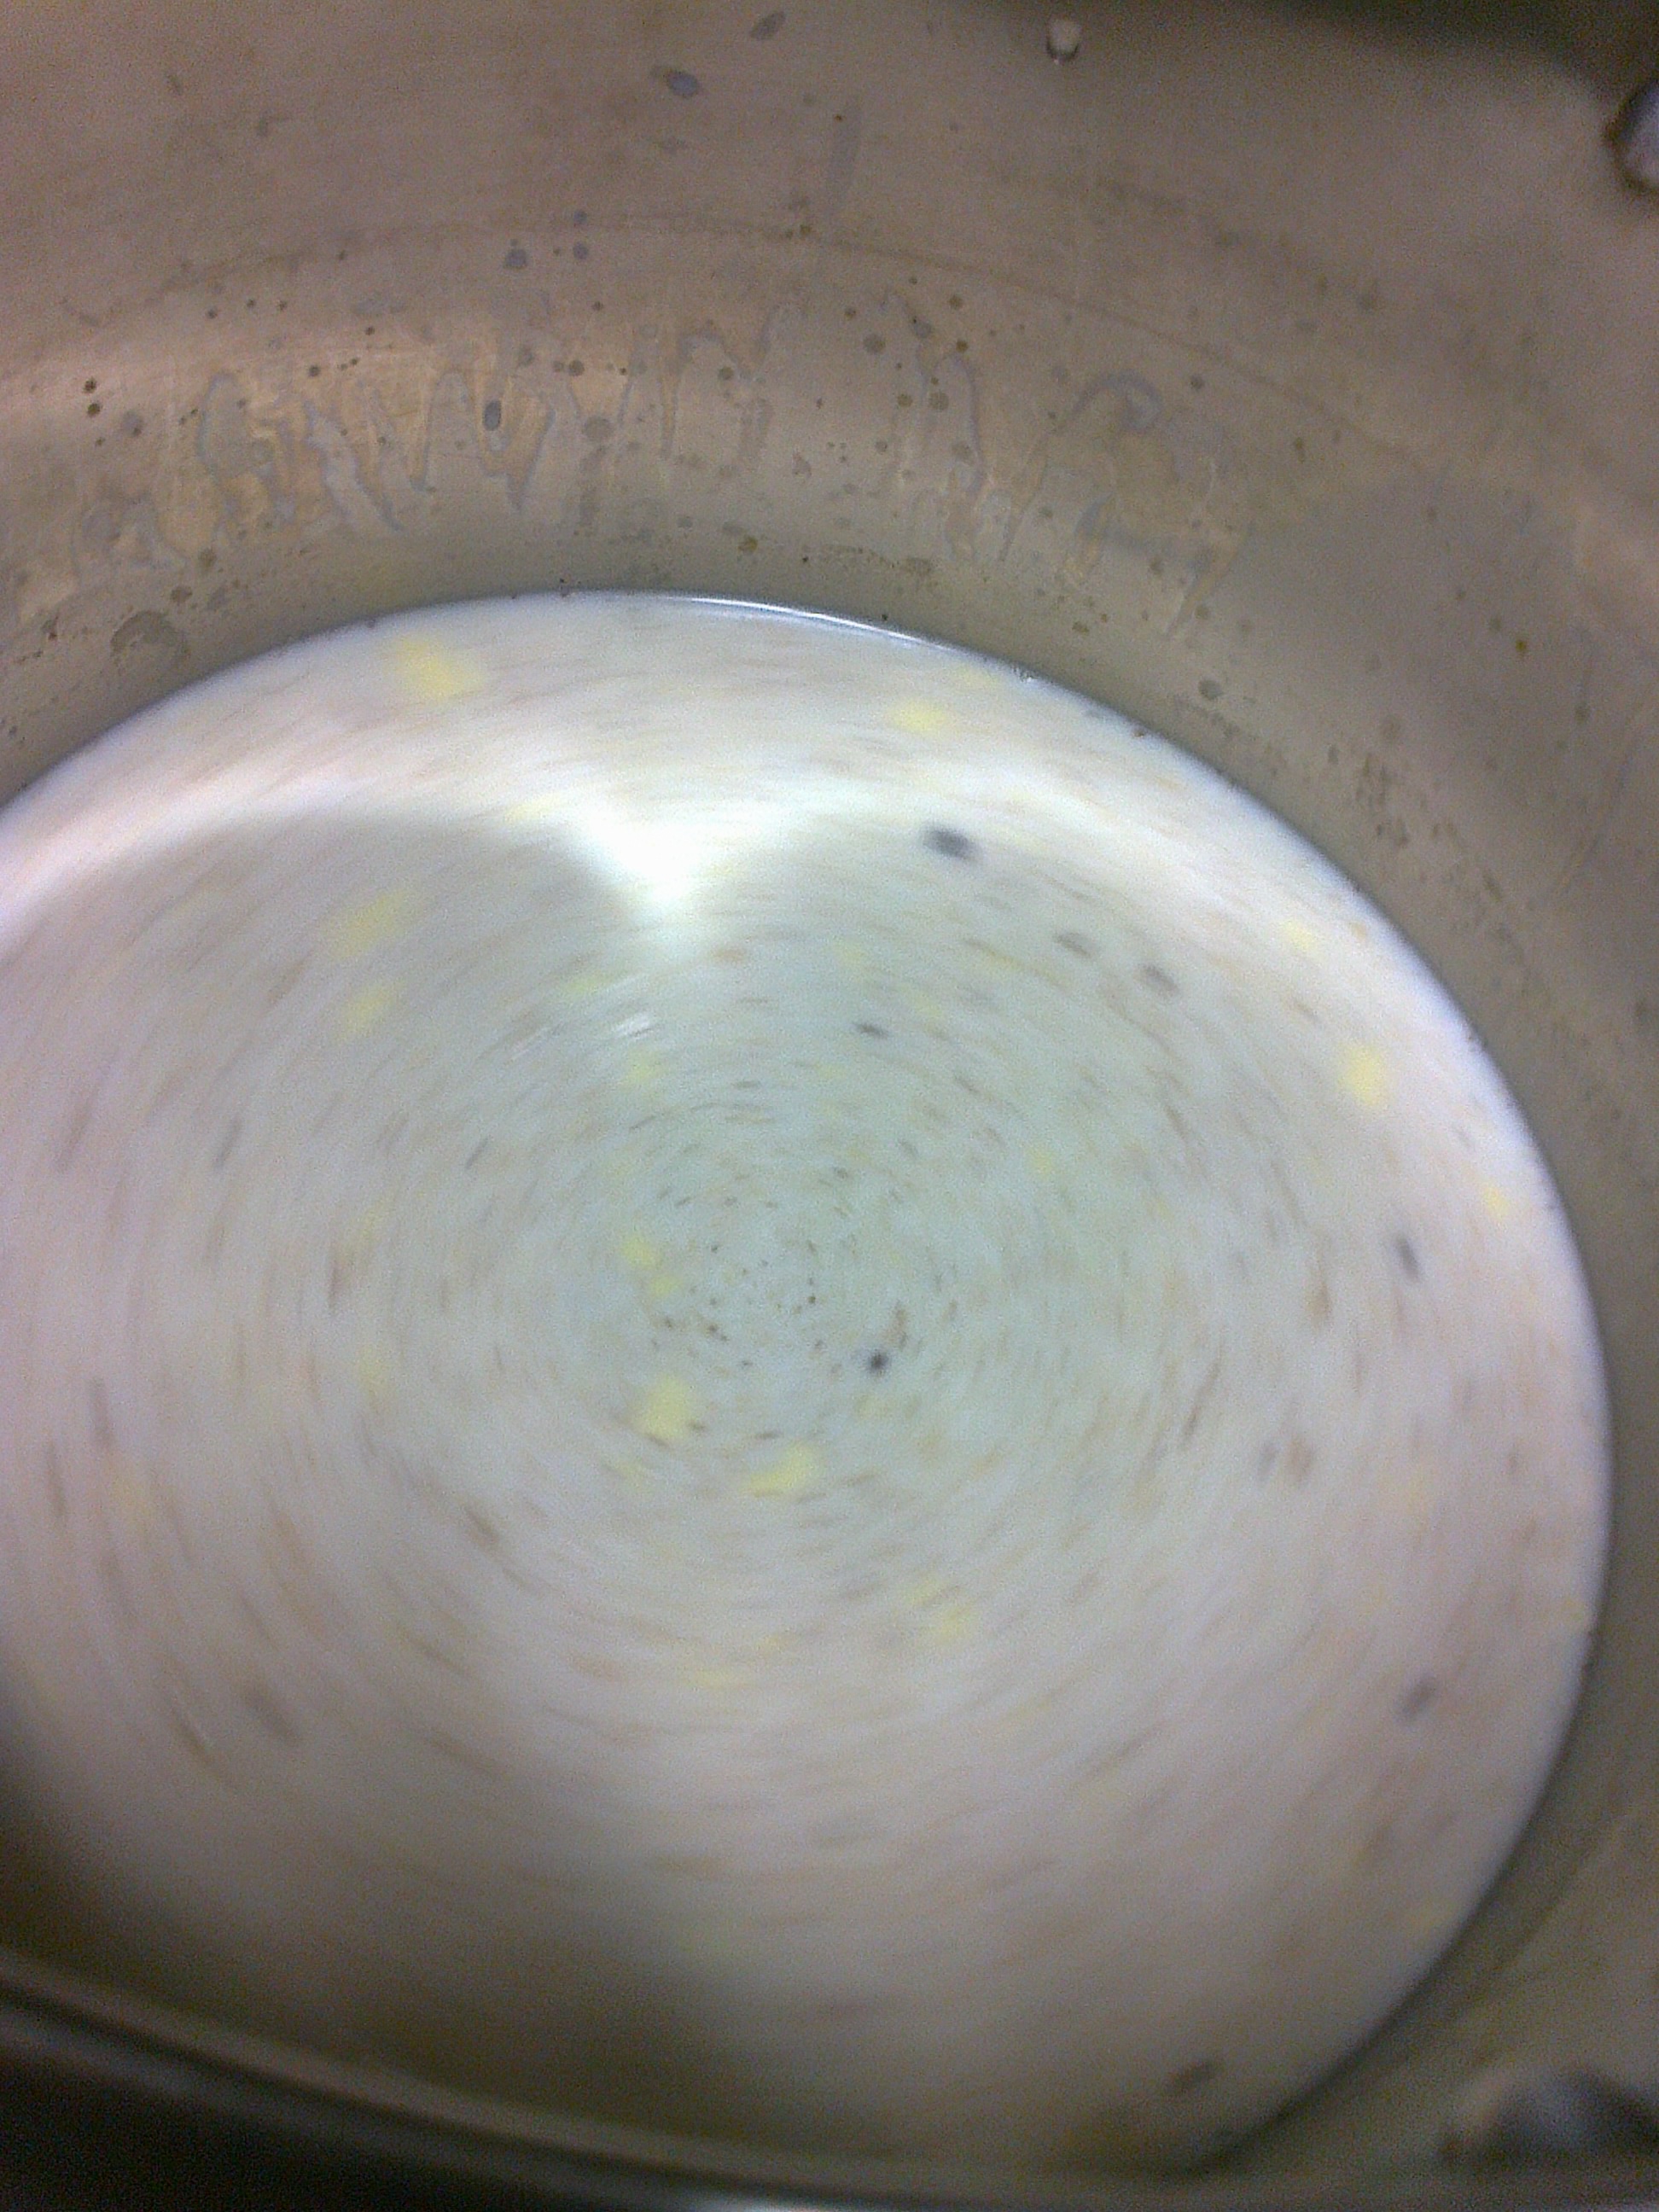
This is simple but time consuming task. Having done this twice, once with a stick blender and once with a rotary beater I can say the rotary beater is easier to use for this recipe. Even better would be a free-standing stationery beater (you don't even have to hold that), especially for larger quantities. If you are using a stick blender you will need to rest it occasionally or like did alternate two to prevent them from burning out and overheating. Generally about half your cream will turn into butter, the other half to buttermilk.
Cream (Thickened or Pure)
- Mixer Bowl x2
- Colander or Strainer
- Clean, Sterilised Cloth
- Containers for butter & buttermilk.
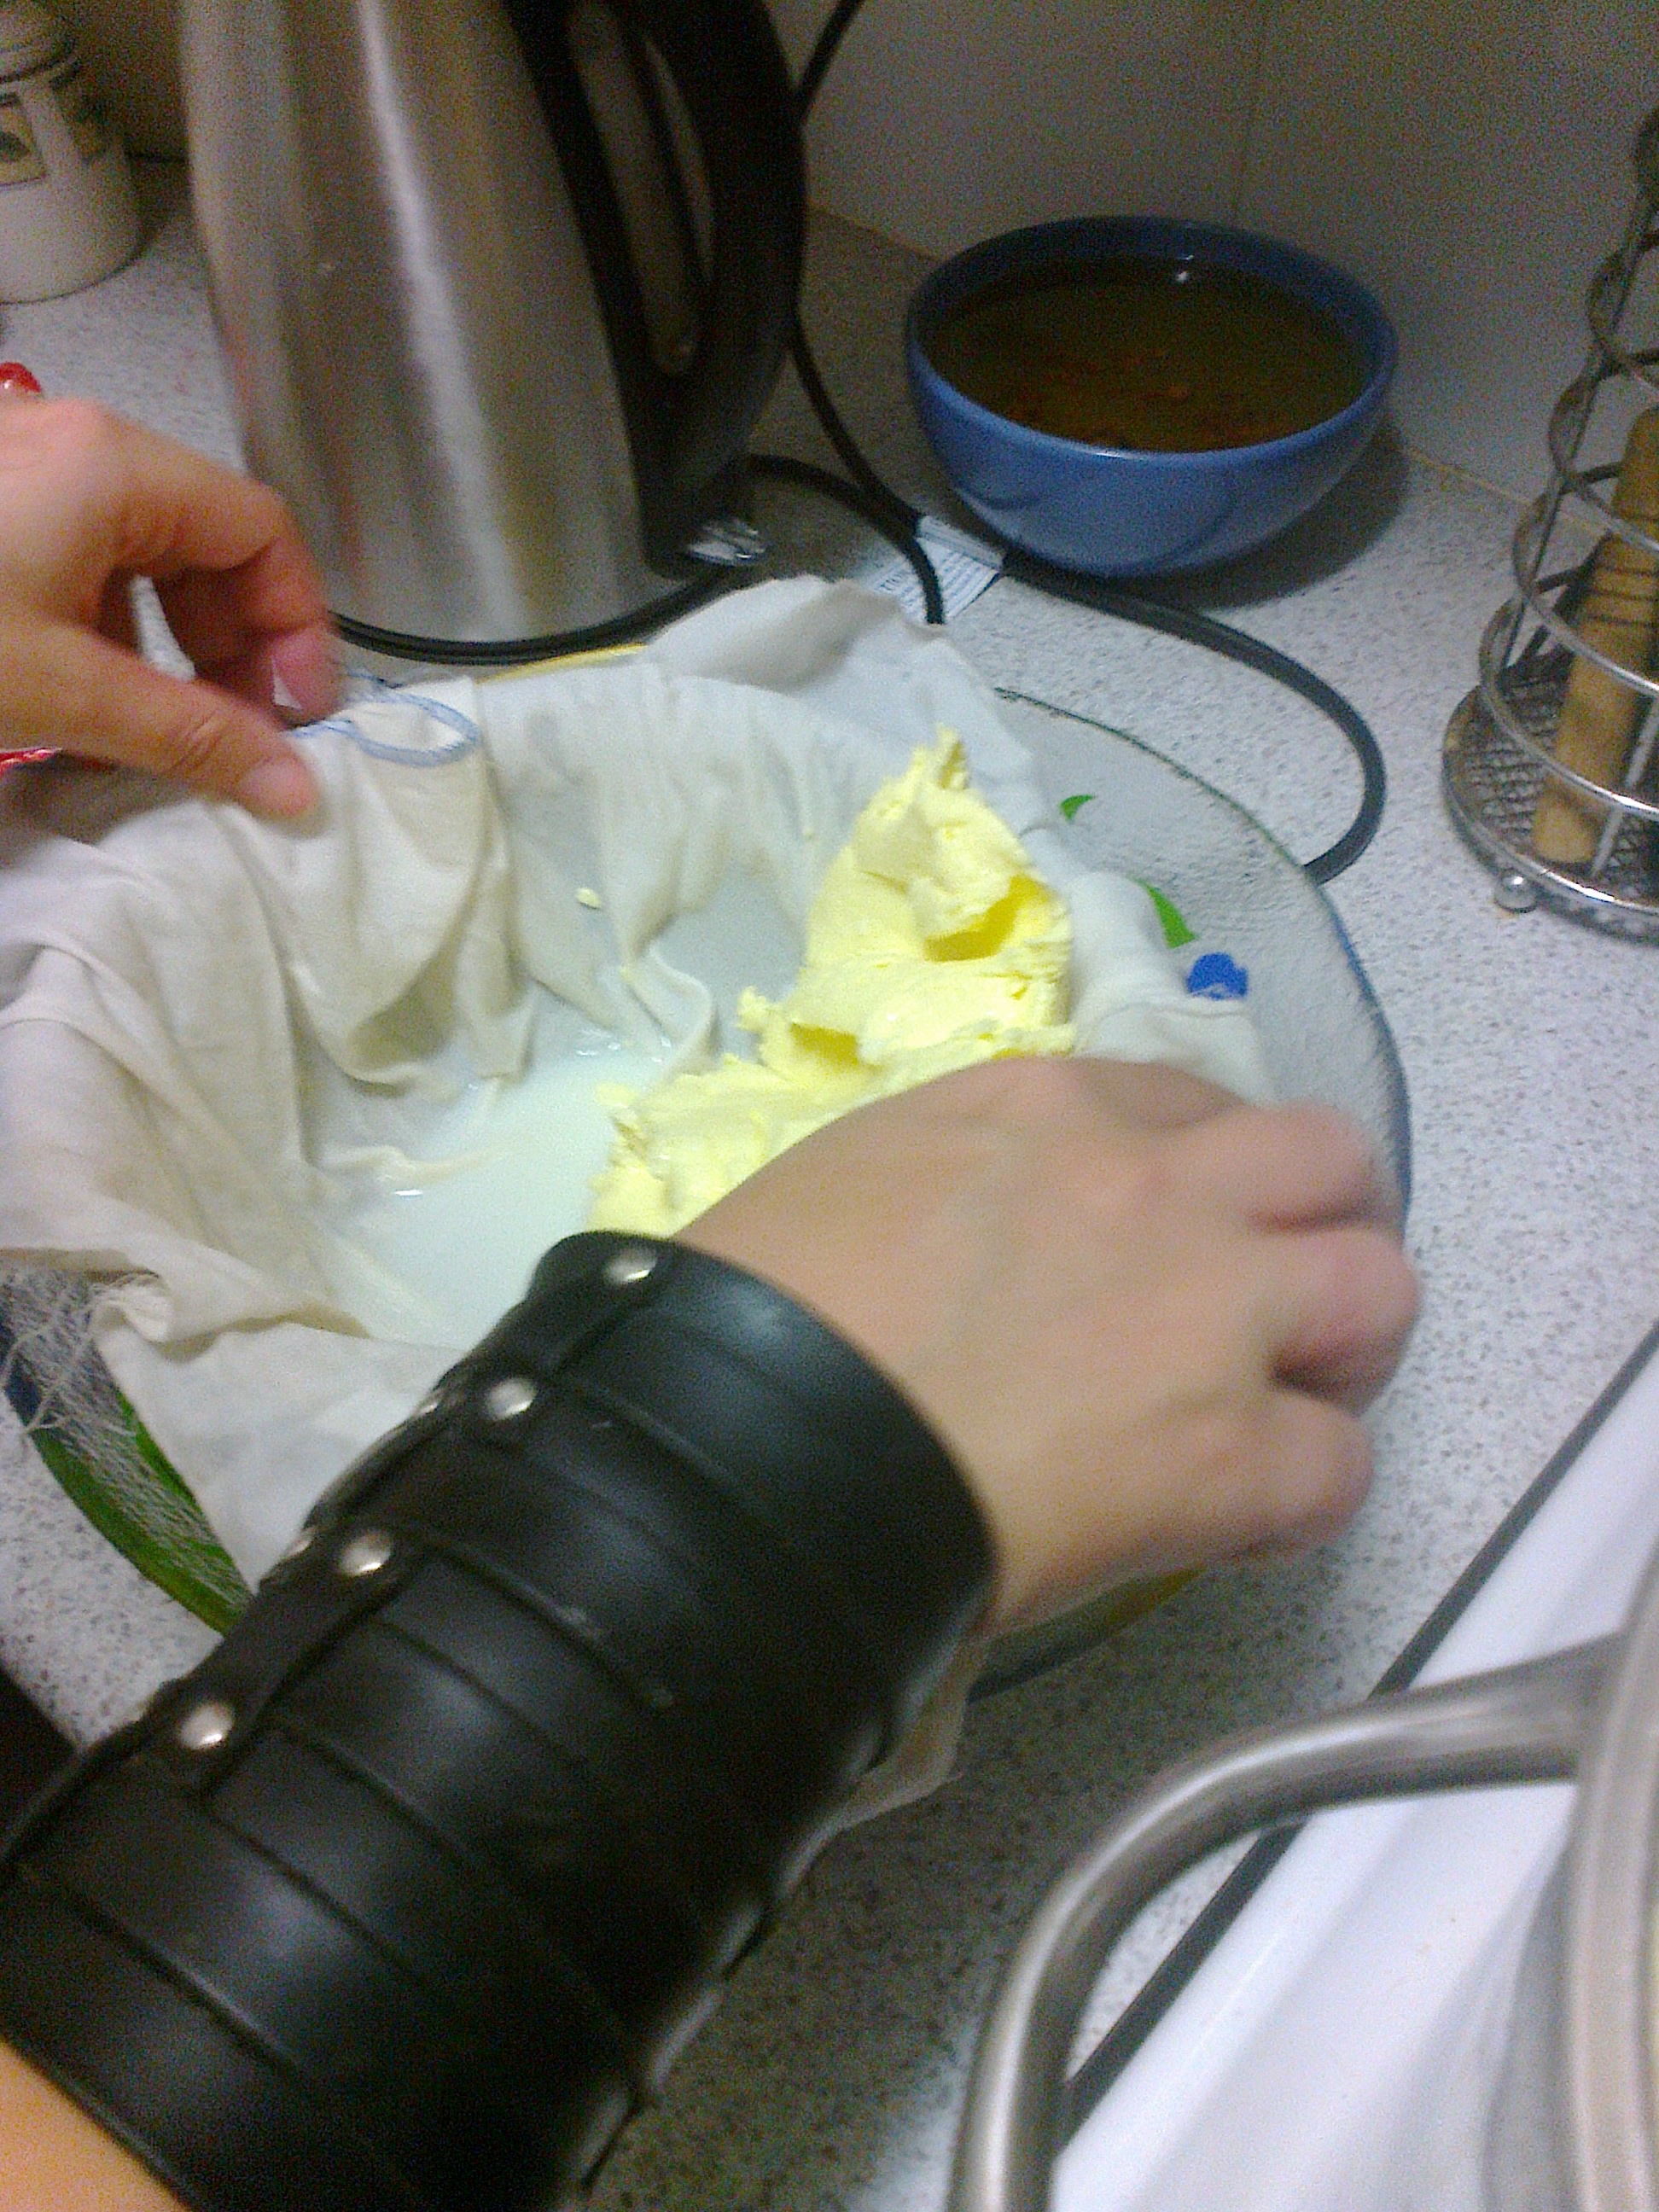
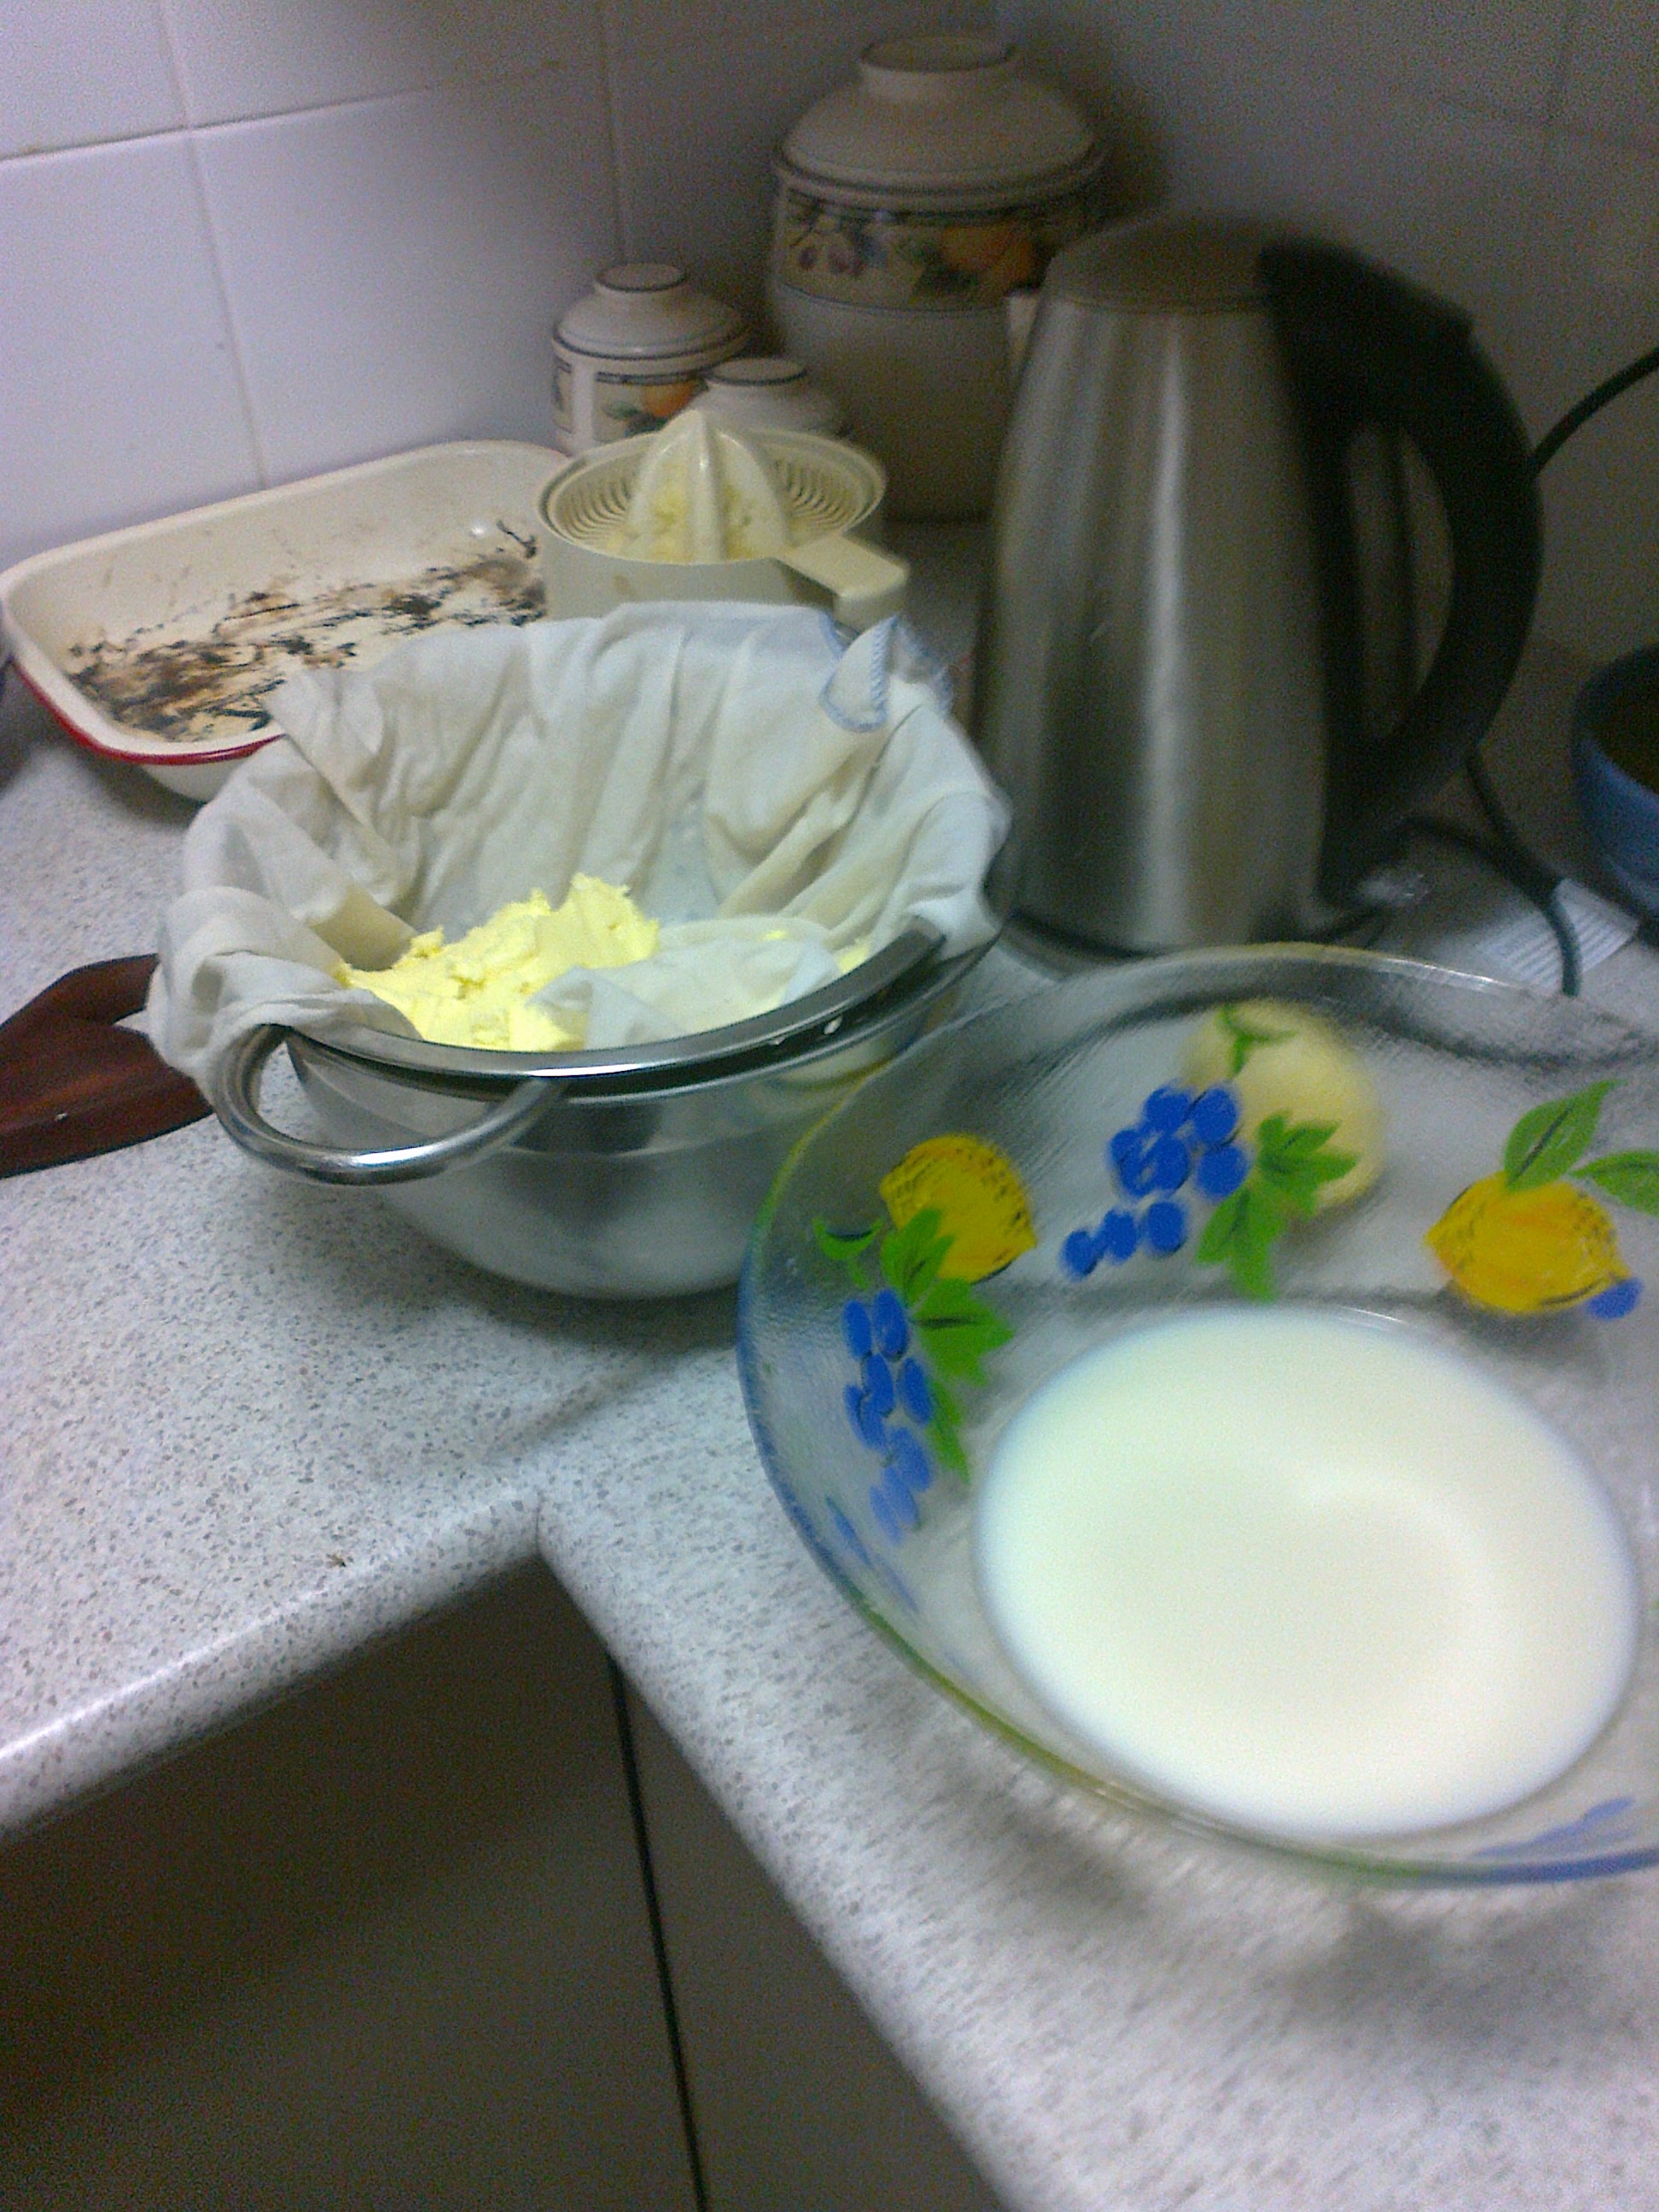
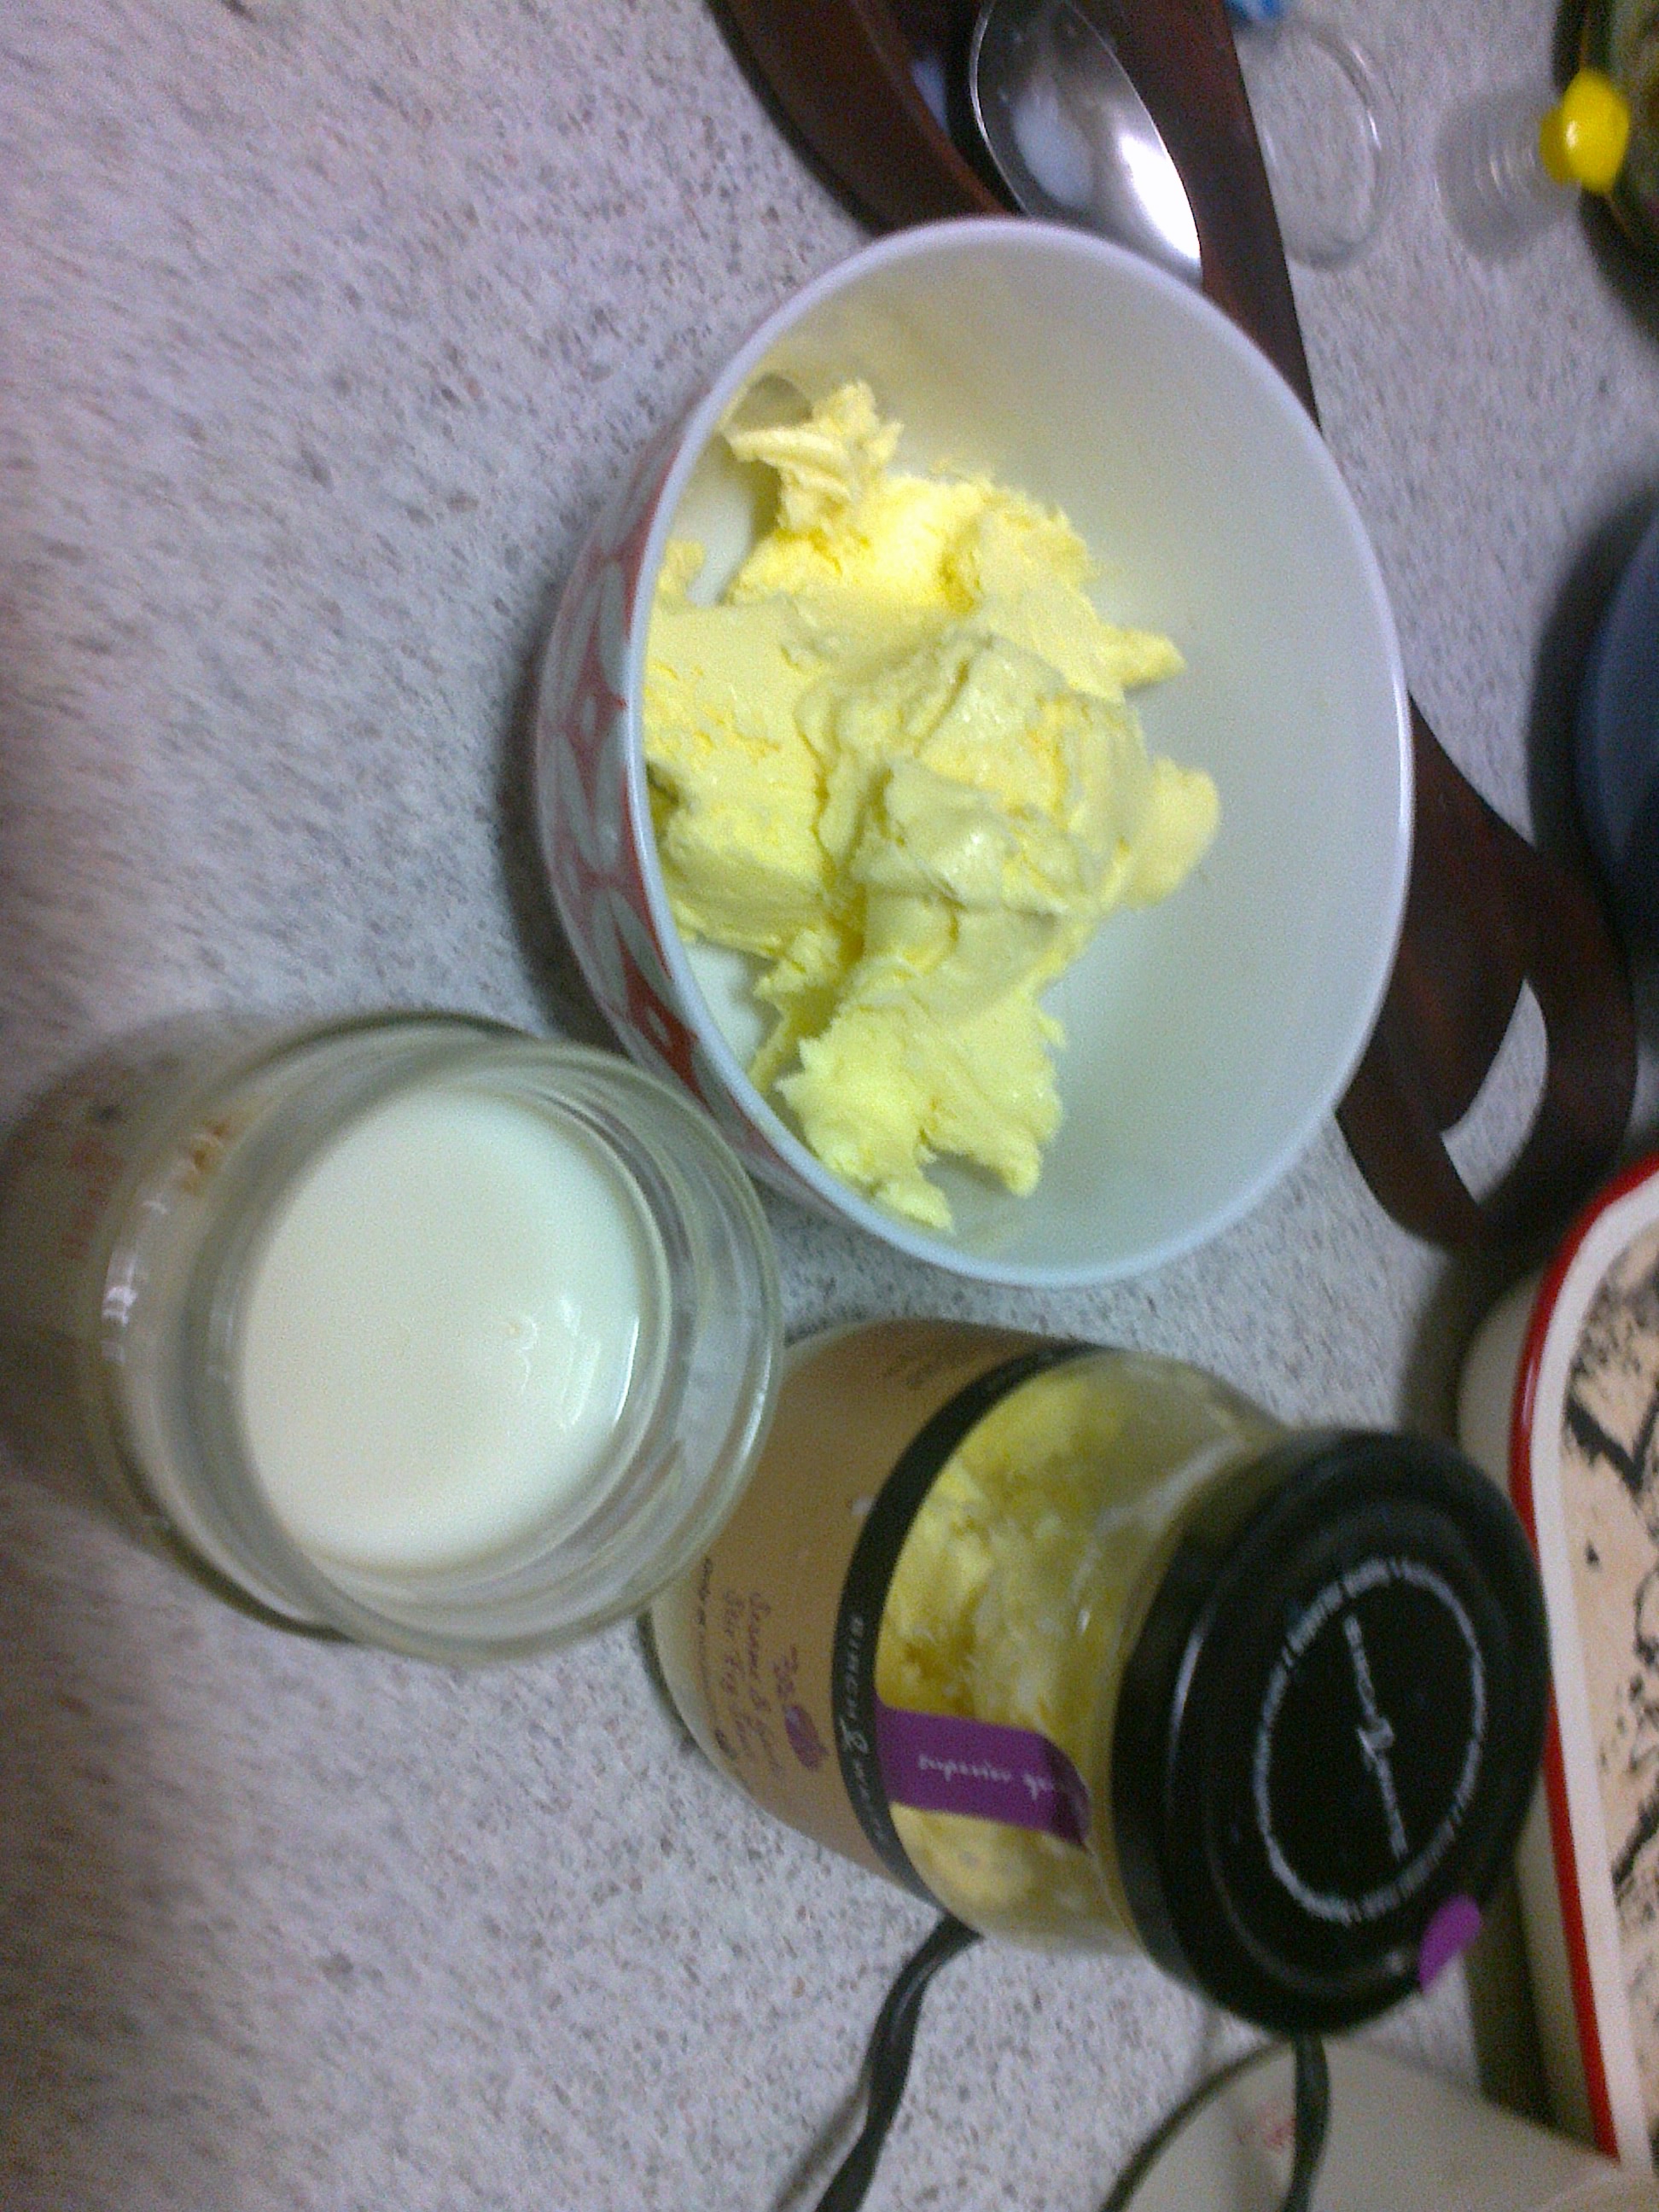
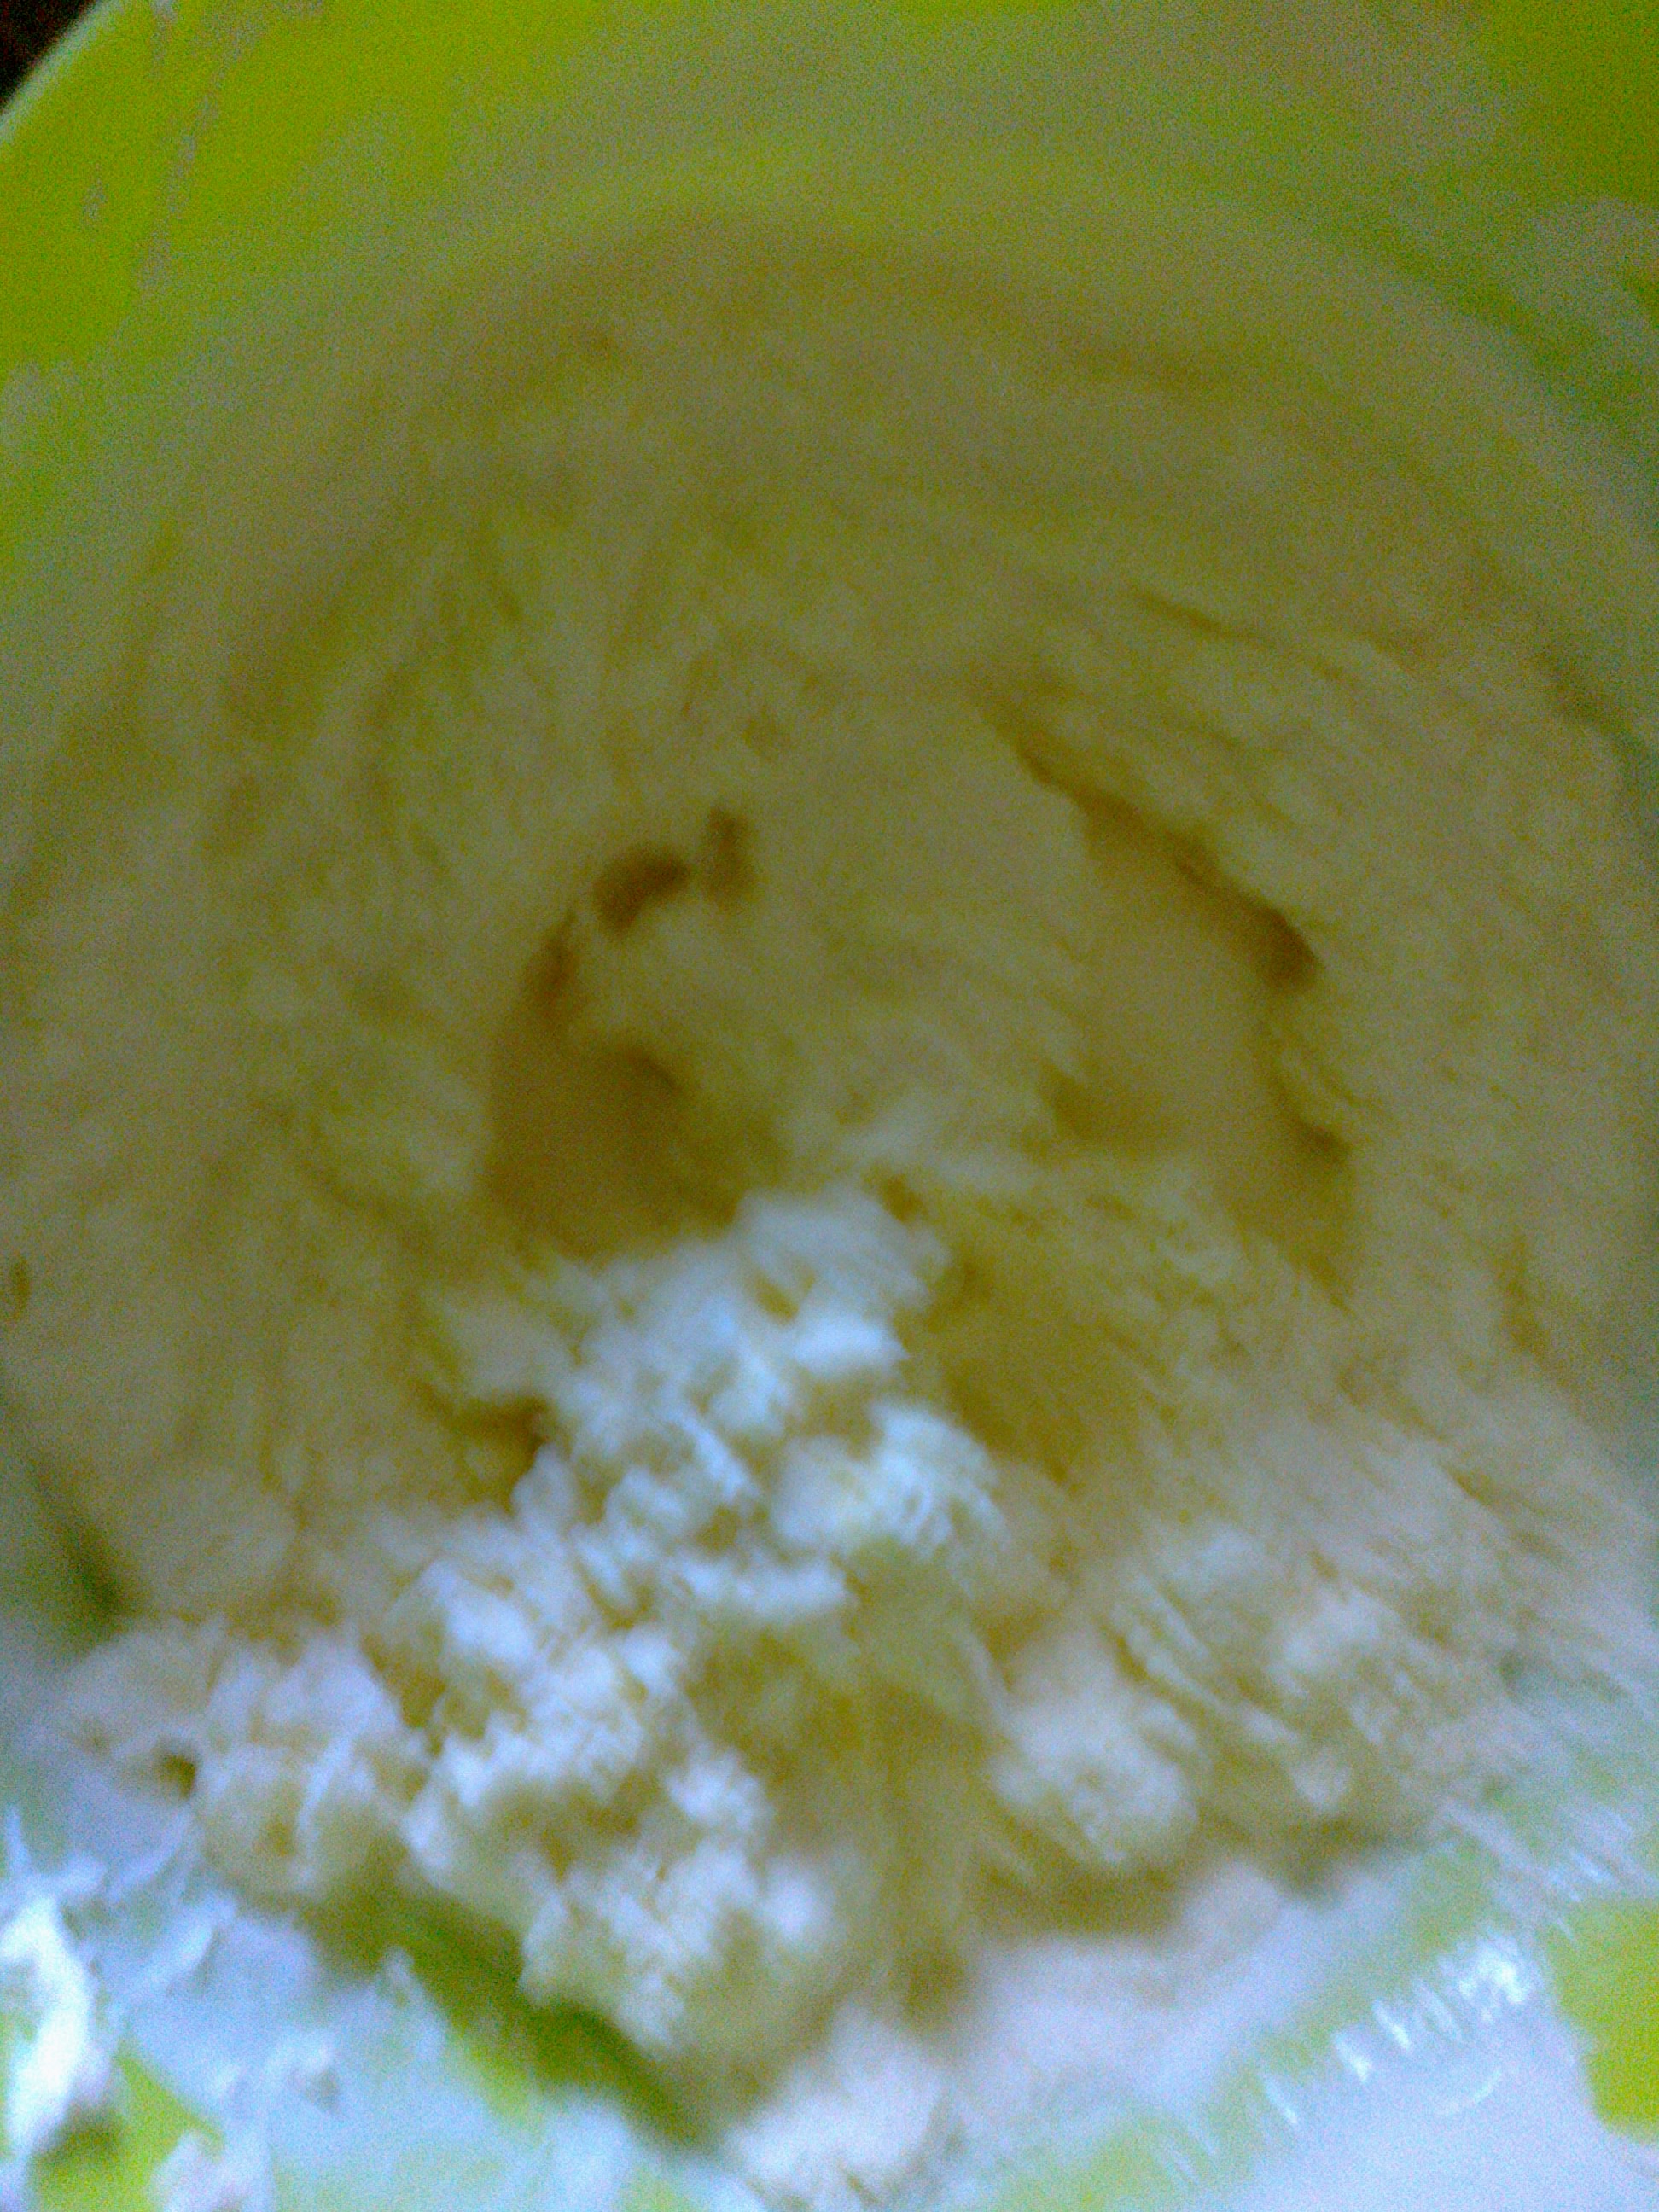
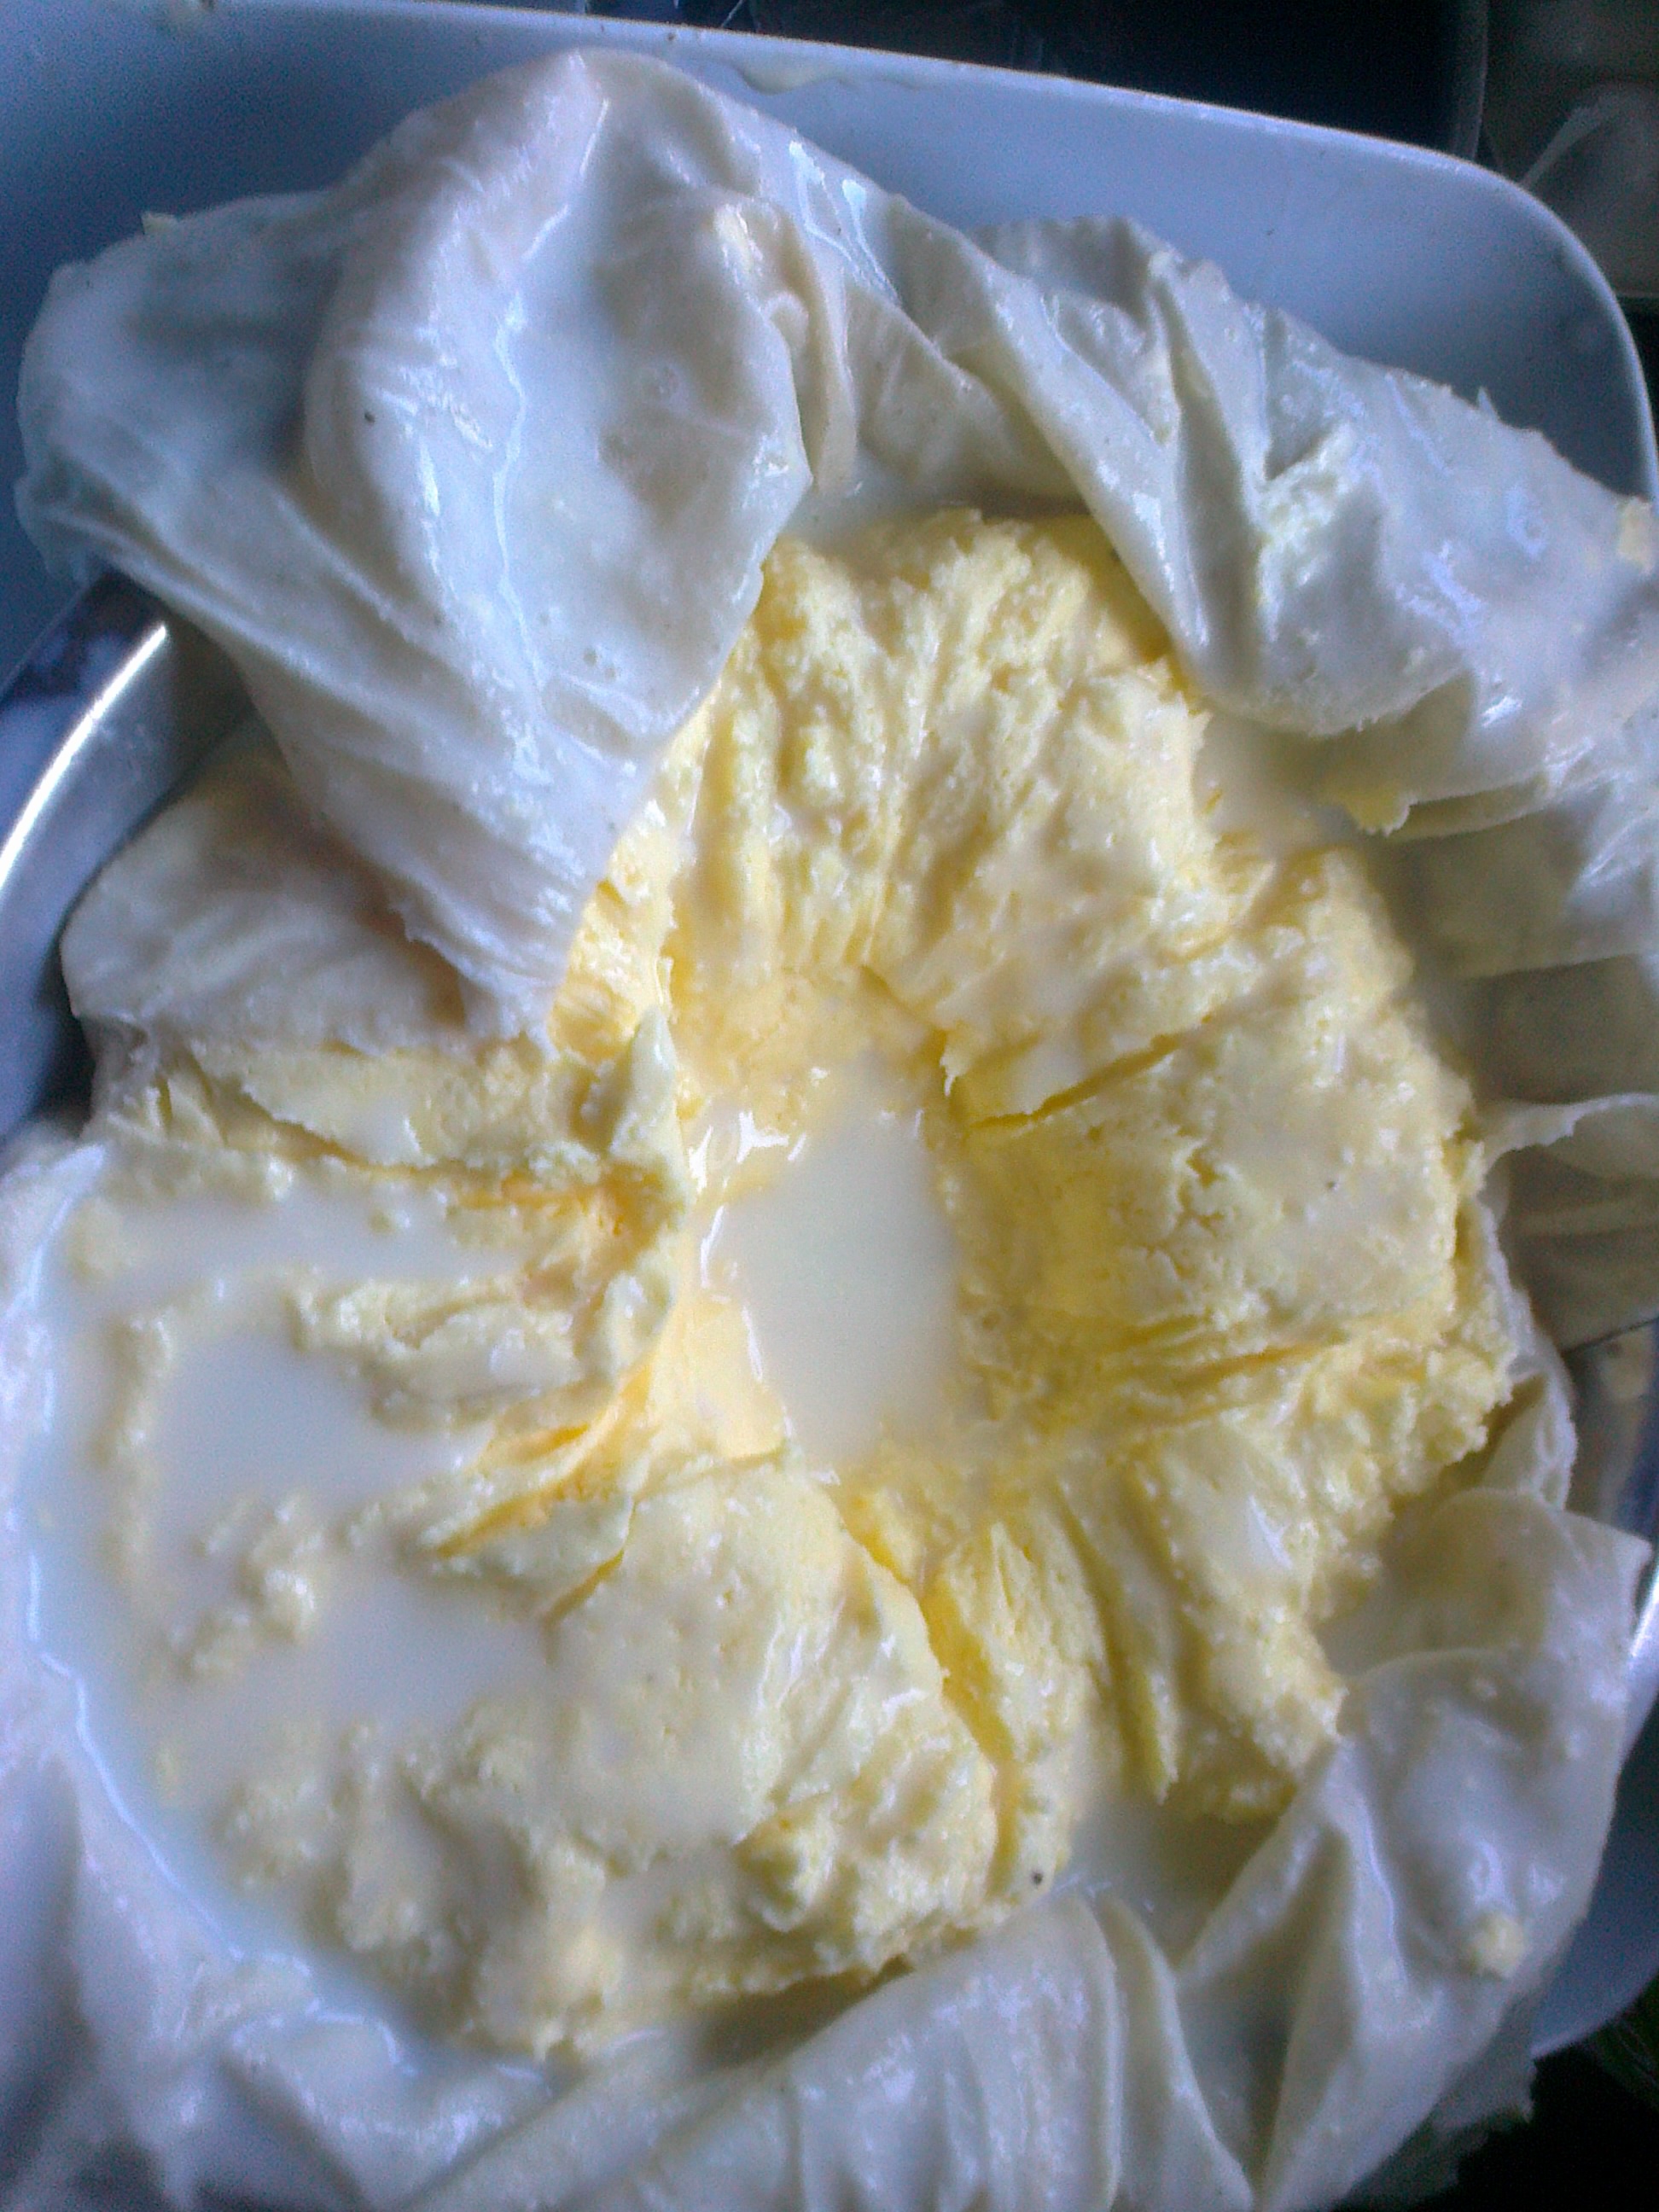
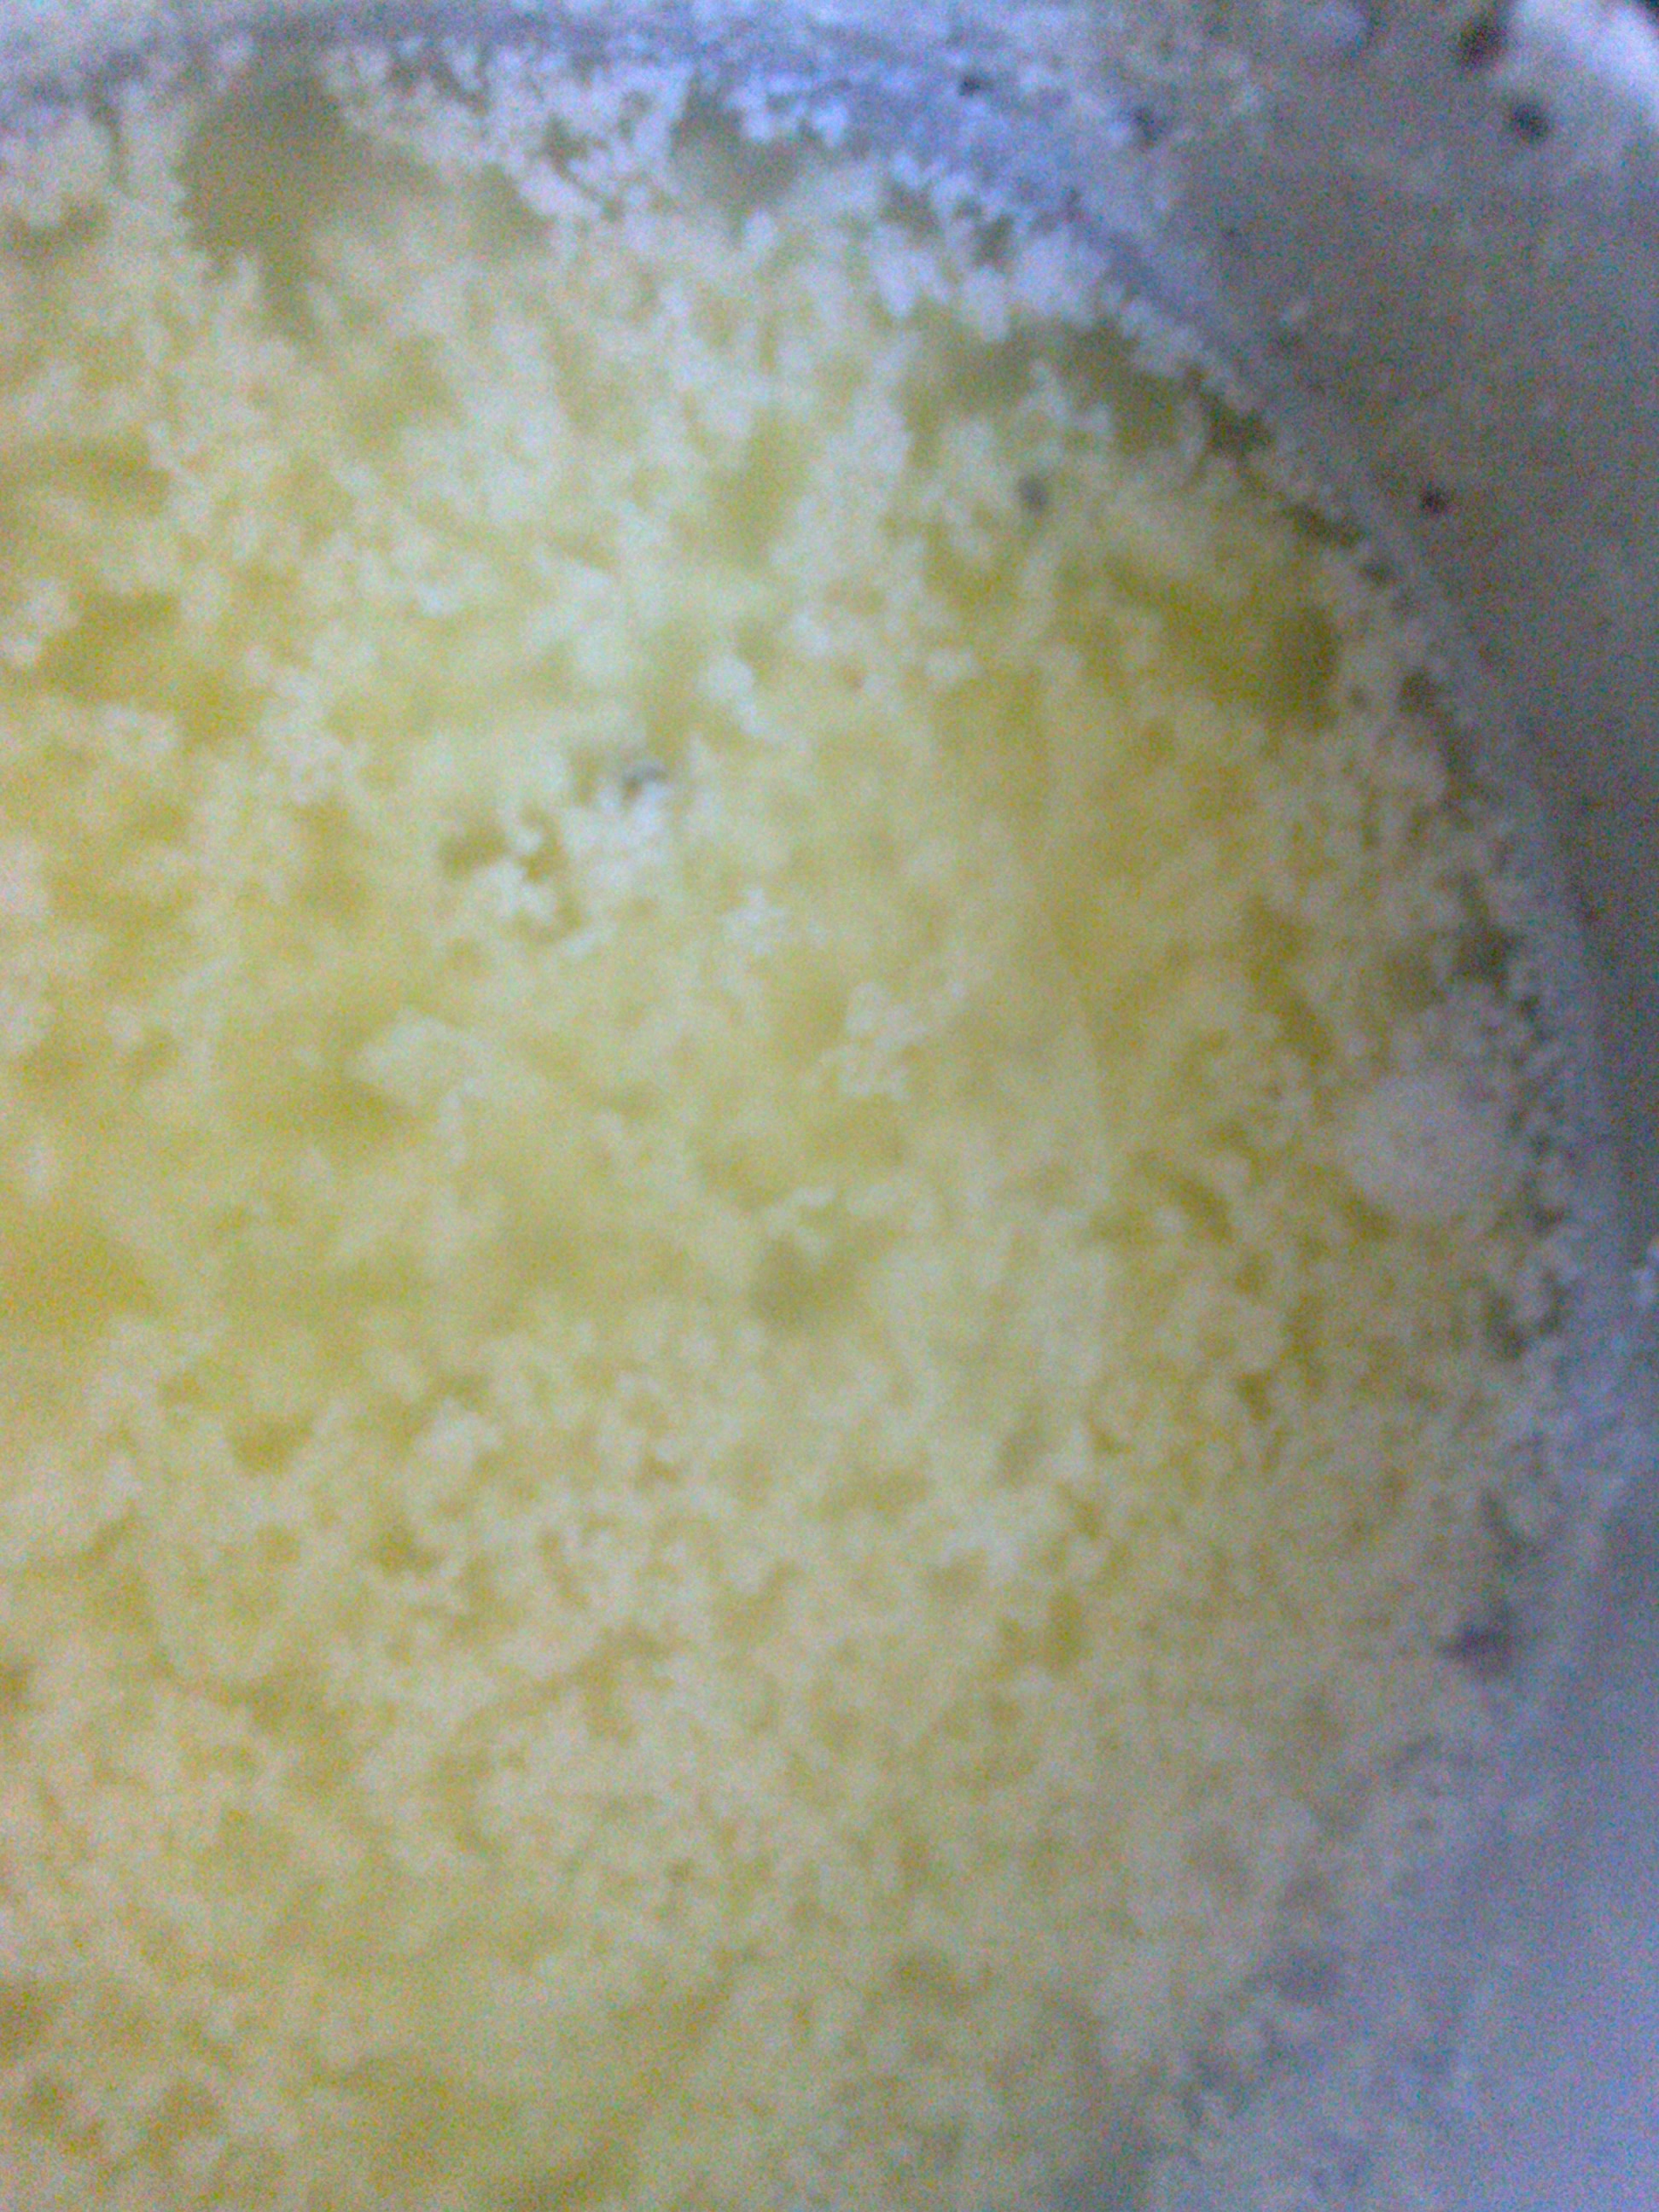
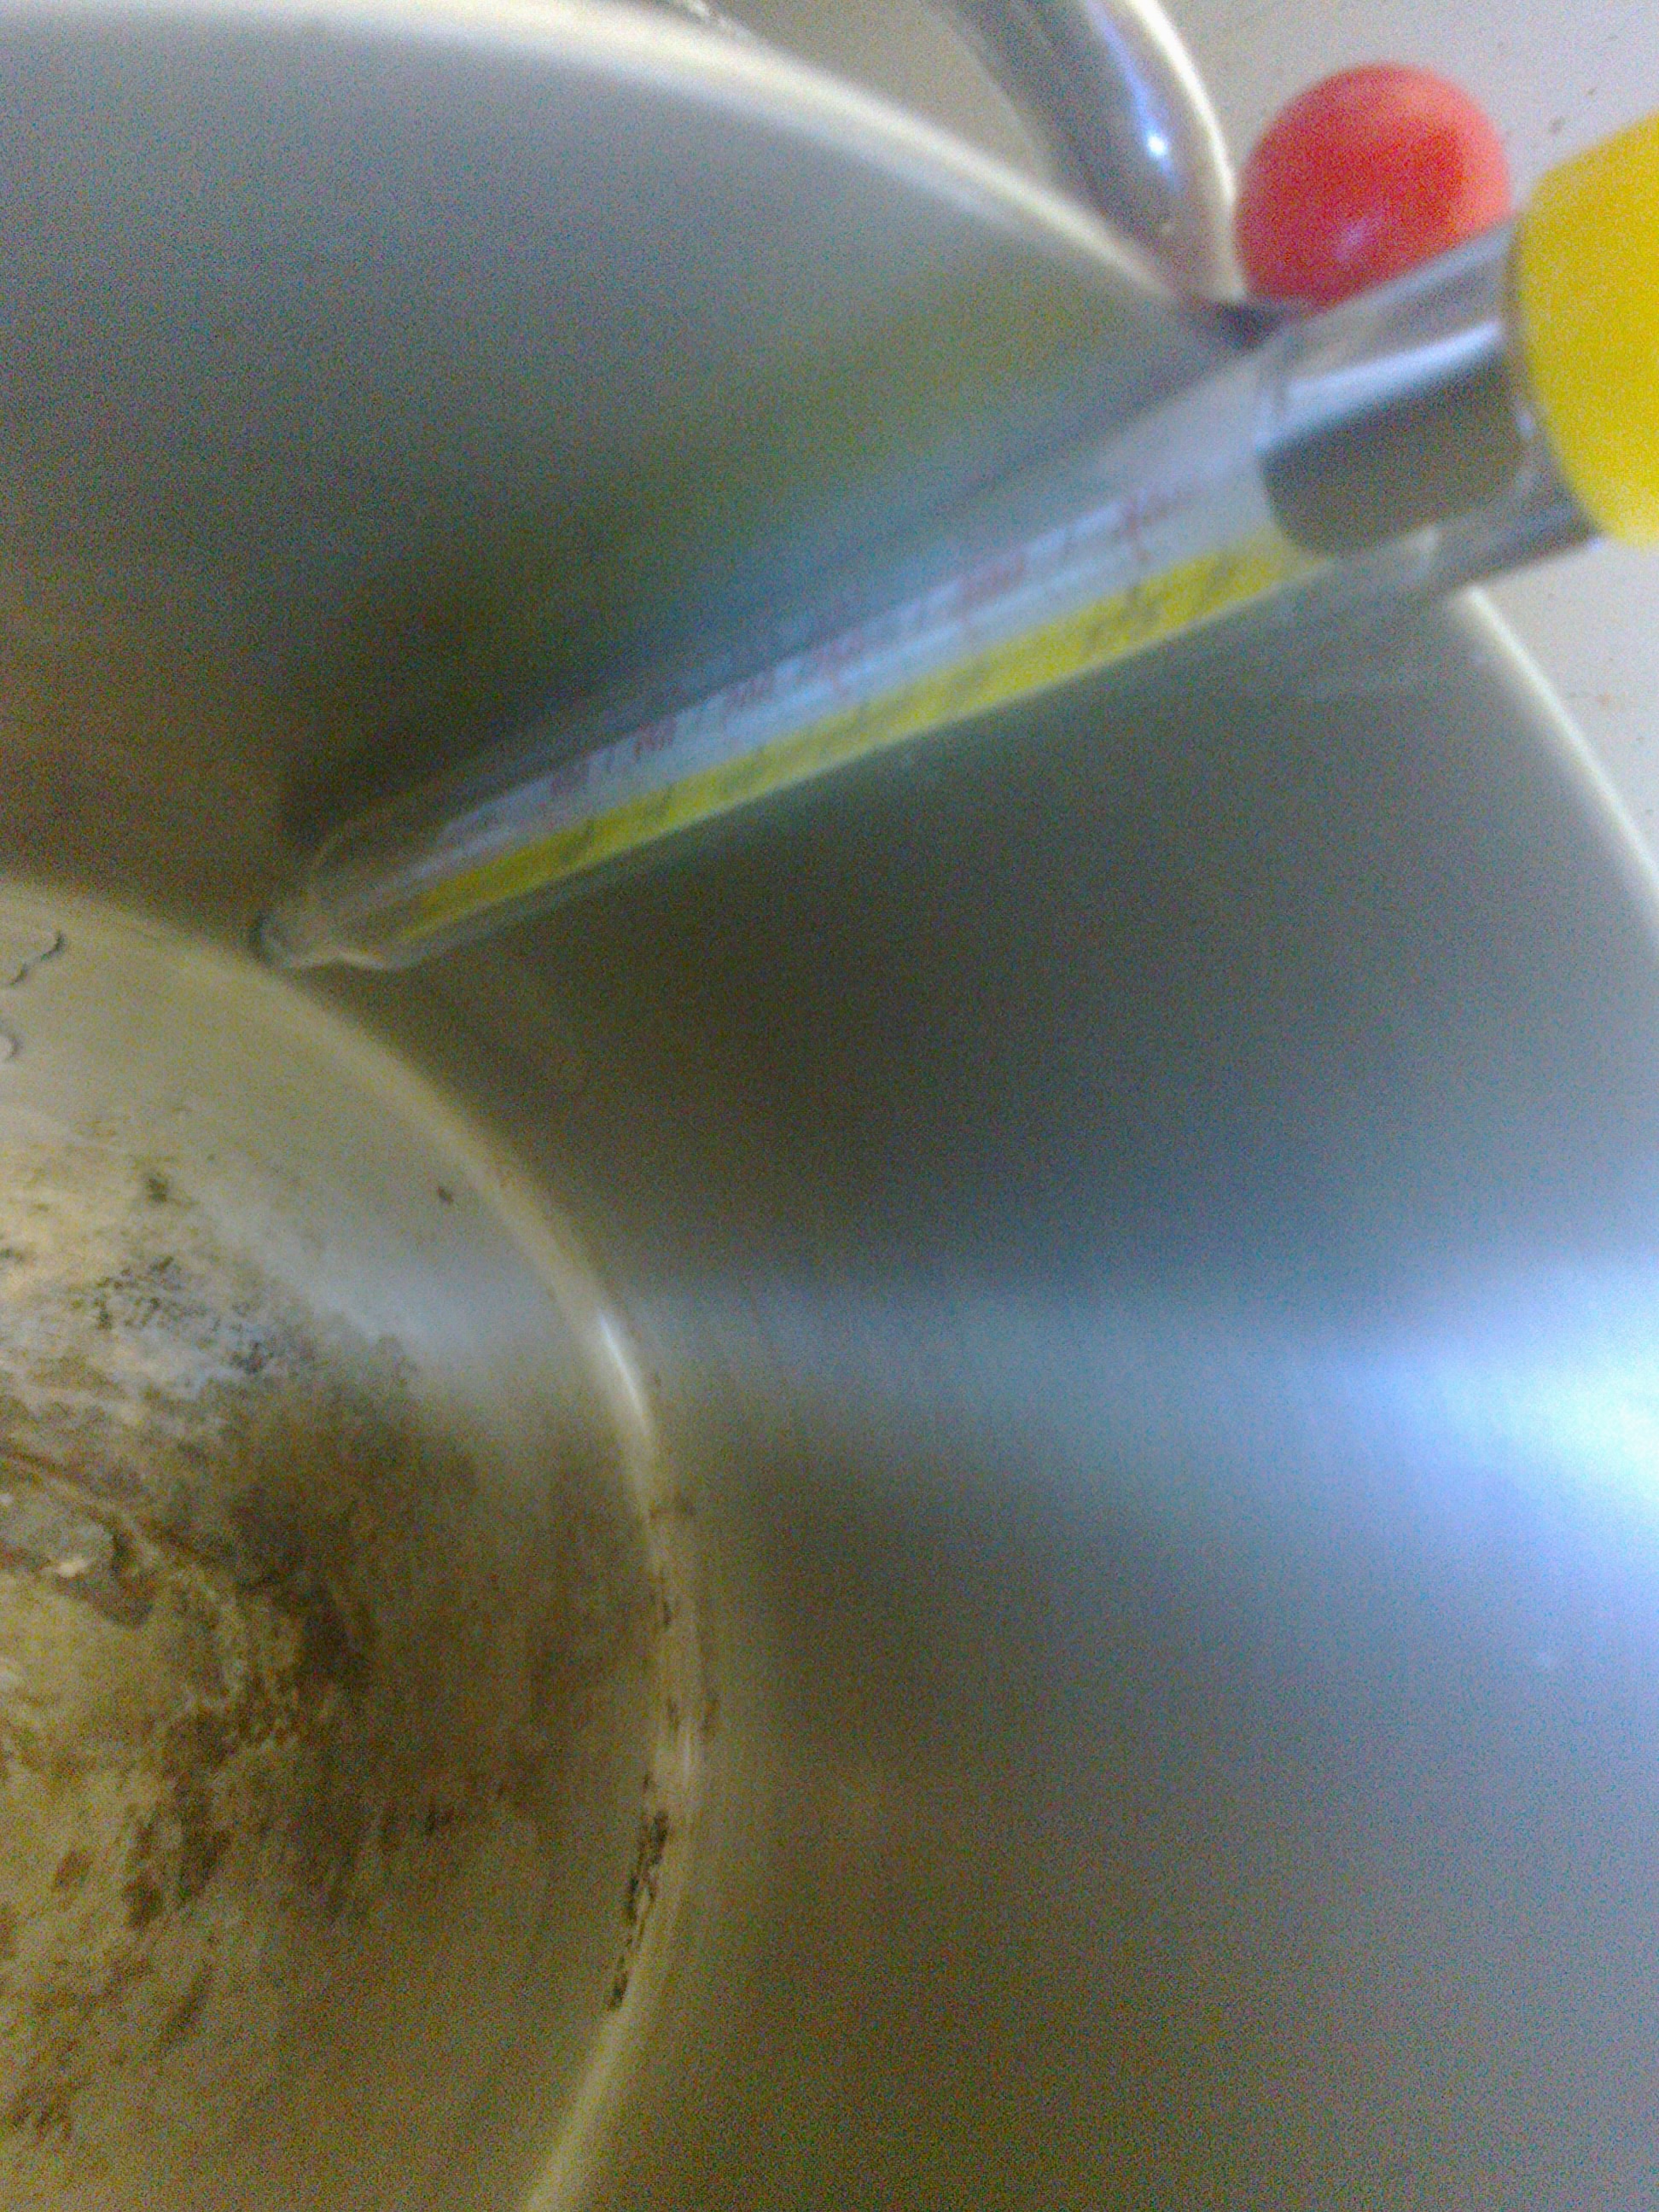
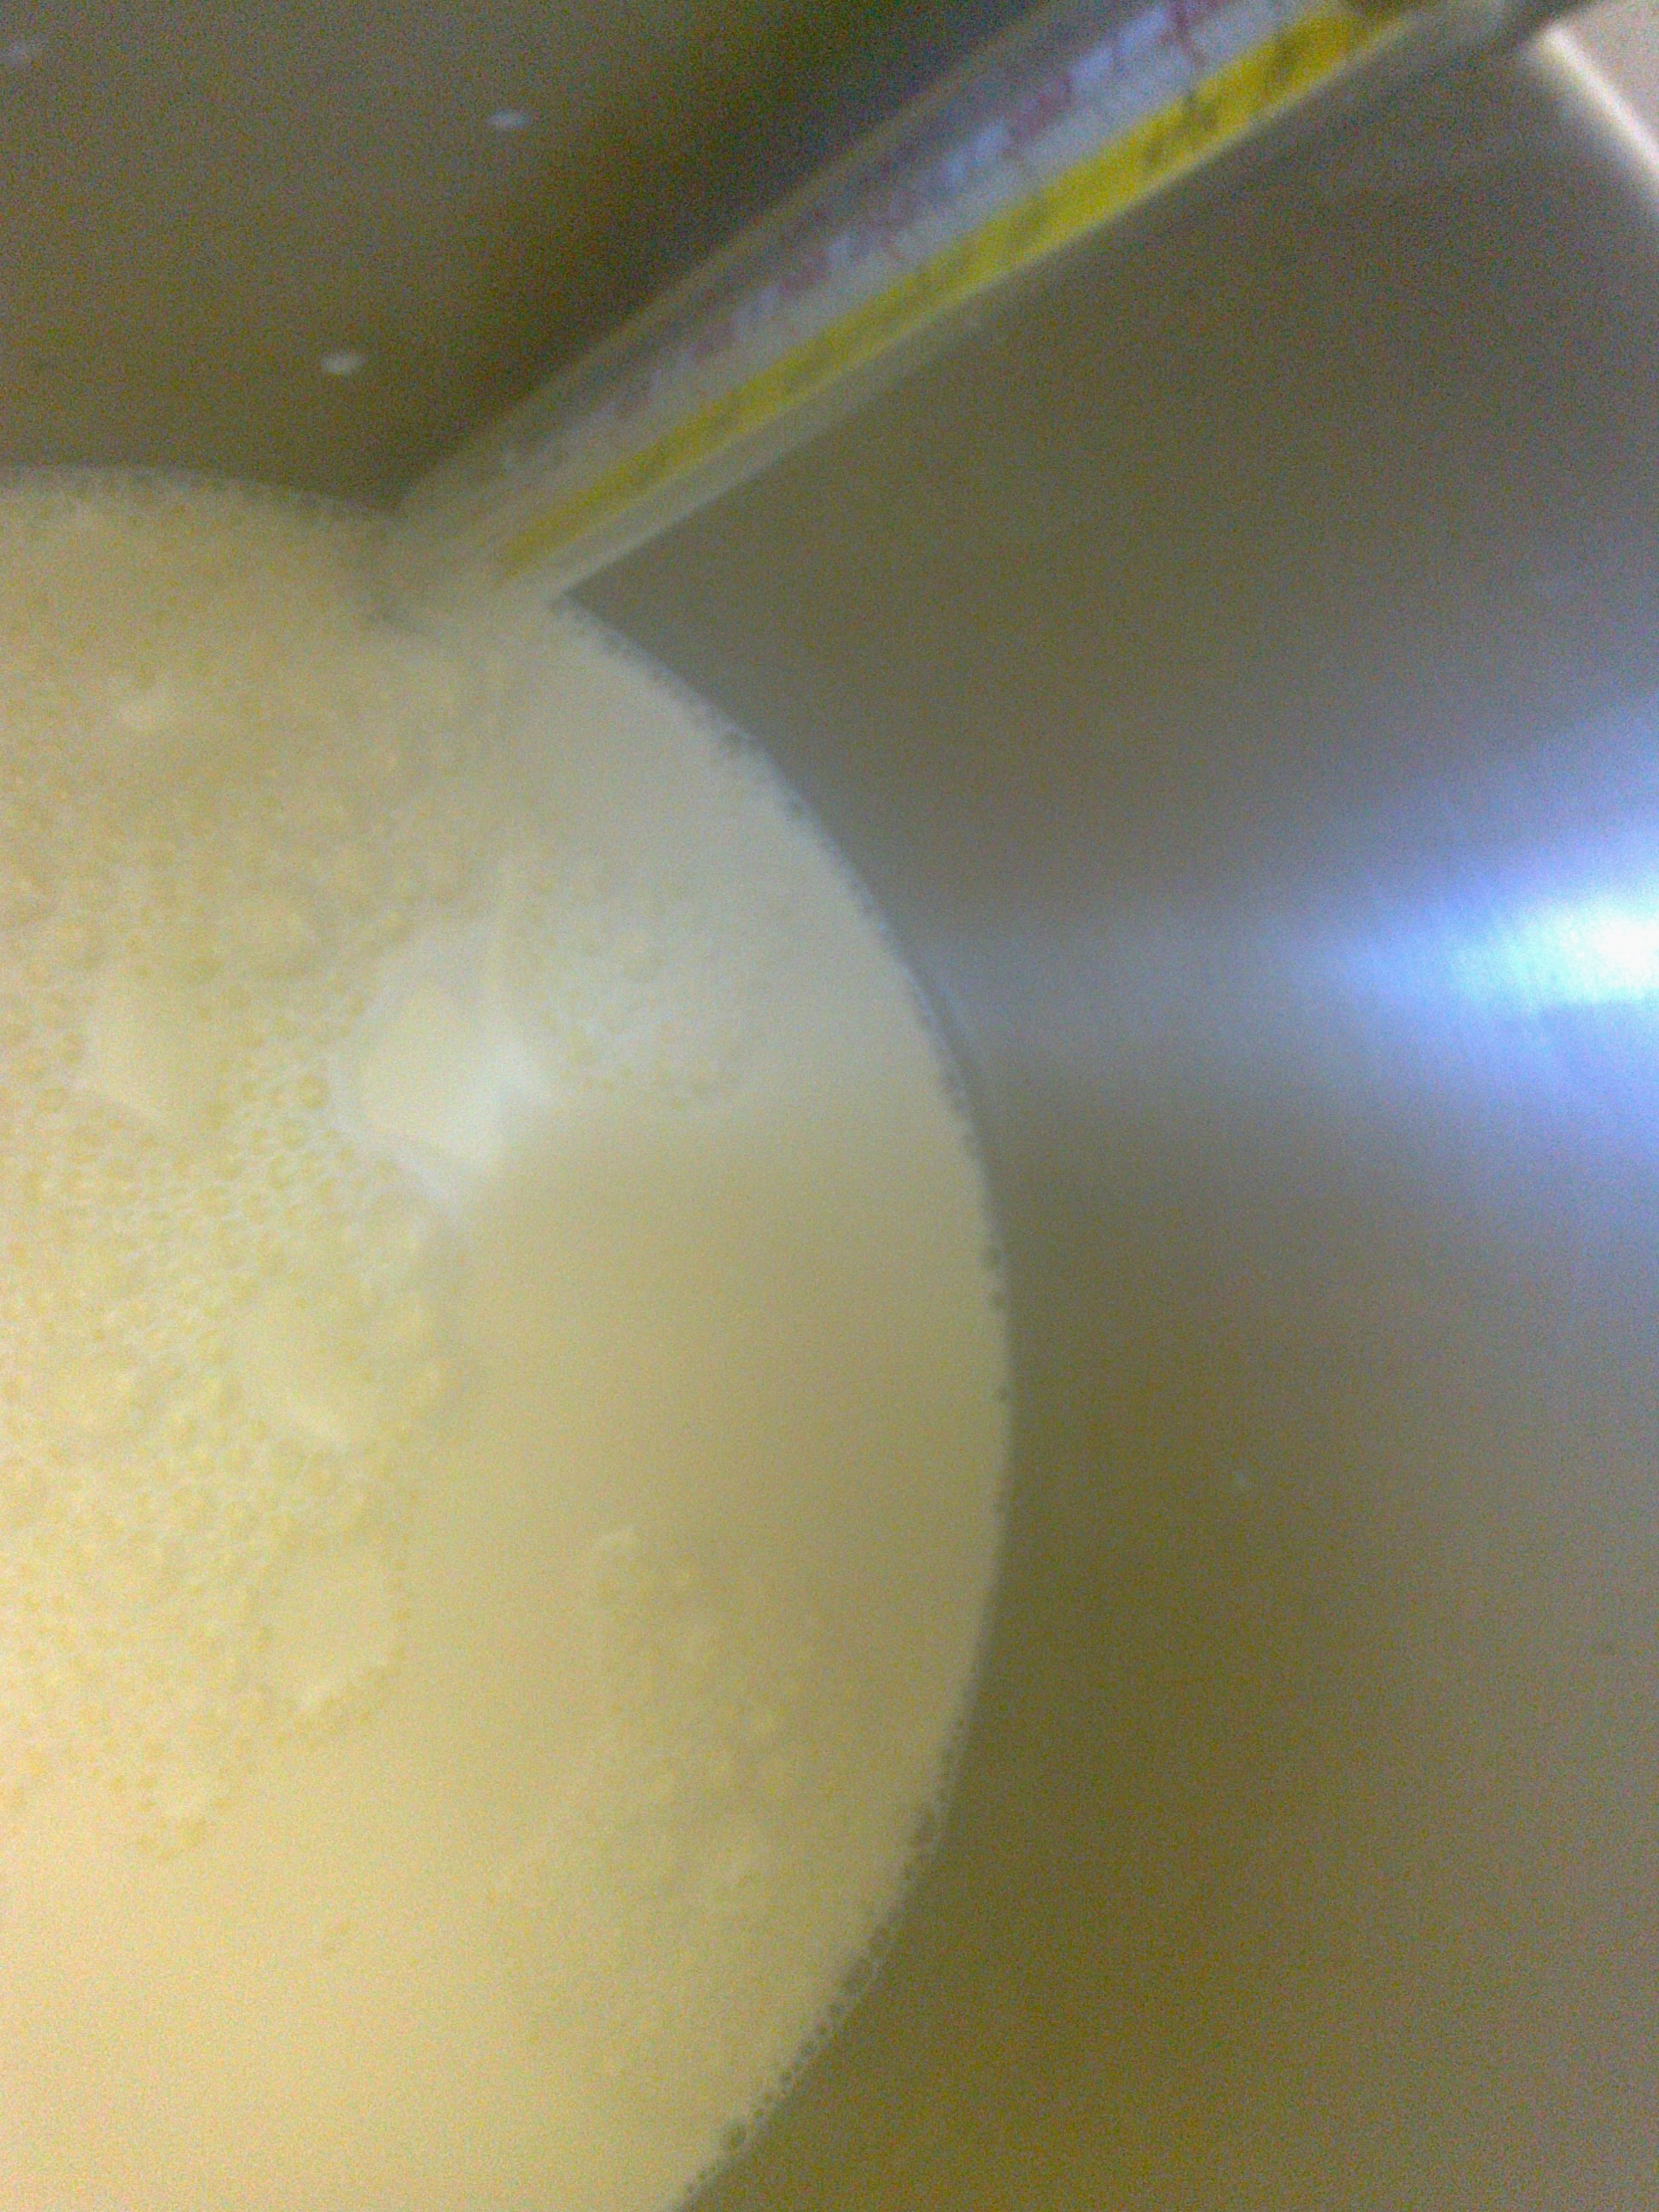
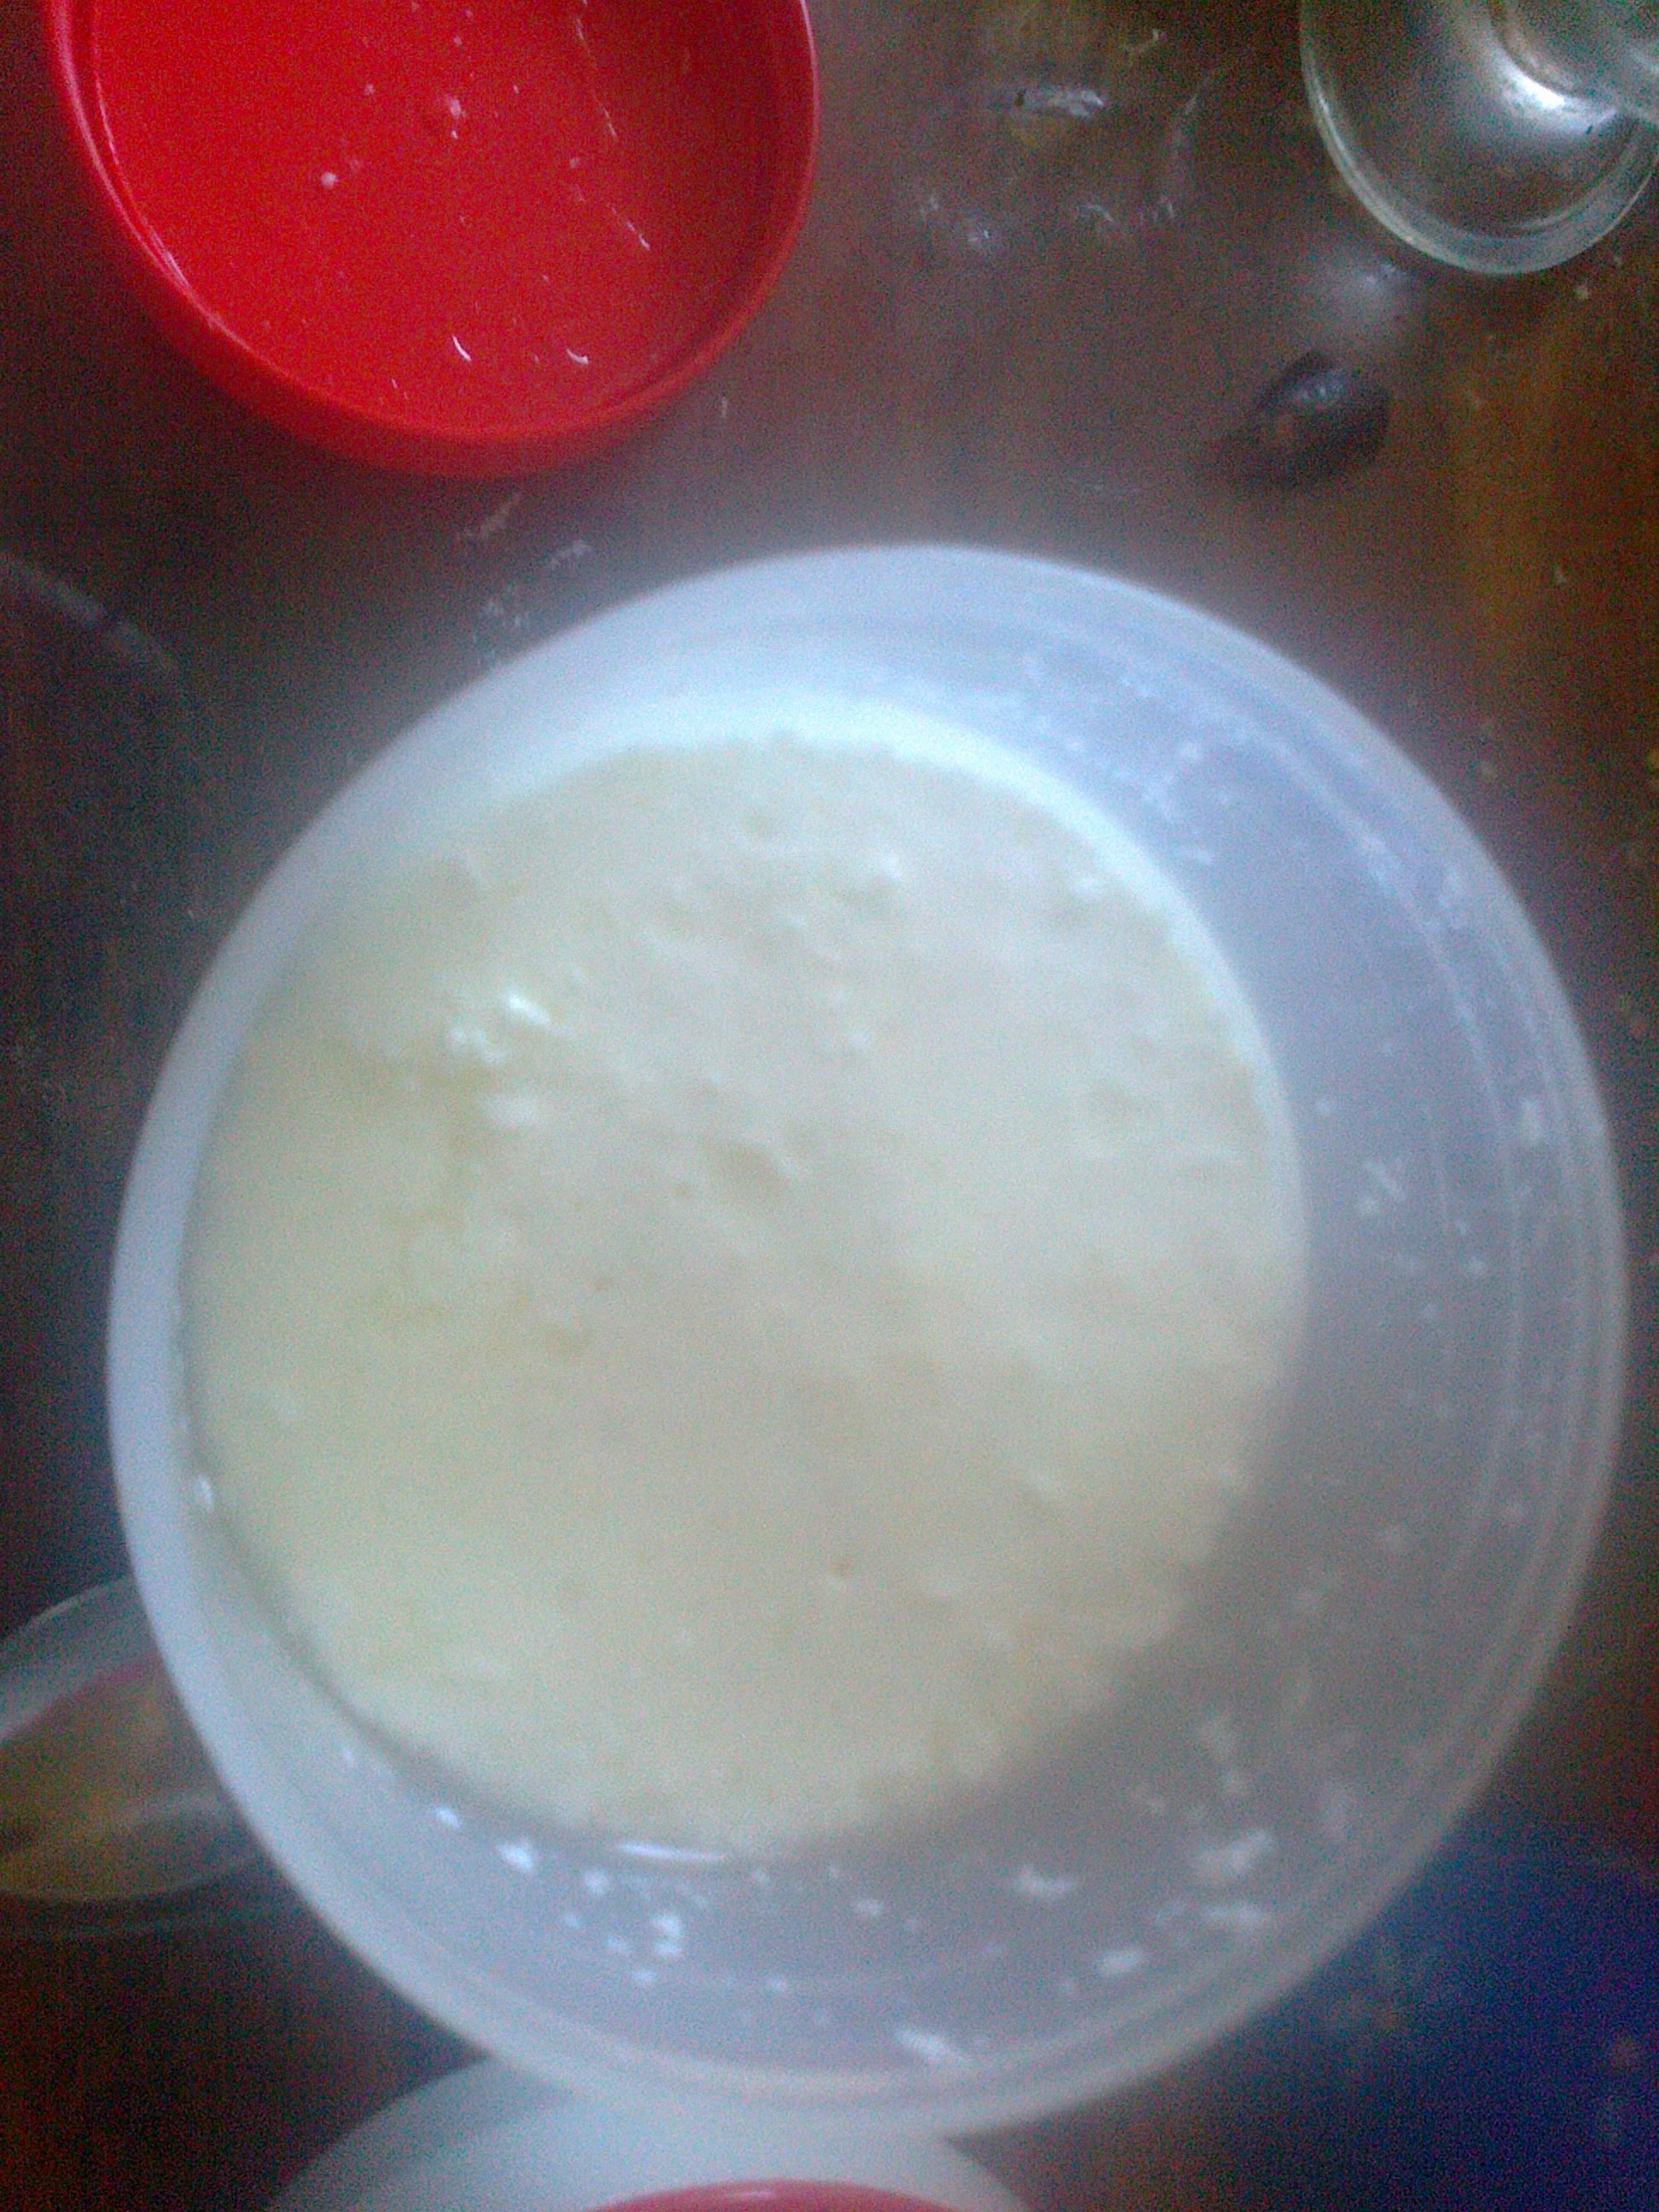
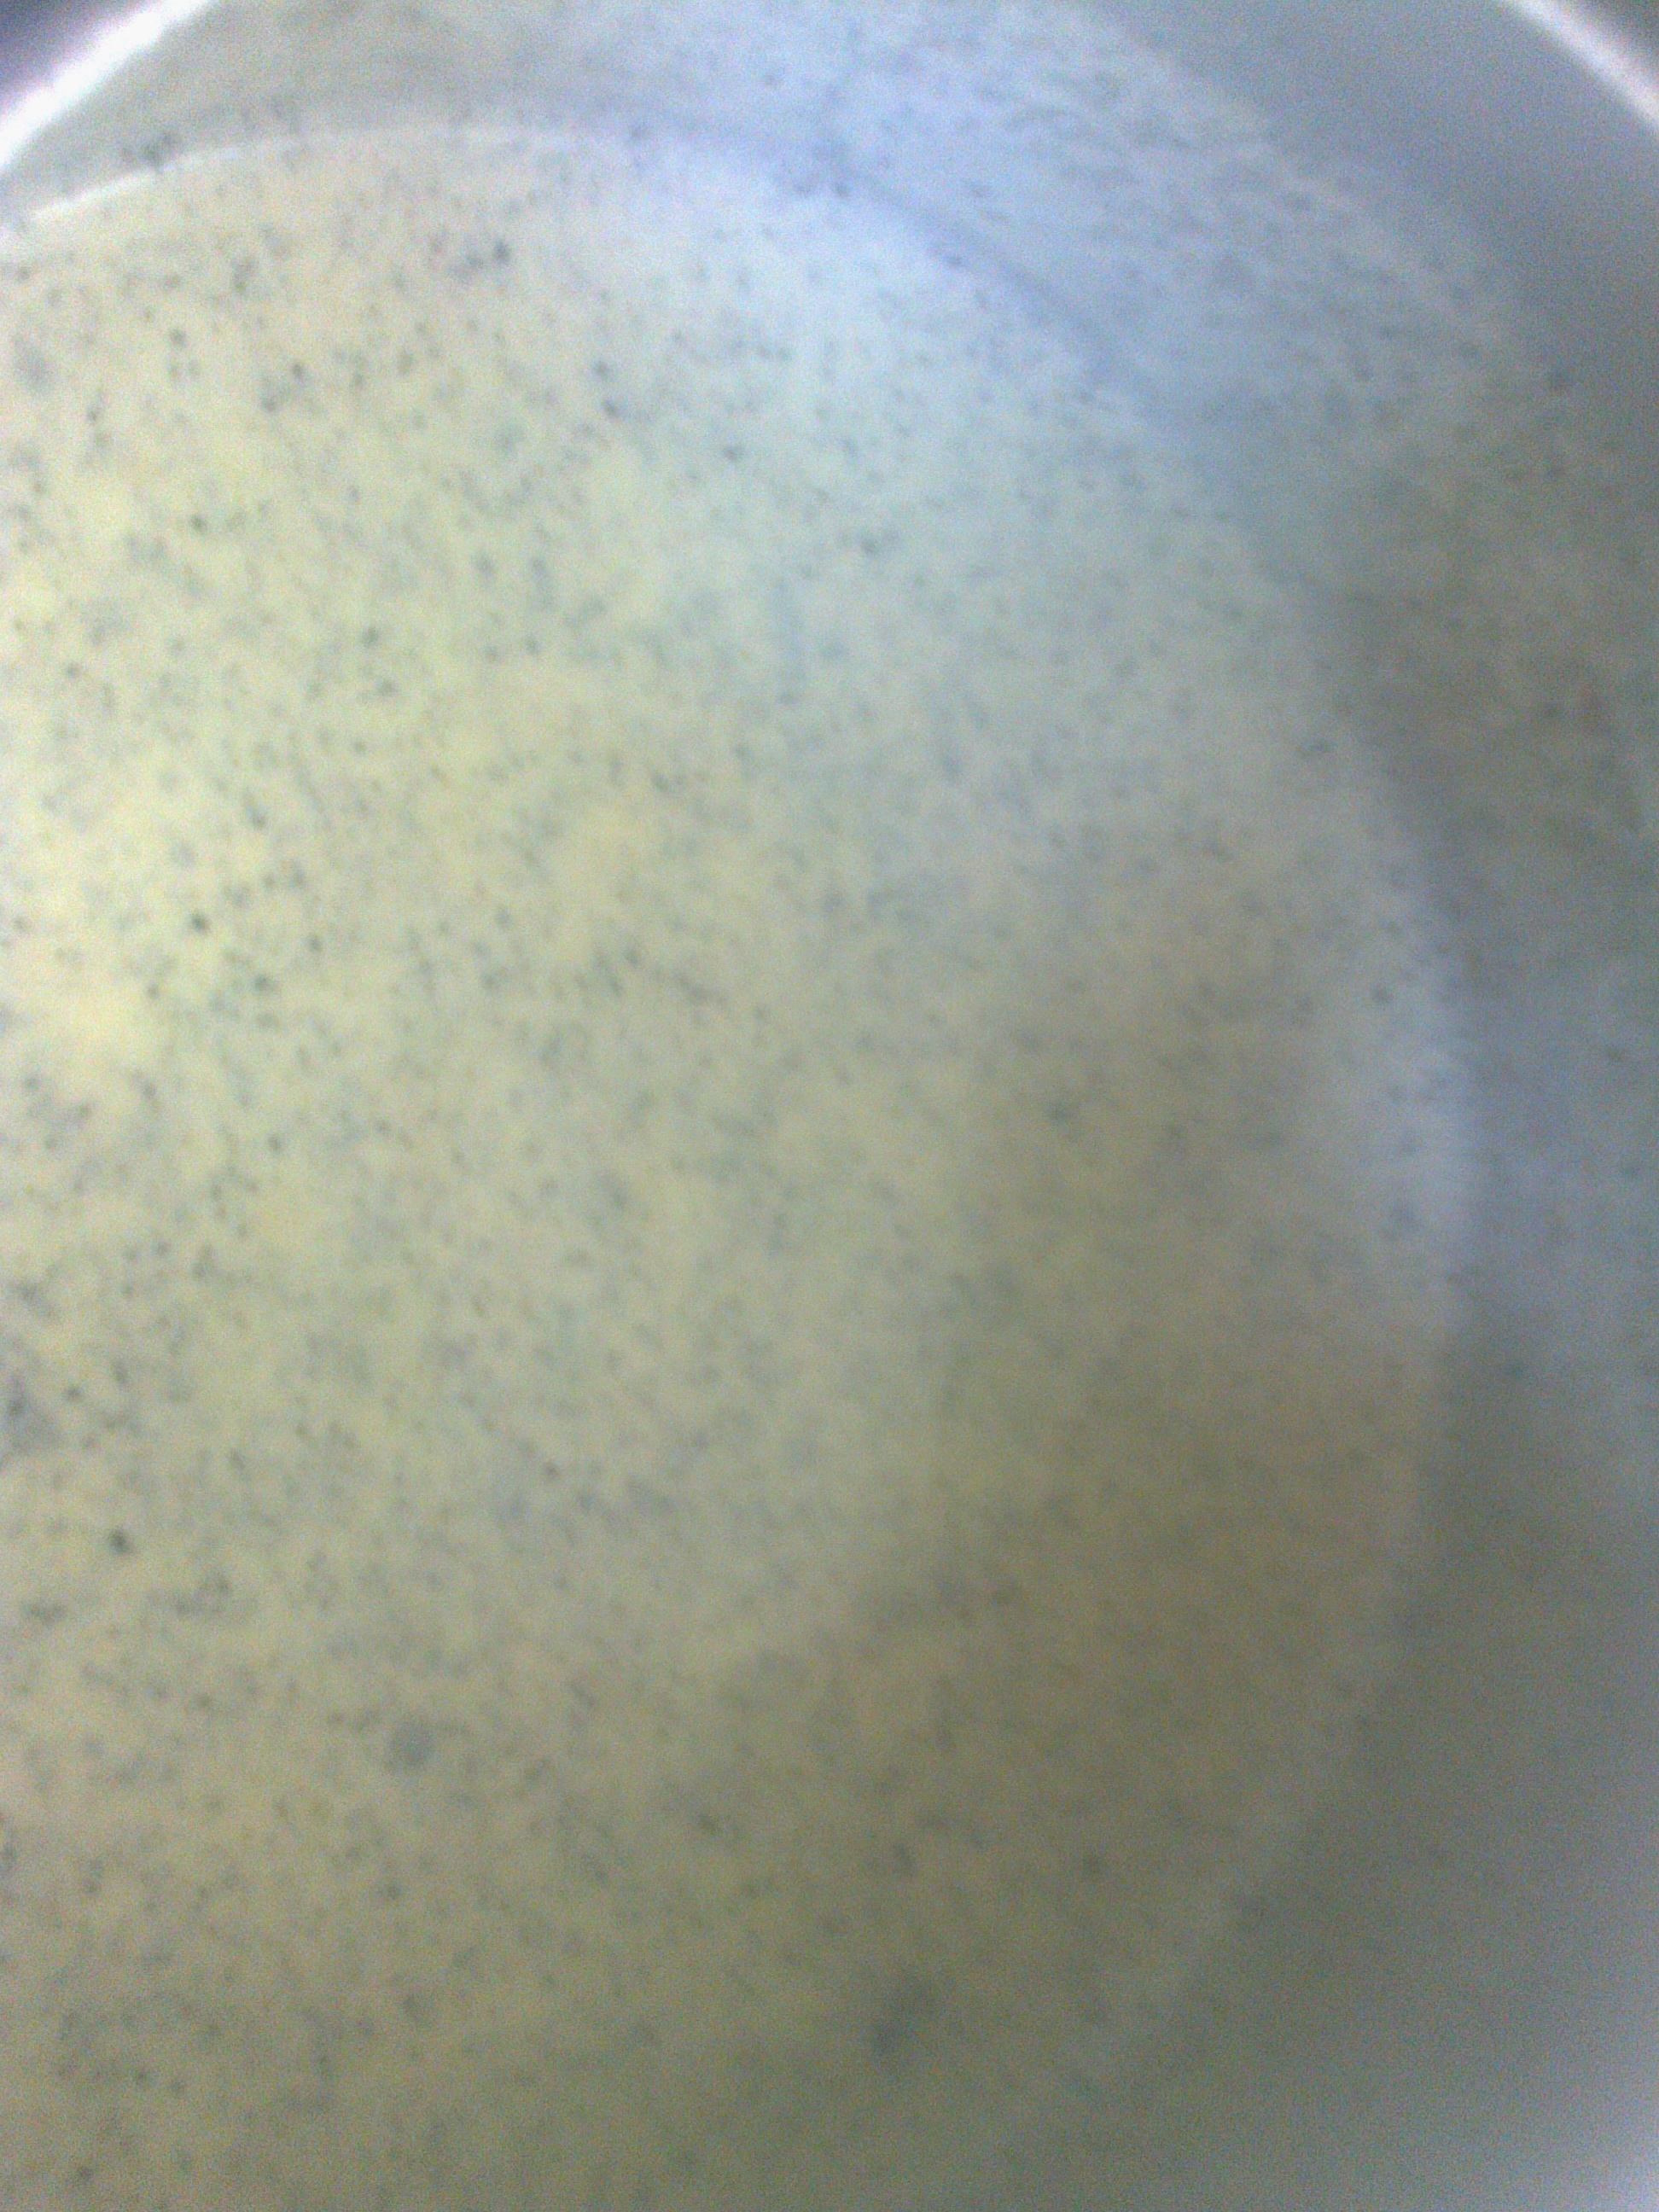
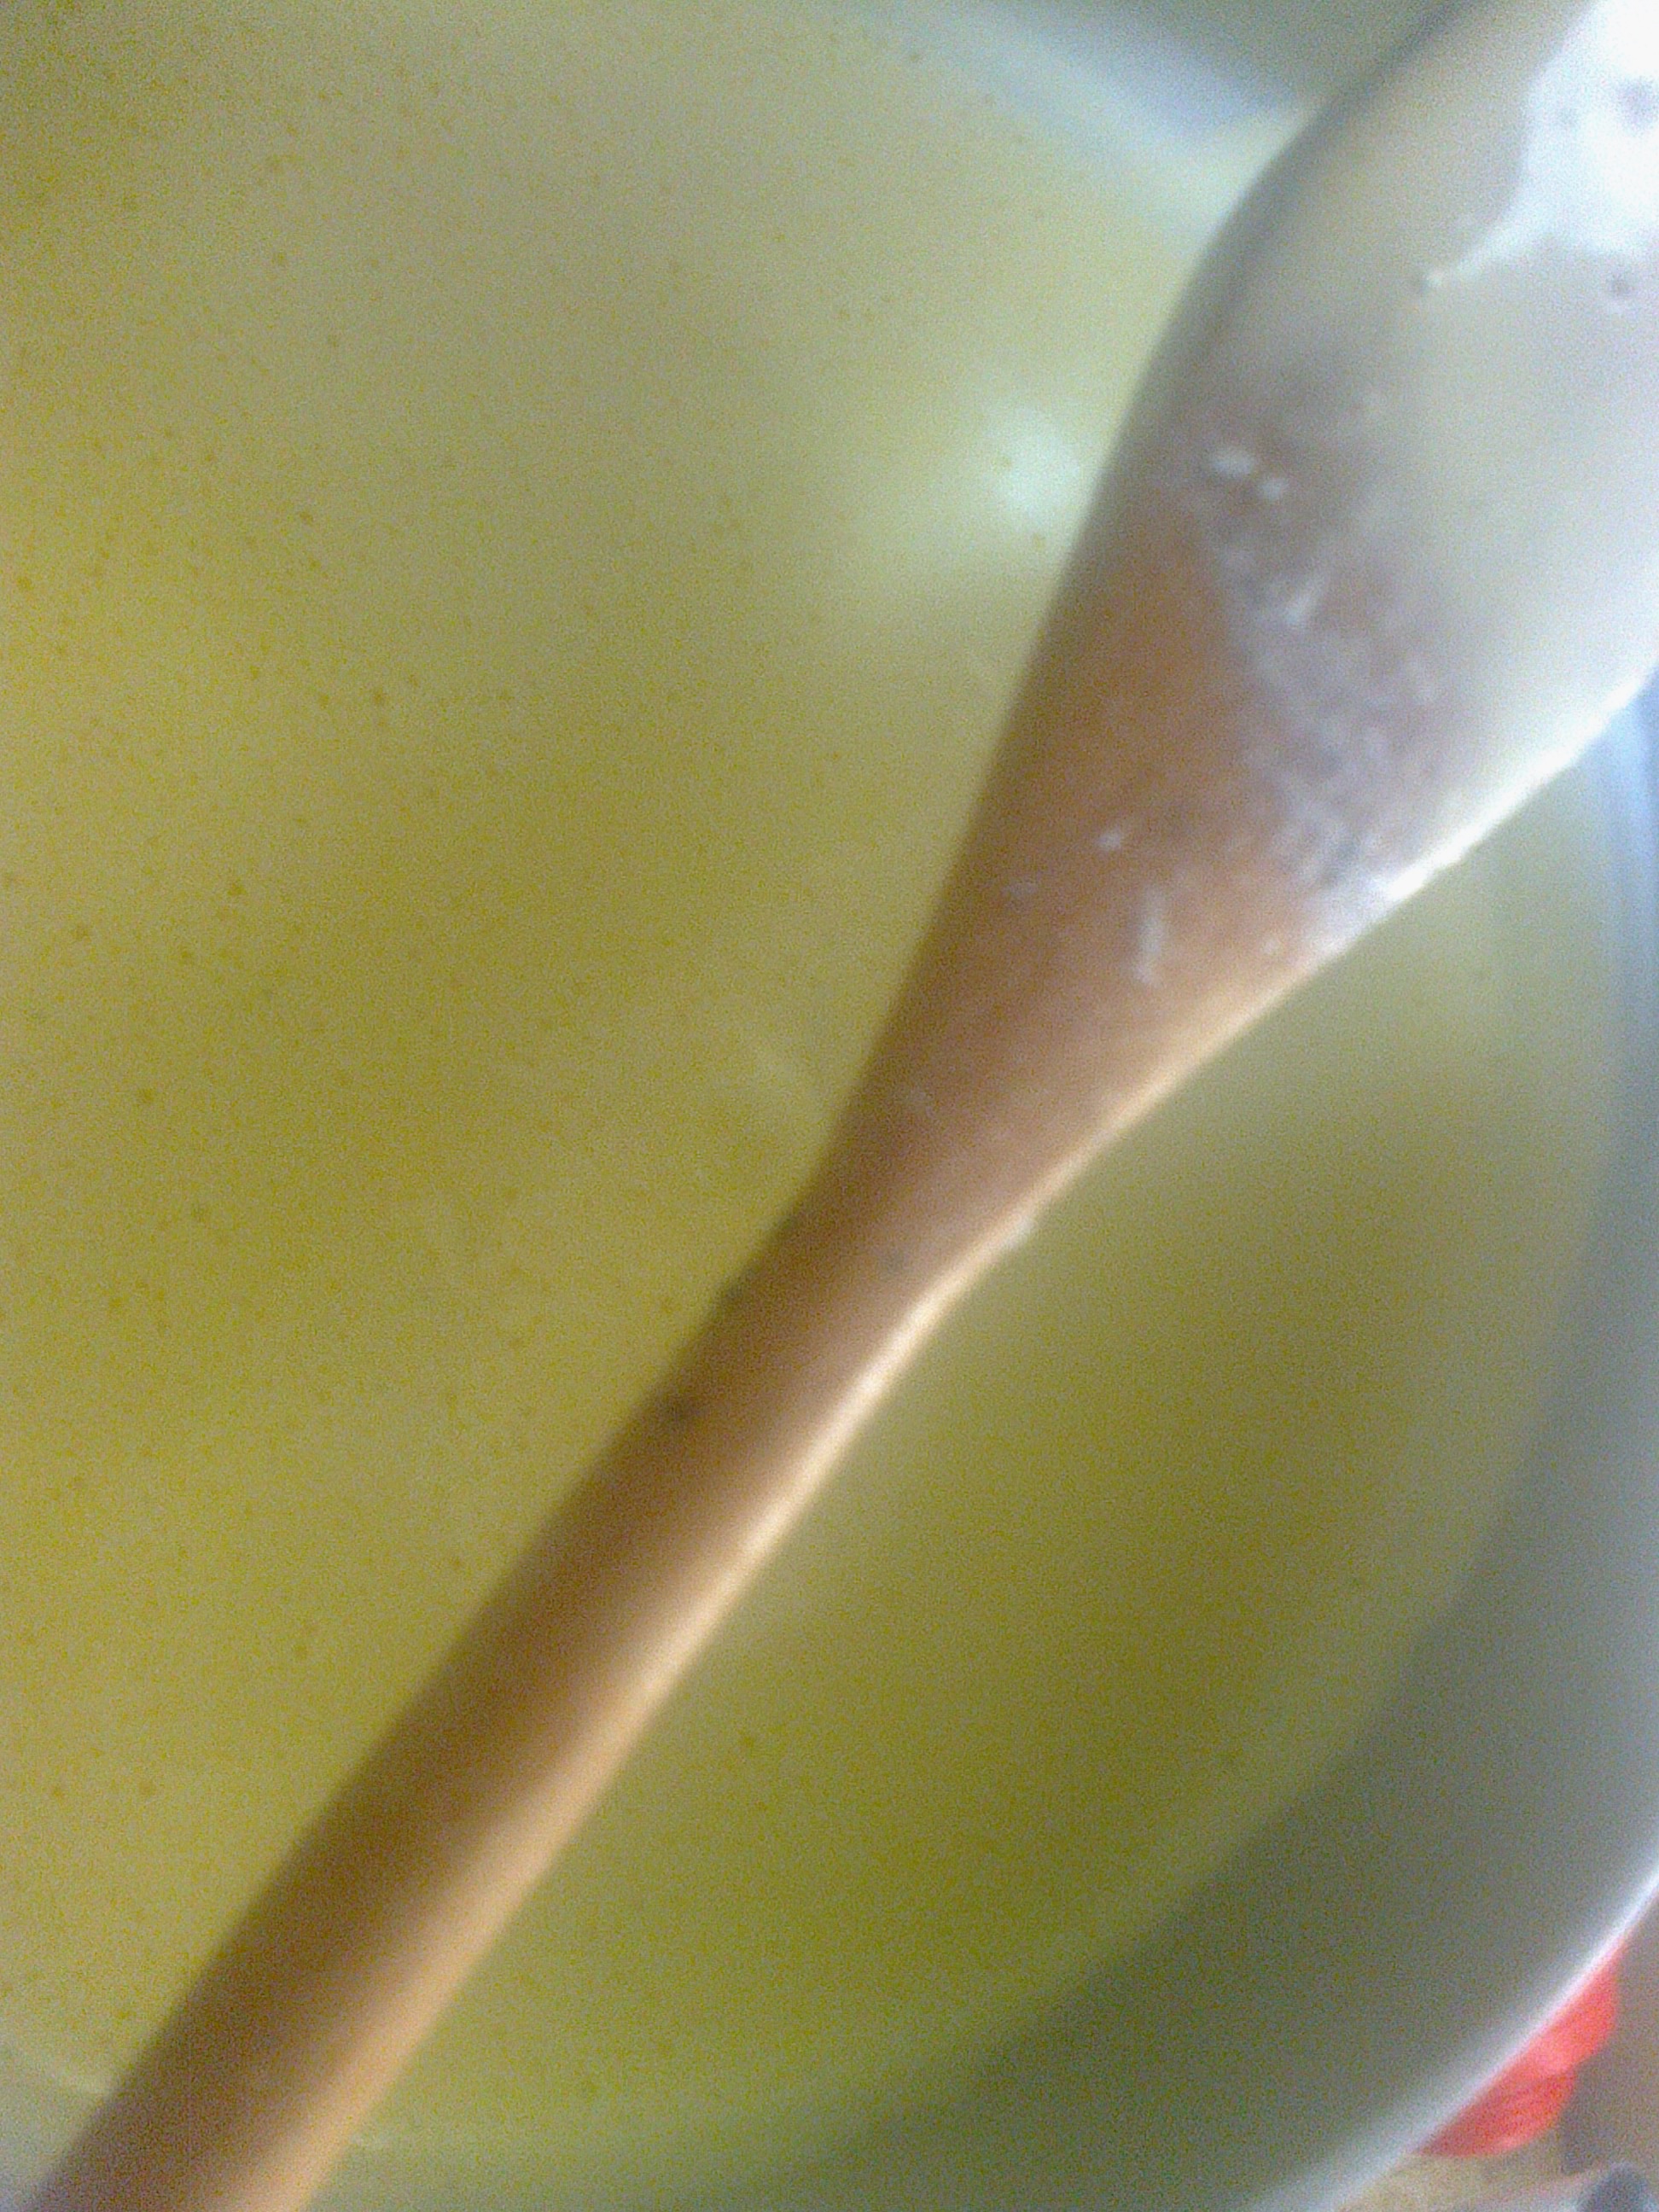
Beat the cream till it separates into yellow peaks of butter and buttermilk in a bowl. The time this takes depends on the beater you are using and the amount of cream. When it is peaked to a soft buttery consistency (see photo gallery below) this is ready to drain.
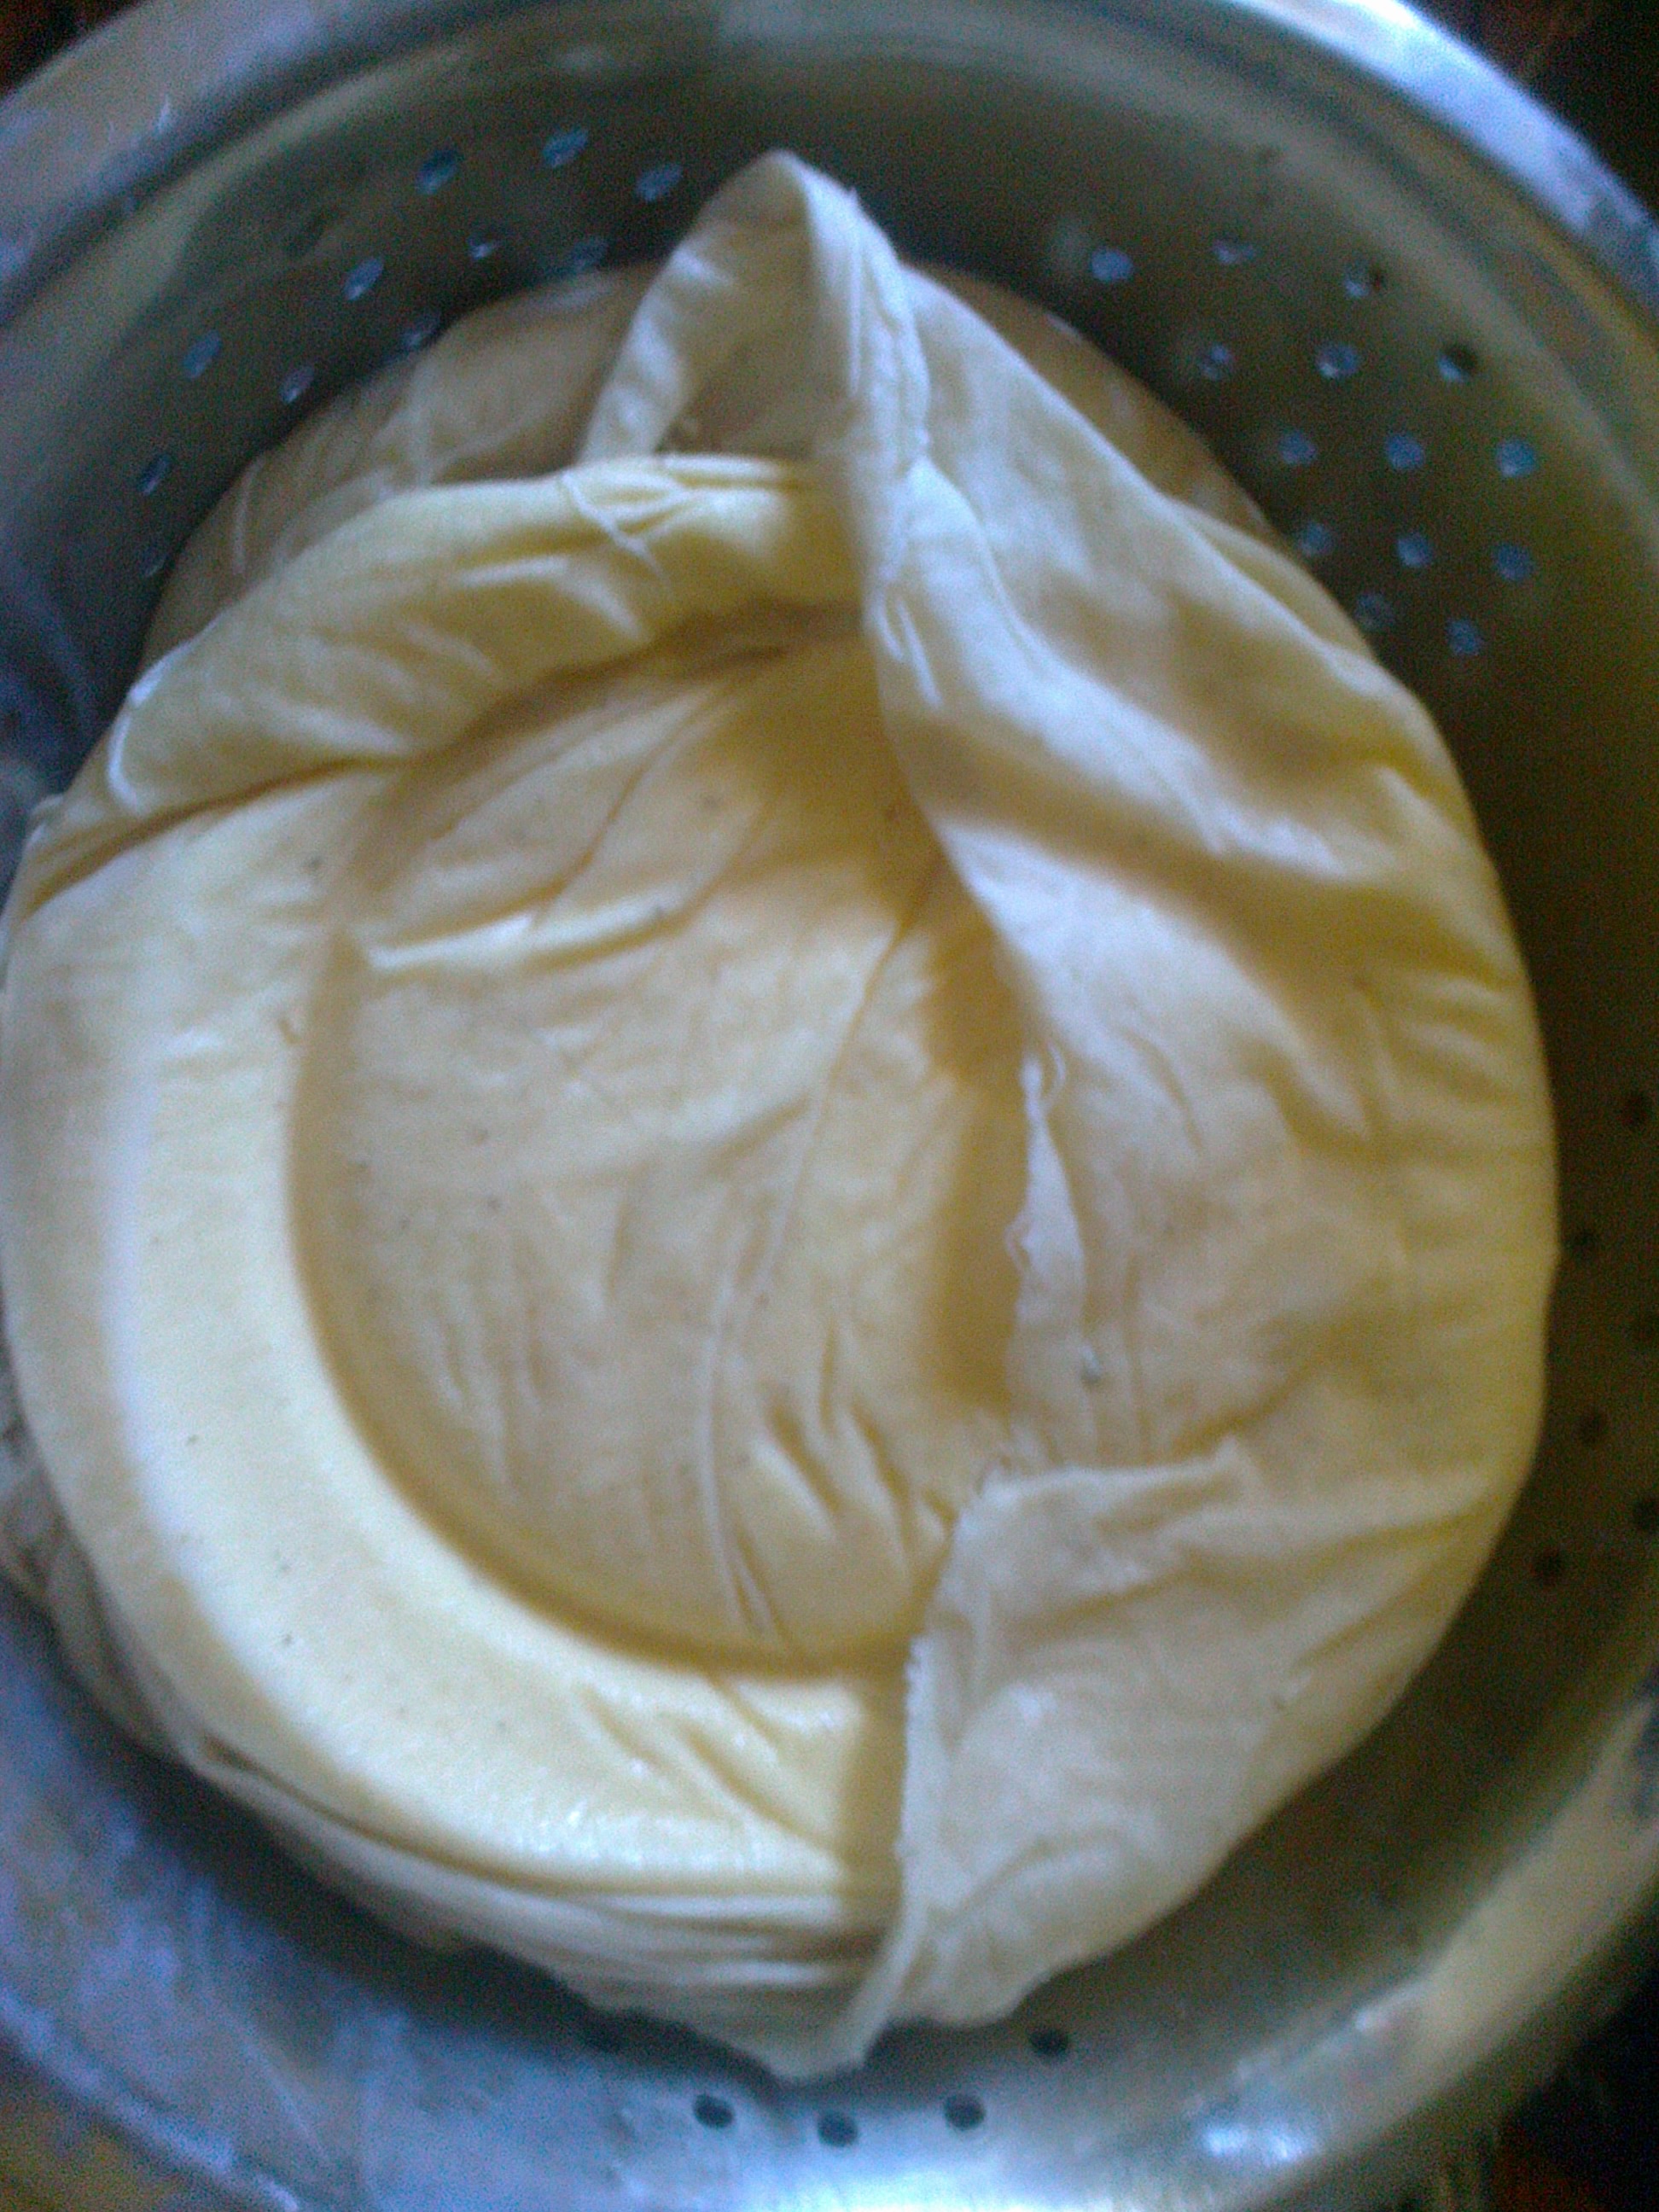
Drain into a the bowl through the colander/strainer lined with the cloth. Wrap completely in cloth and knead out in strainer. Leave for five minutes to press each side (still wrapped) weighed down by a shallow bowl or deep lunch plate the size of your strainer. When this is done put butter away and pour out buttermilk into container for storage.
Cheese
This is a simple recipe that I found in an old issue of Rainbow News, a New Zealand Spiritual Magazine. It makes a simple cottage style cheese that is very soft and in small curds until pressed and refrigerated but compresses to a very packaged cottage cheese consistency when it is. It is a good simple Cheese. The initial cheese had Cardamom in as a flavouring, but I used Allspice in it as a flavouring for the next one. You can leave this out if you don't want a flavoured cheese, or even add Cinnamon if you are planning on using it in sweet dish. I did this with both high fat Jersey milk, organic milk and normal milk and got a good result each time, about two serves. But the better the milk, the more curds and the creamier the result. This is easily scalable as a recipe for larger amounts of people and can be served chilled or fresh from draining and pressing.
- 1 litre milk, low or full fat (Any will do but, but the better the milk the more curds)
- 3 Teaspoons Lemon Juice
- 1/8 Teaspoon of salt – Extra Himalayan salt if you like very salty cheese.
- Pot/Stockpot
- Bowl
- Colander/Strainer
- Sterile Cloth
- Container for Cheese and a bottle for whey
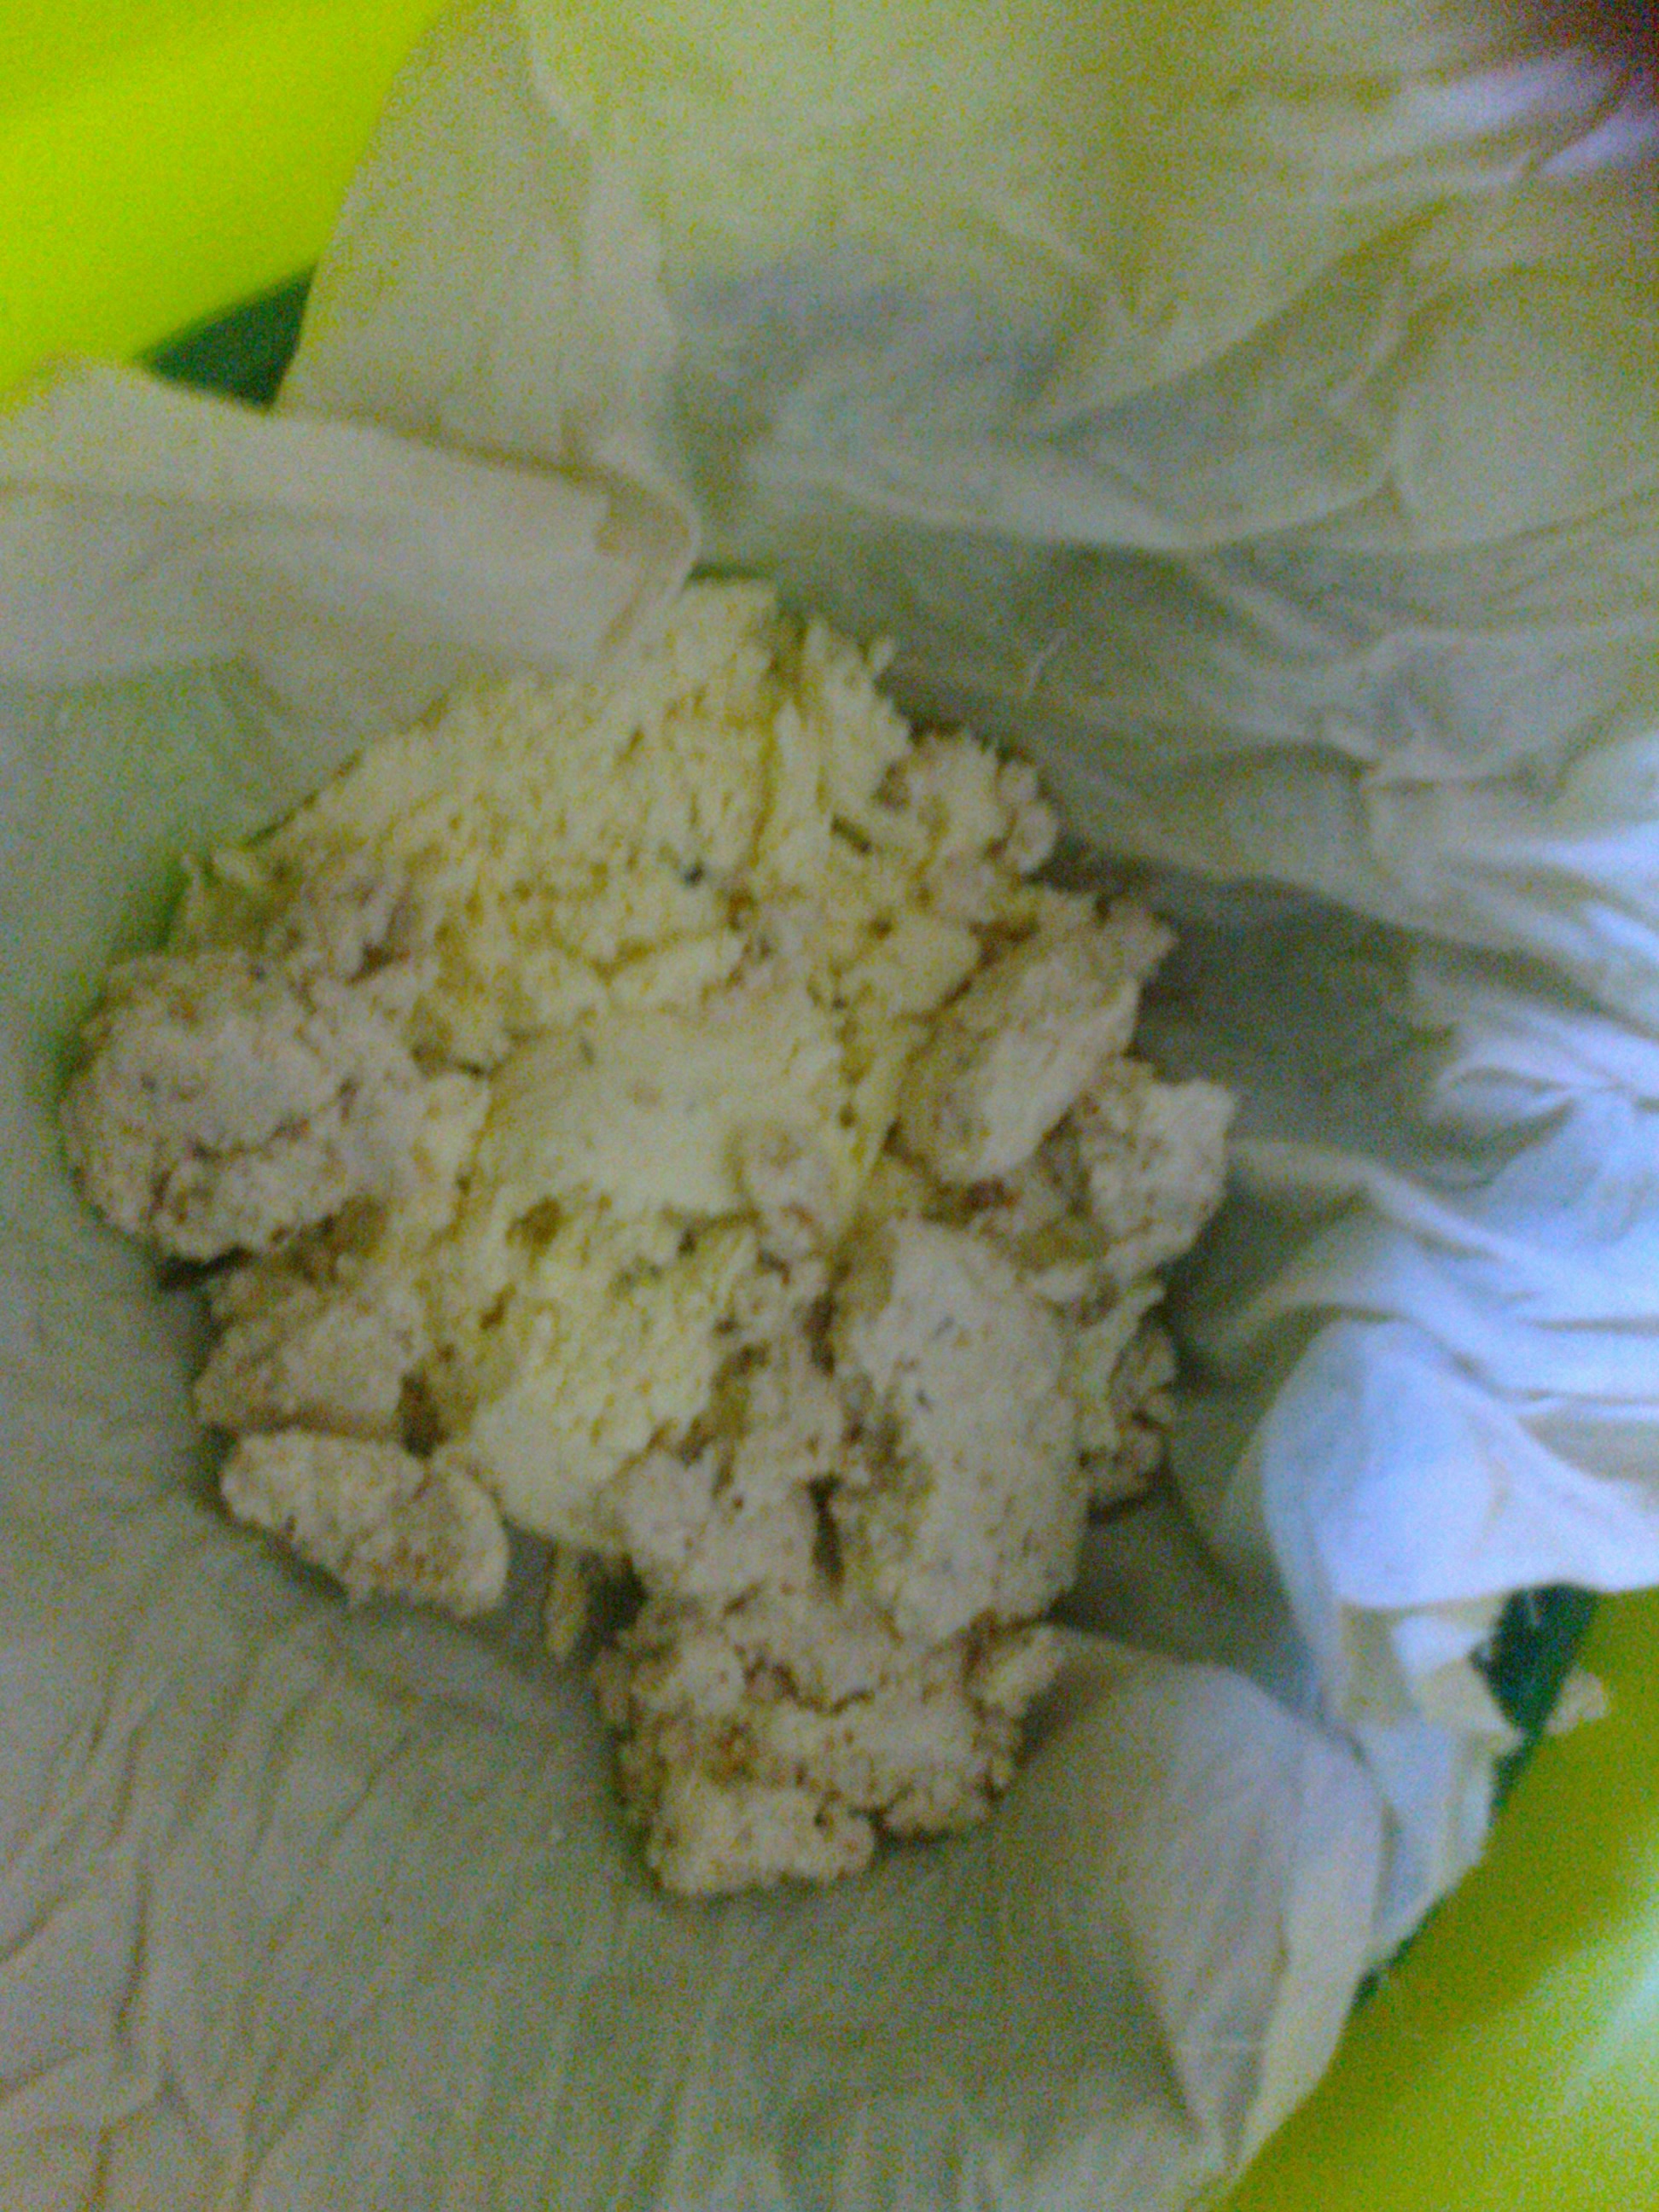
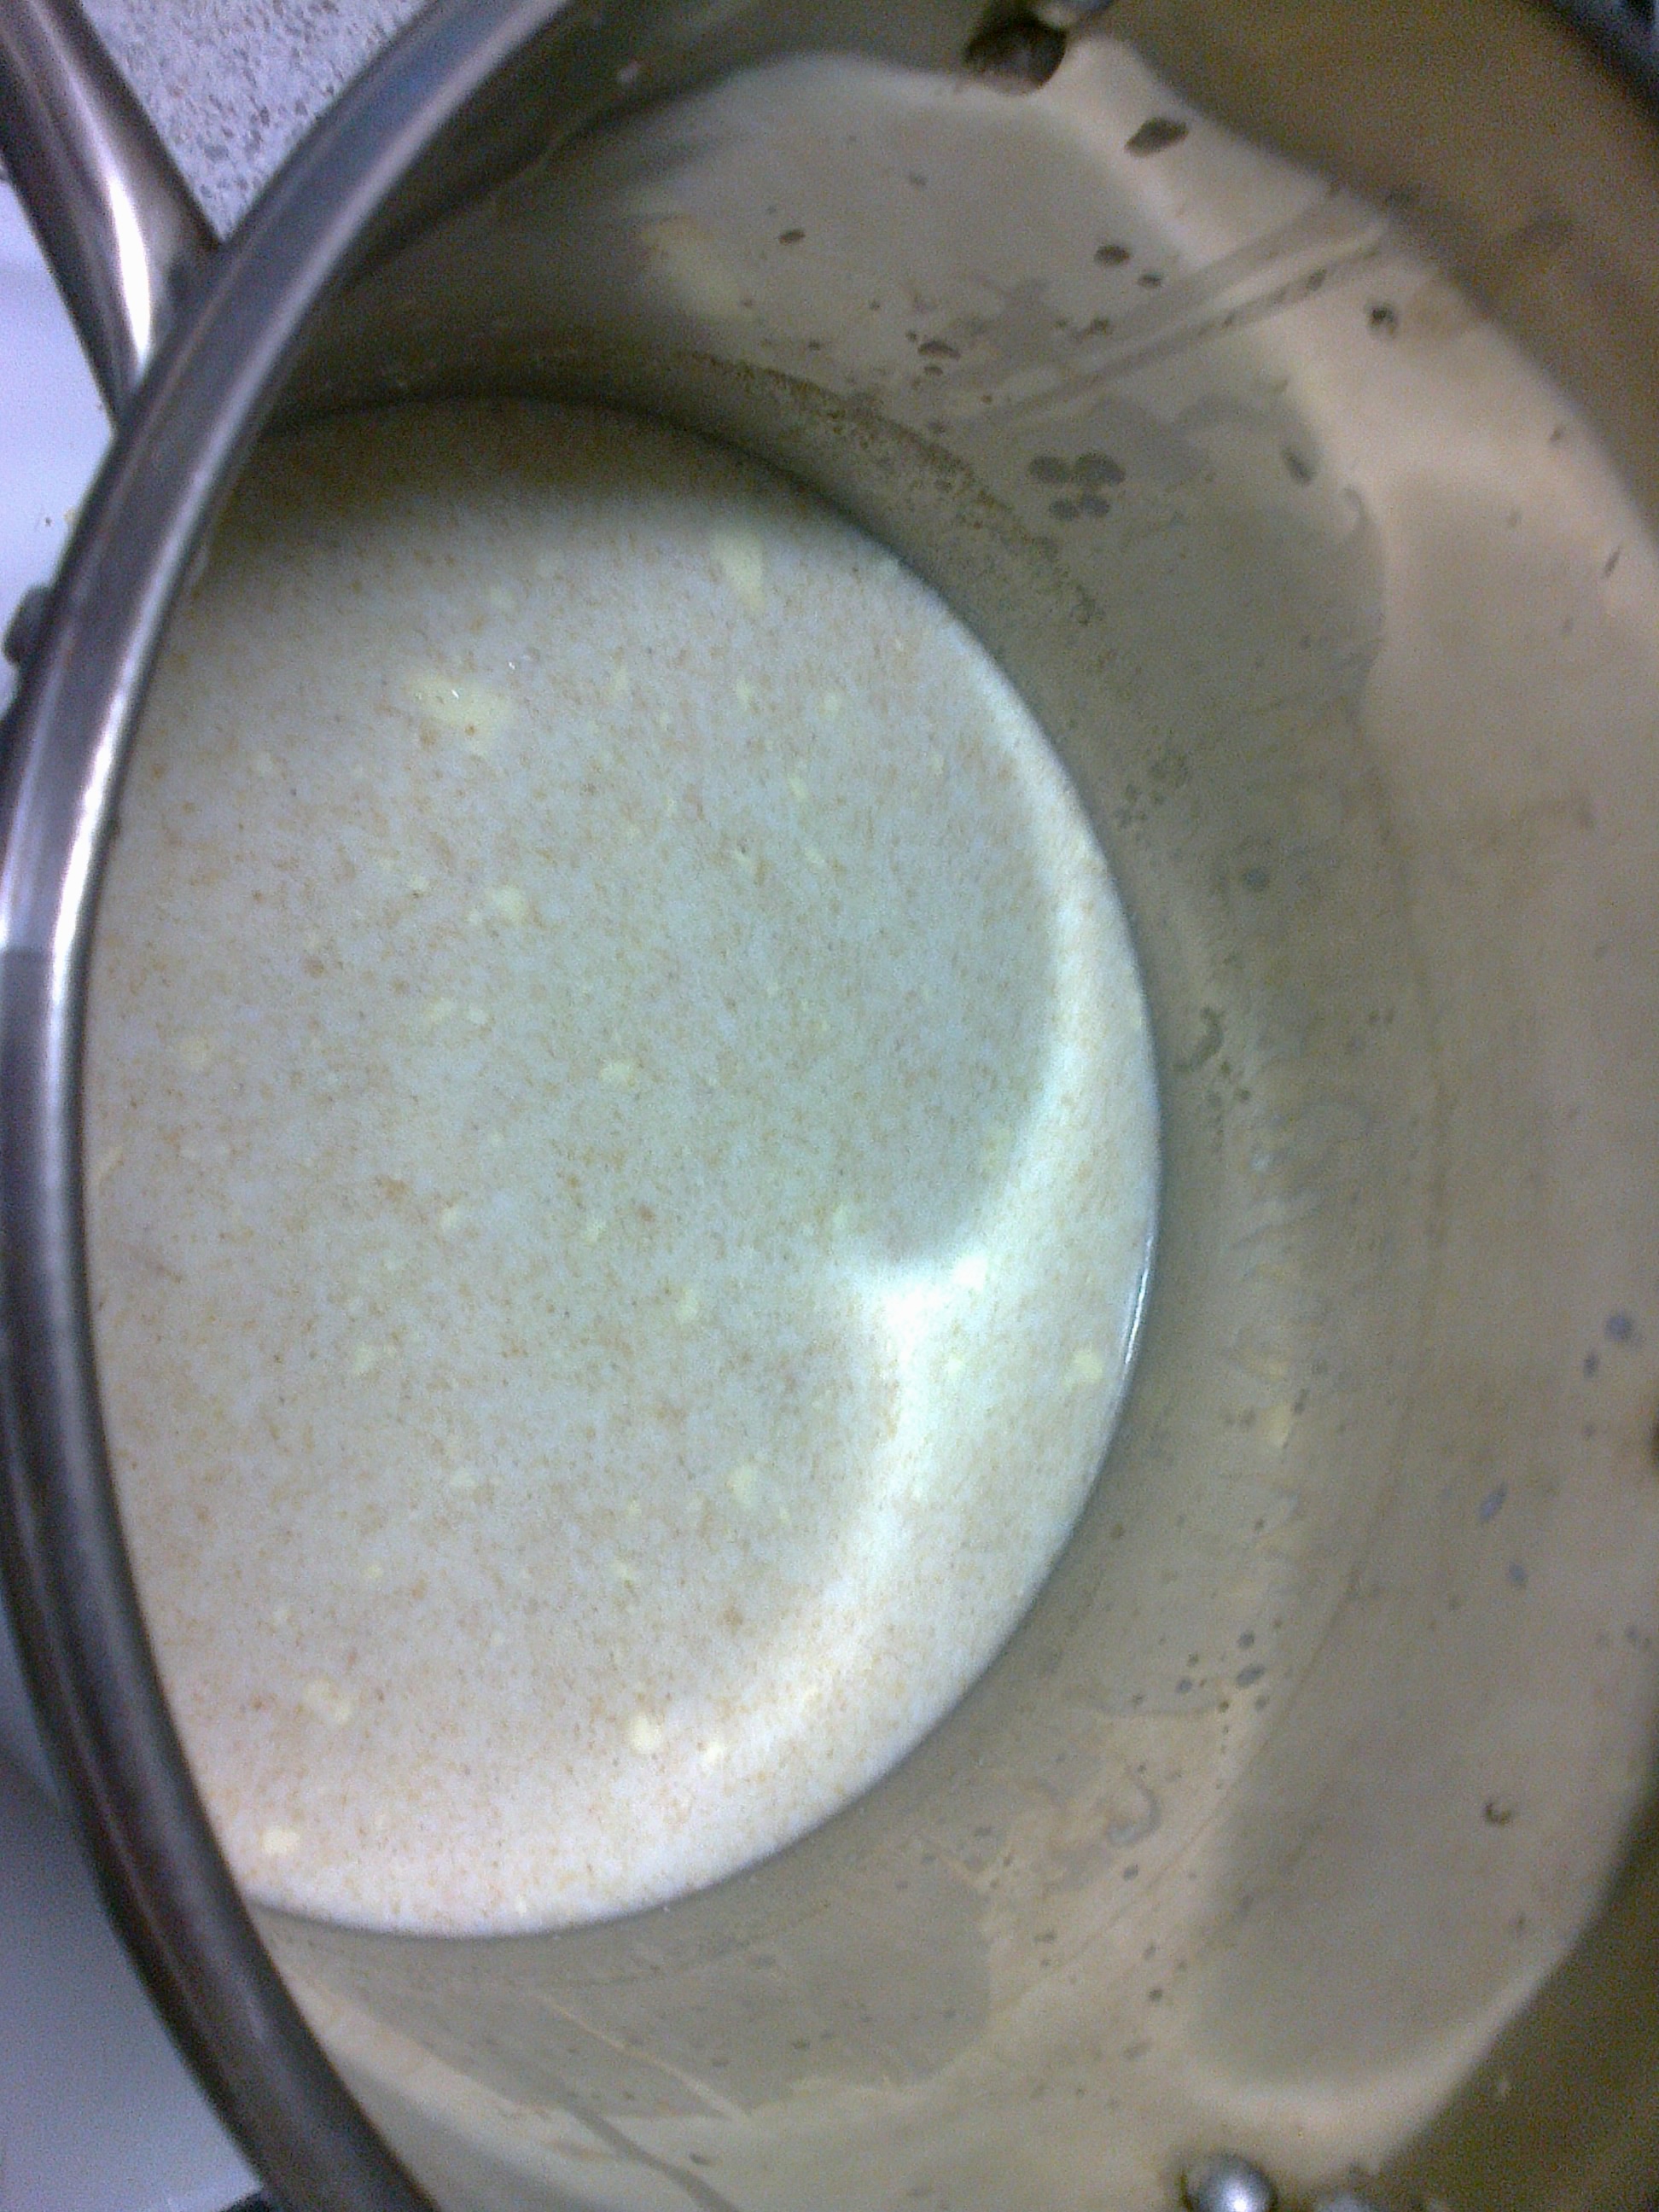
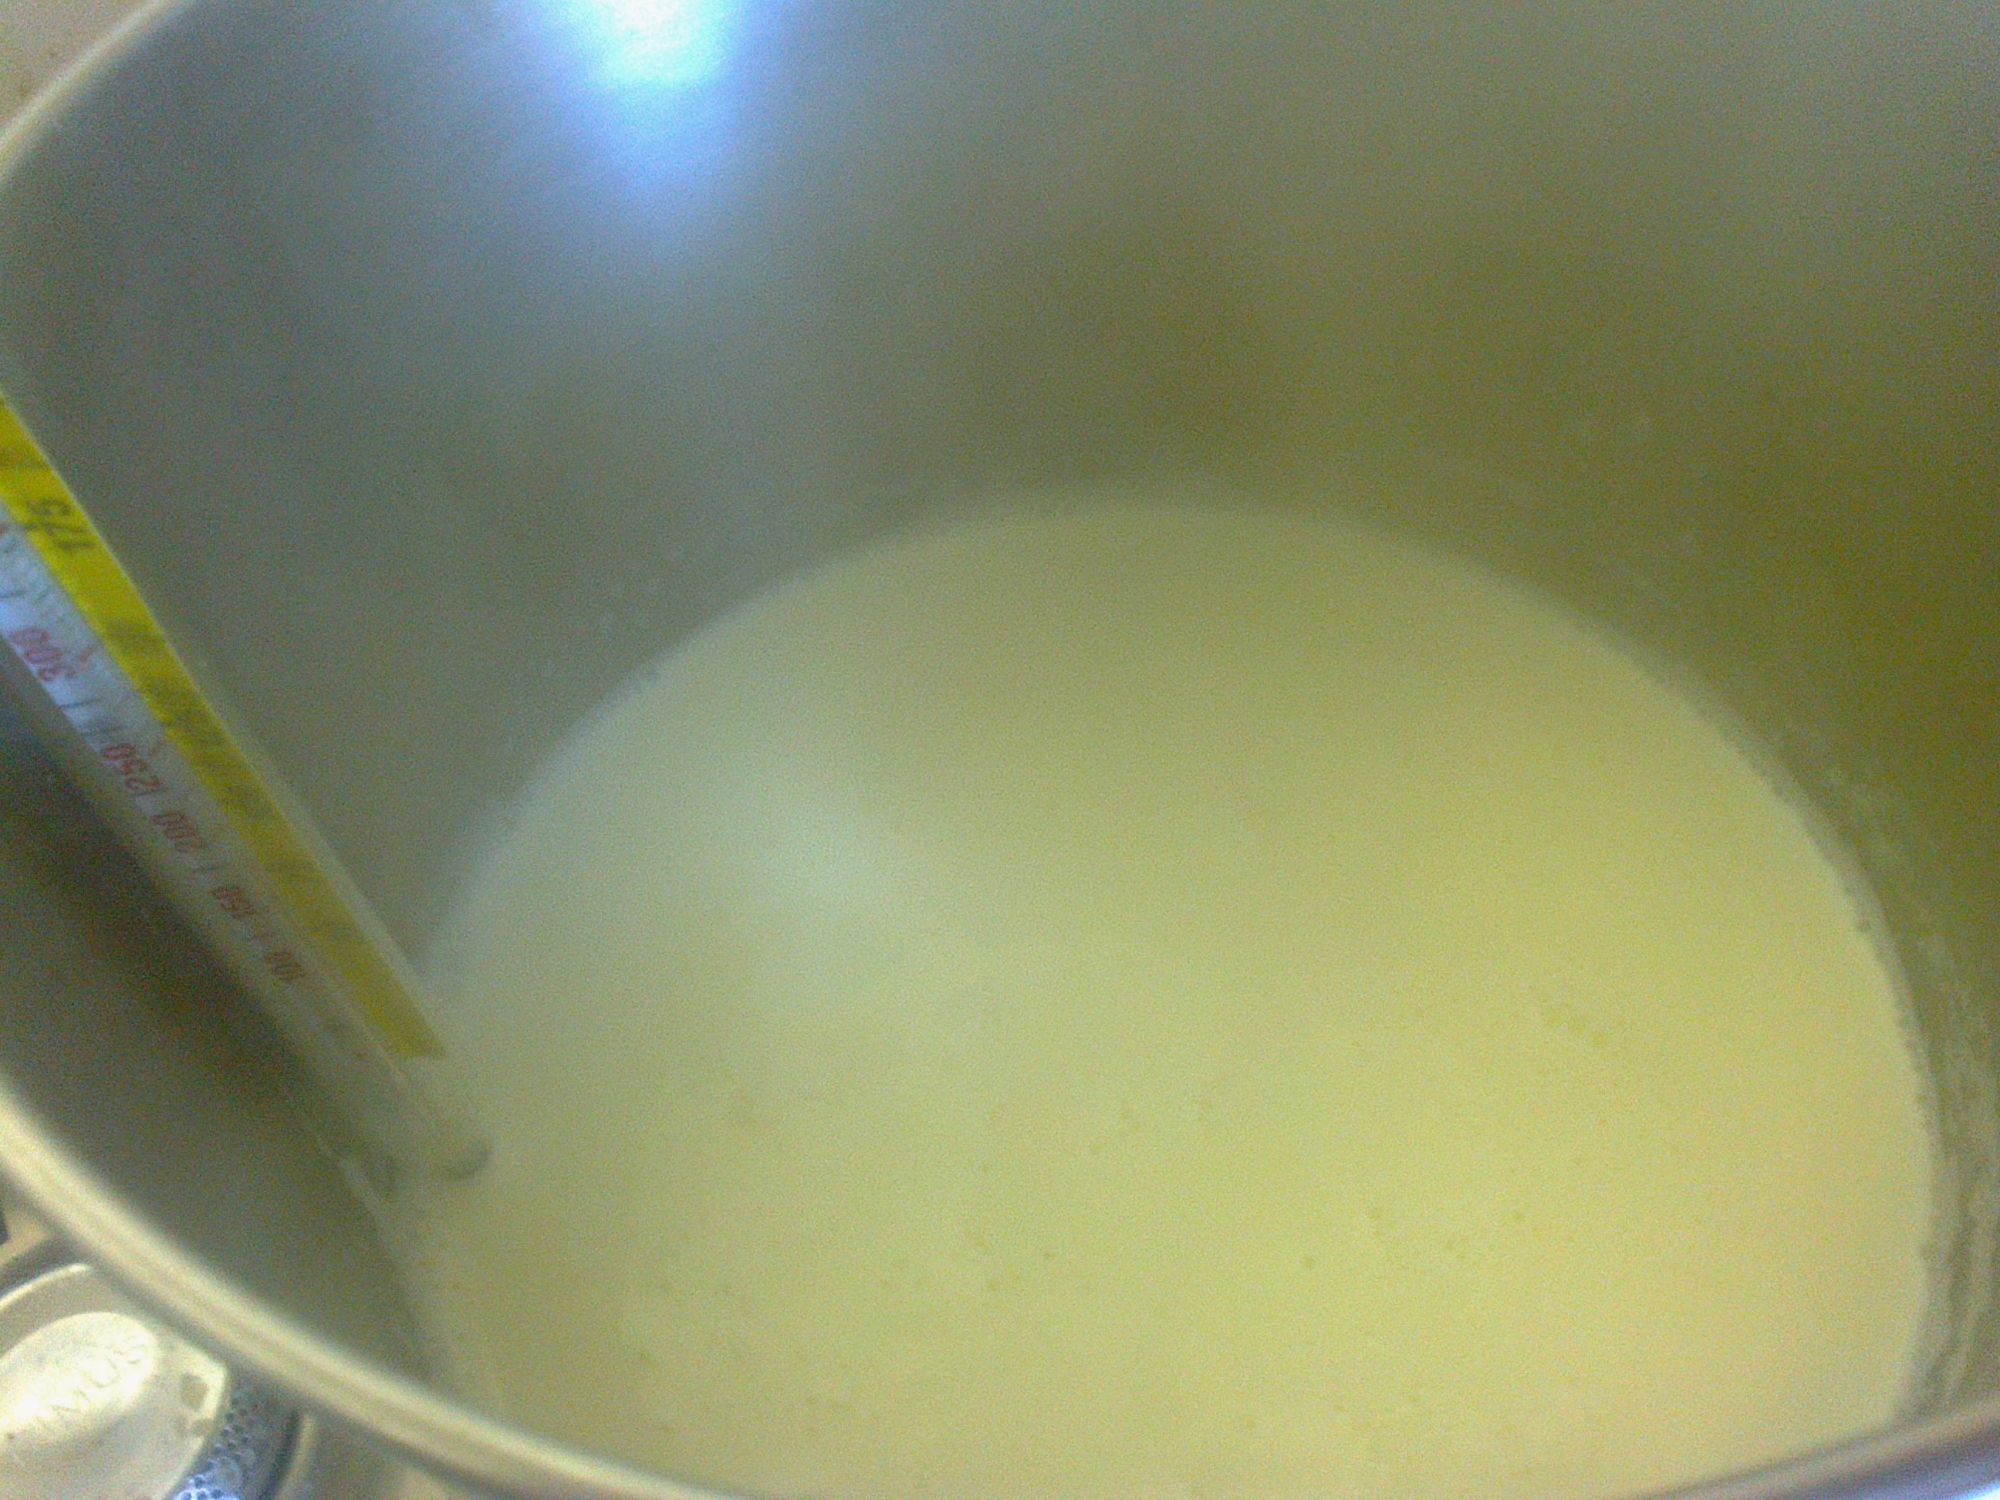
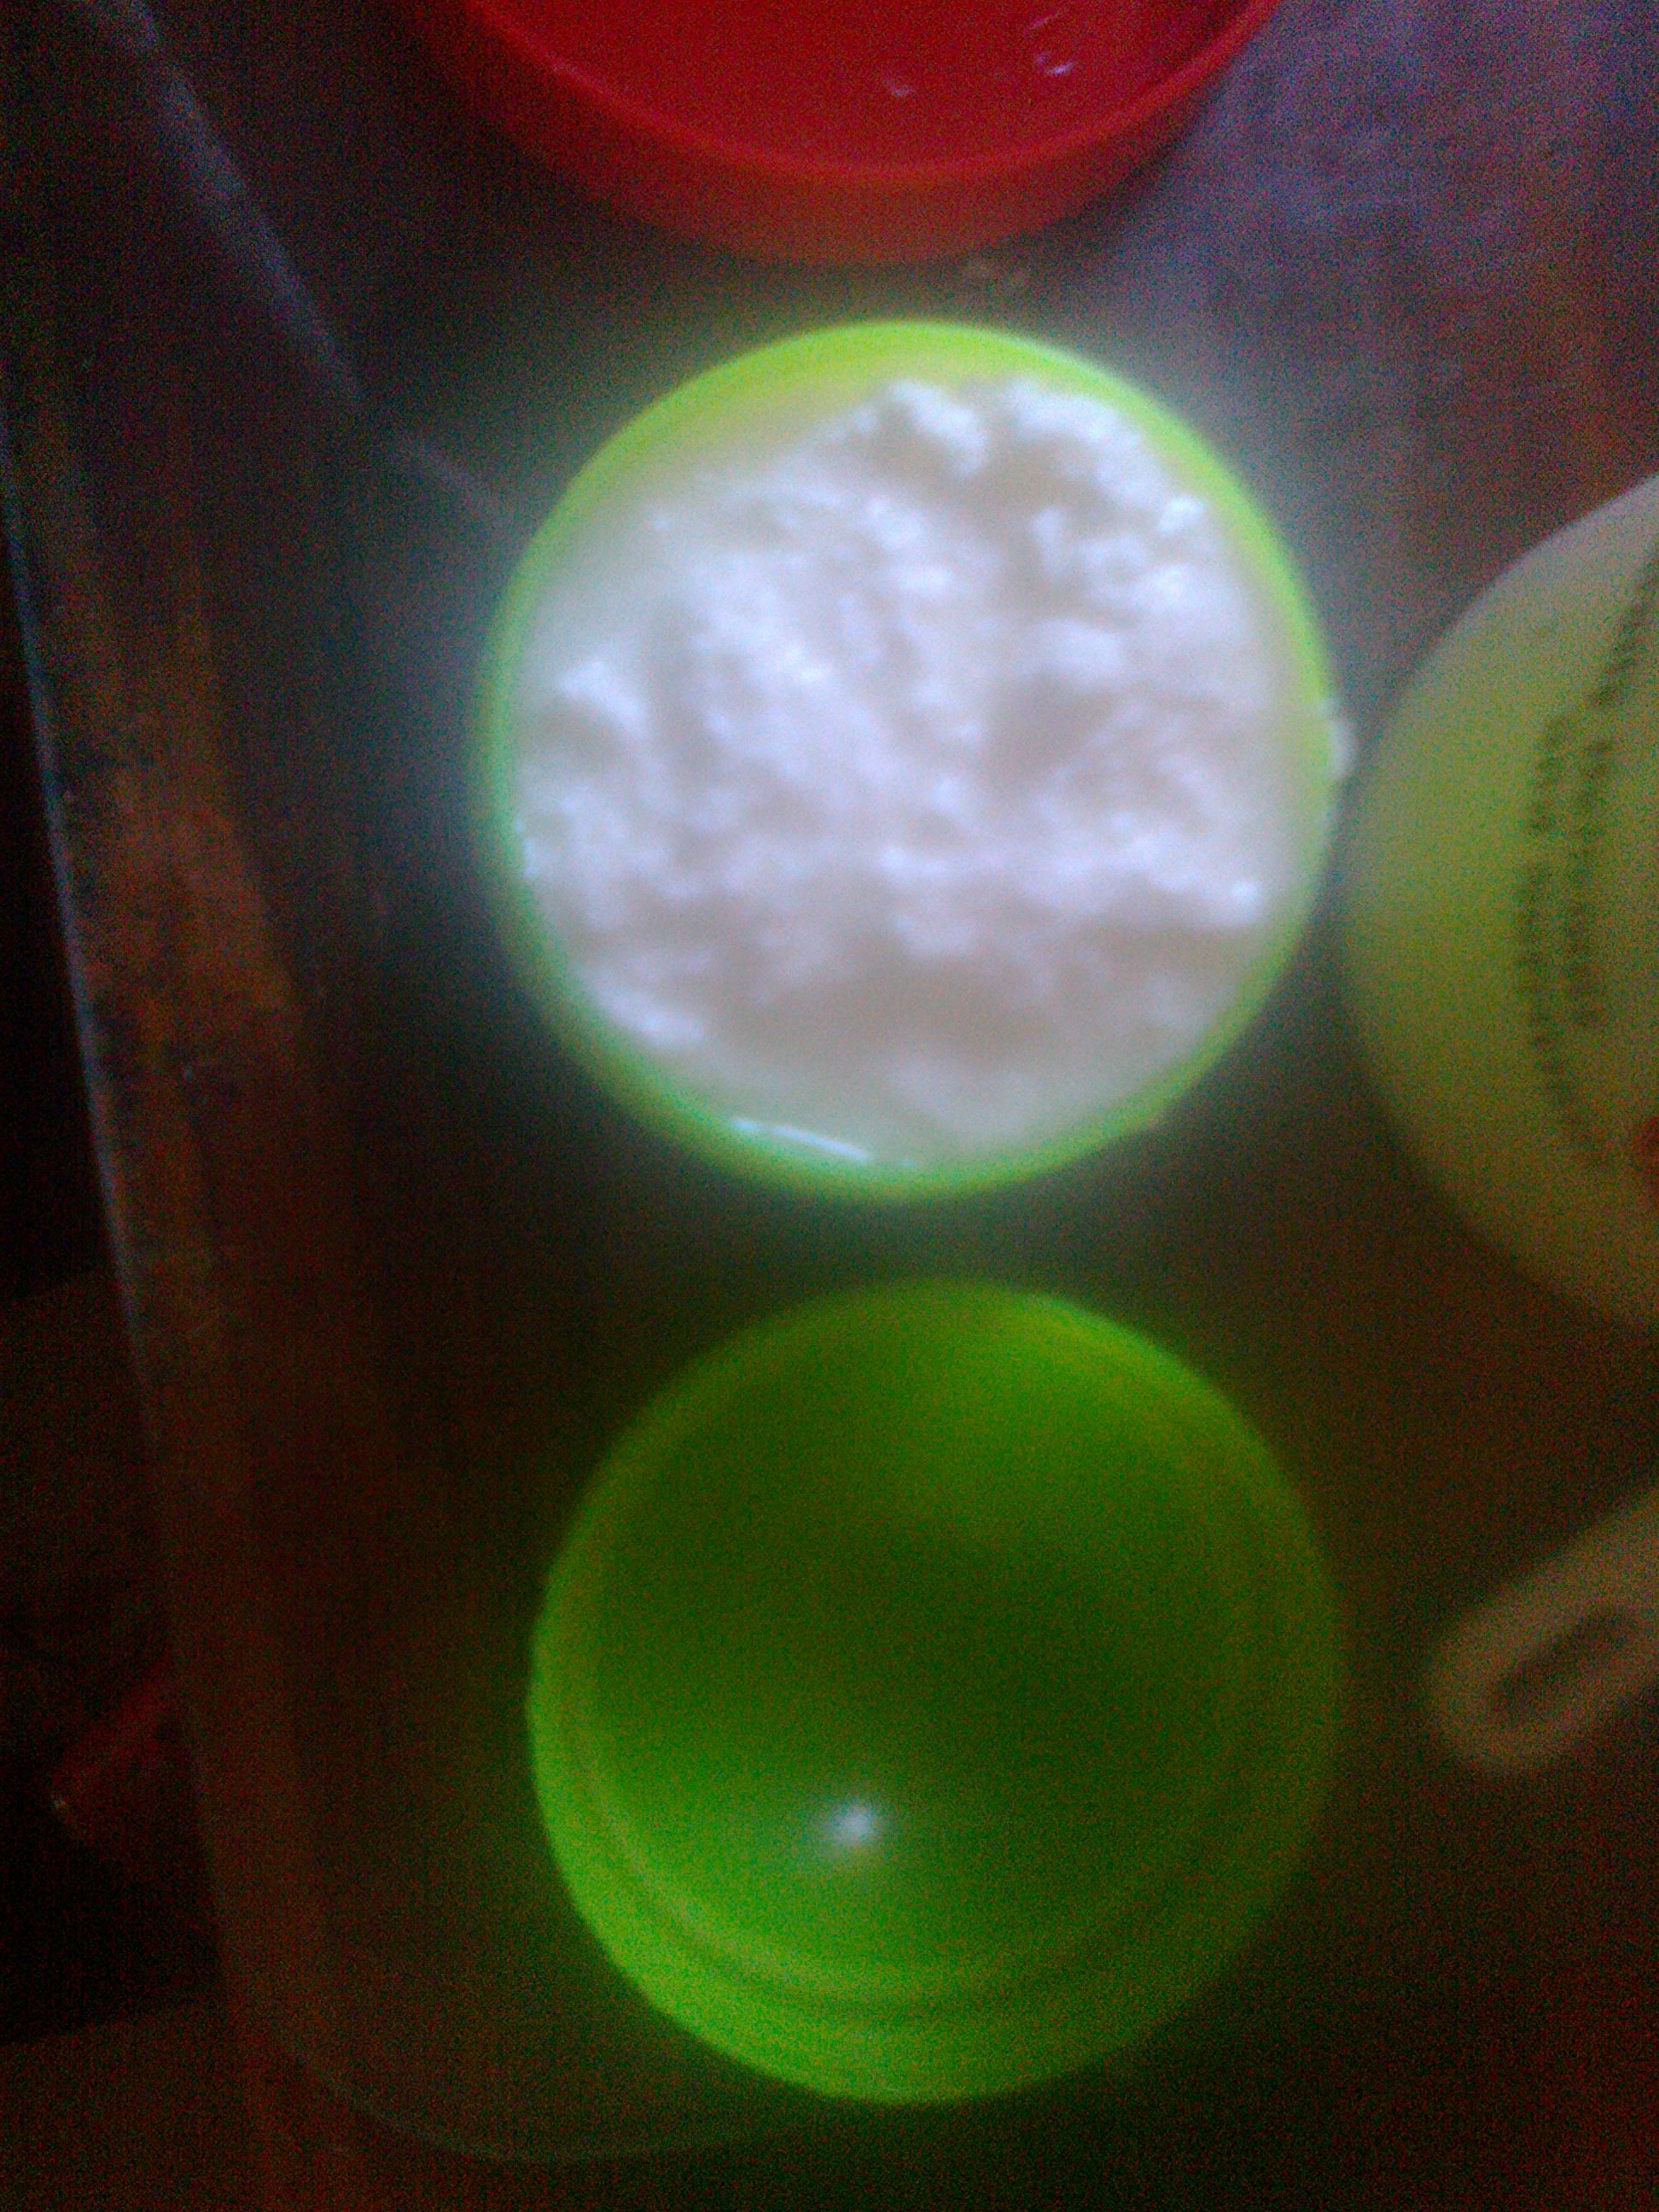
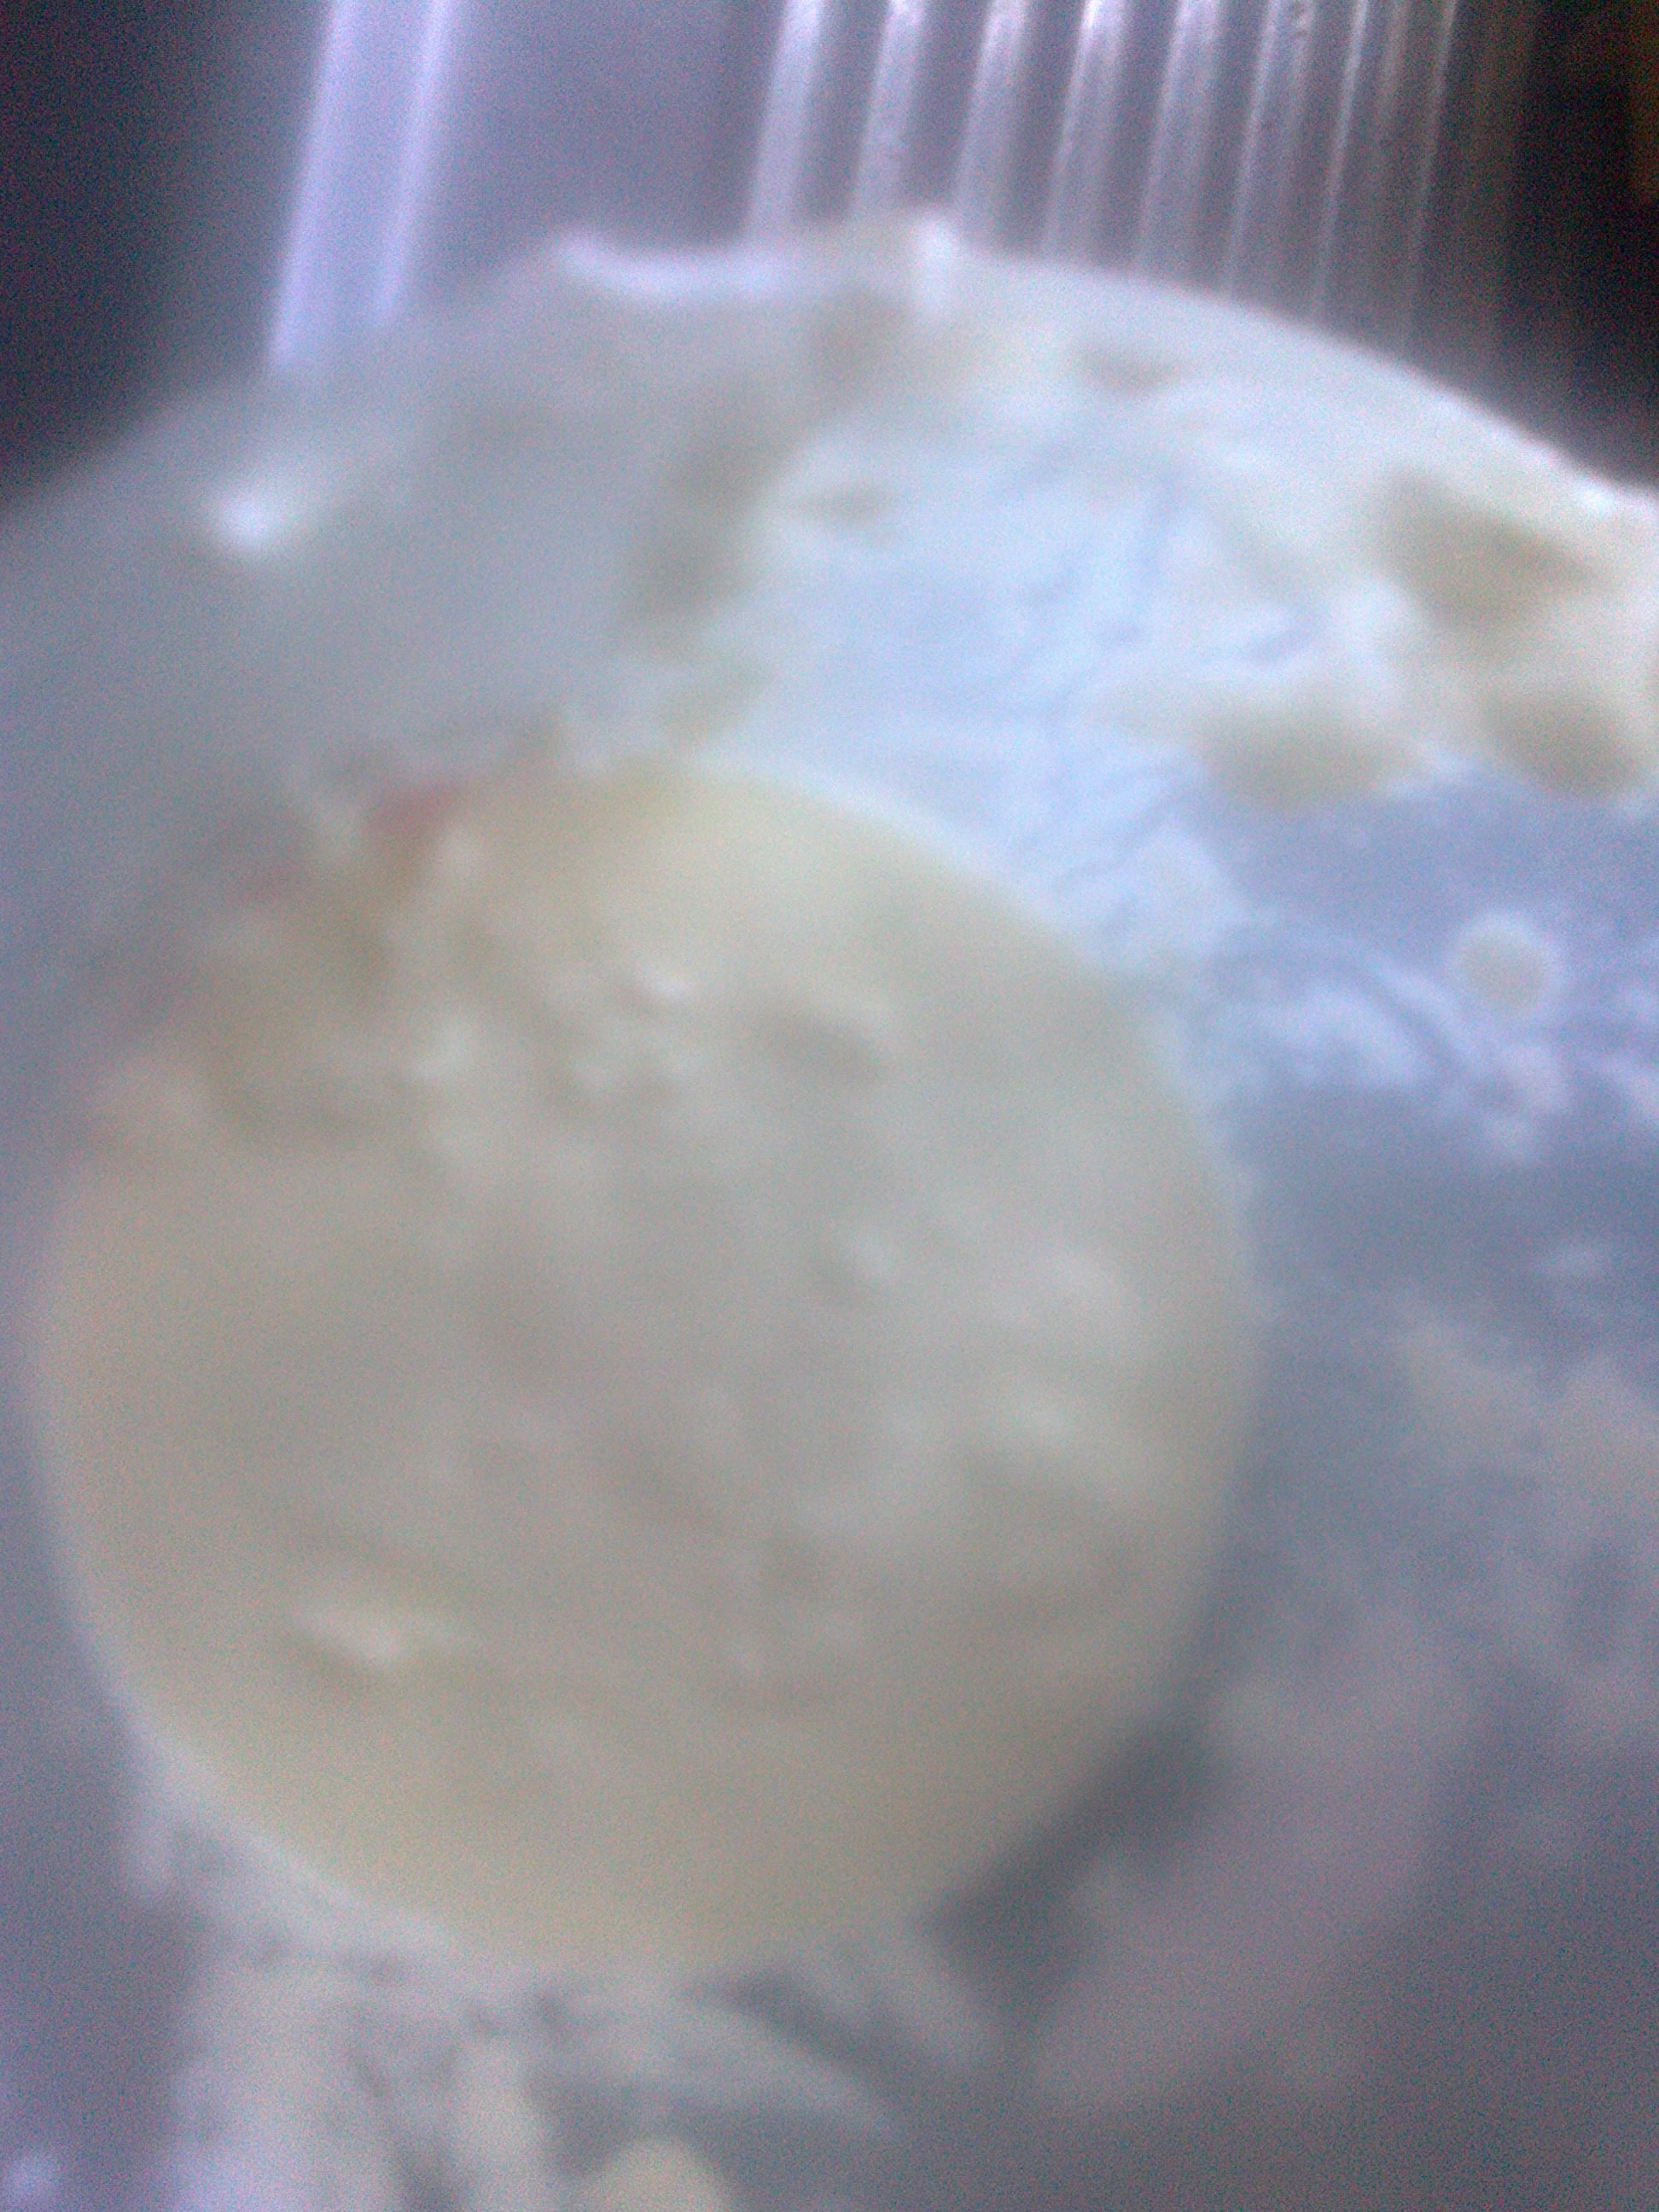
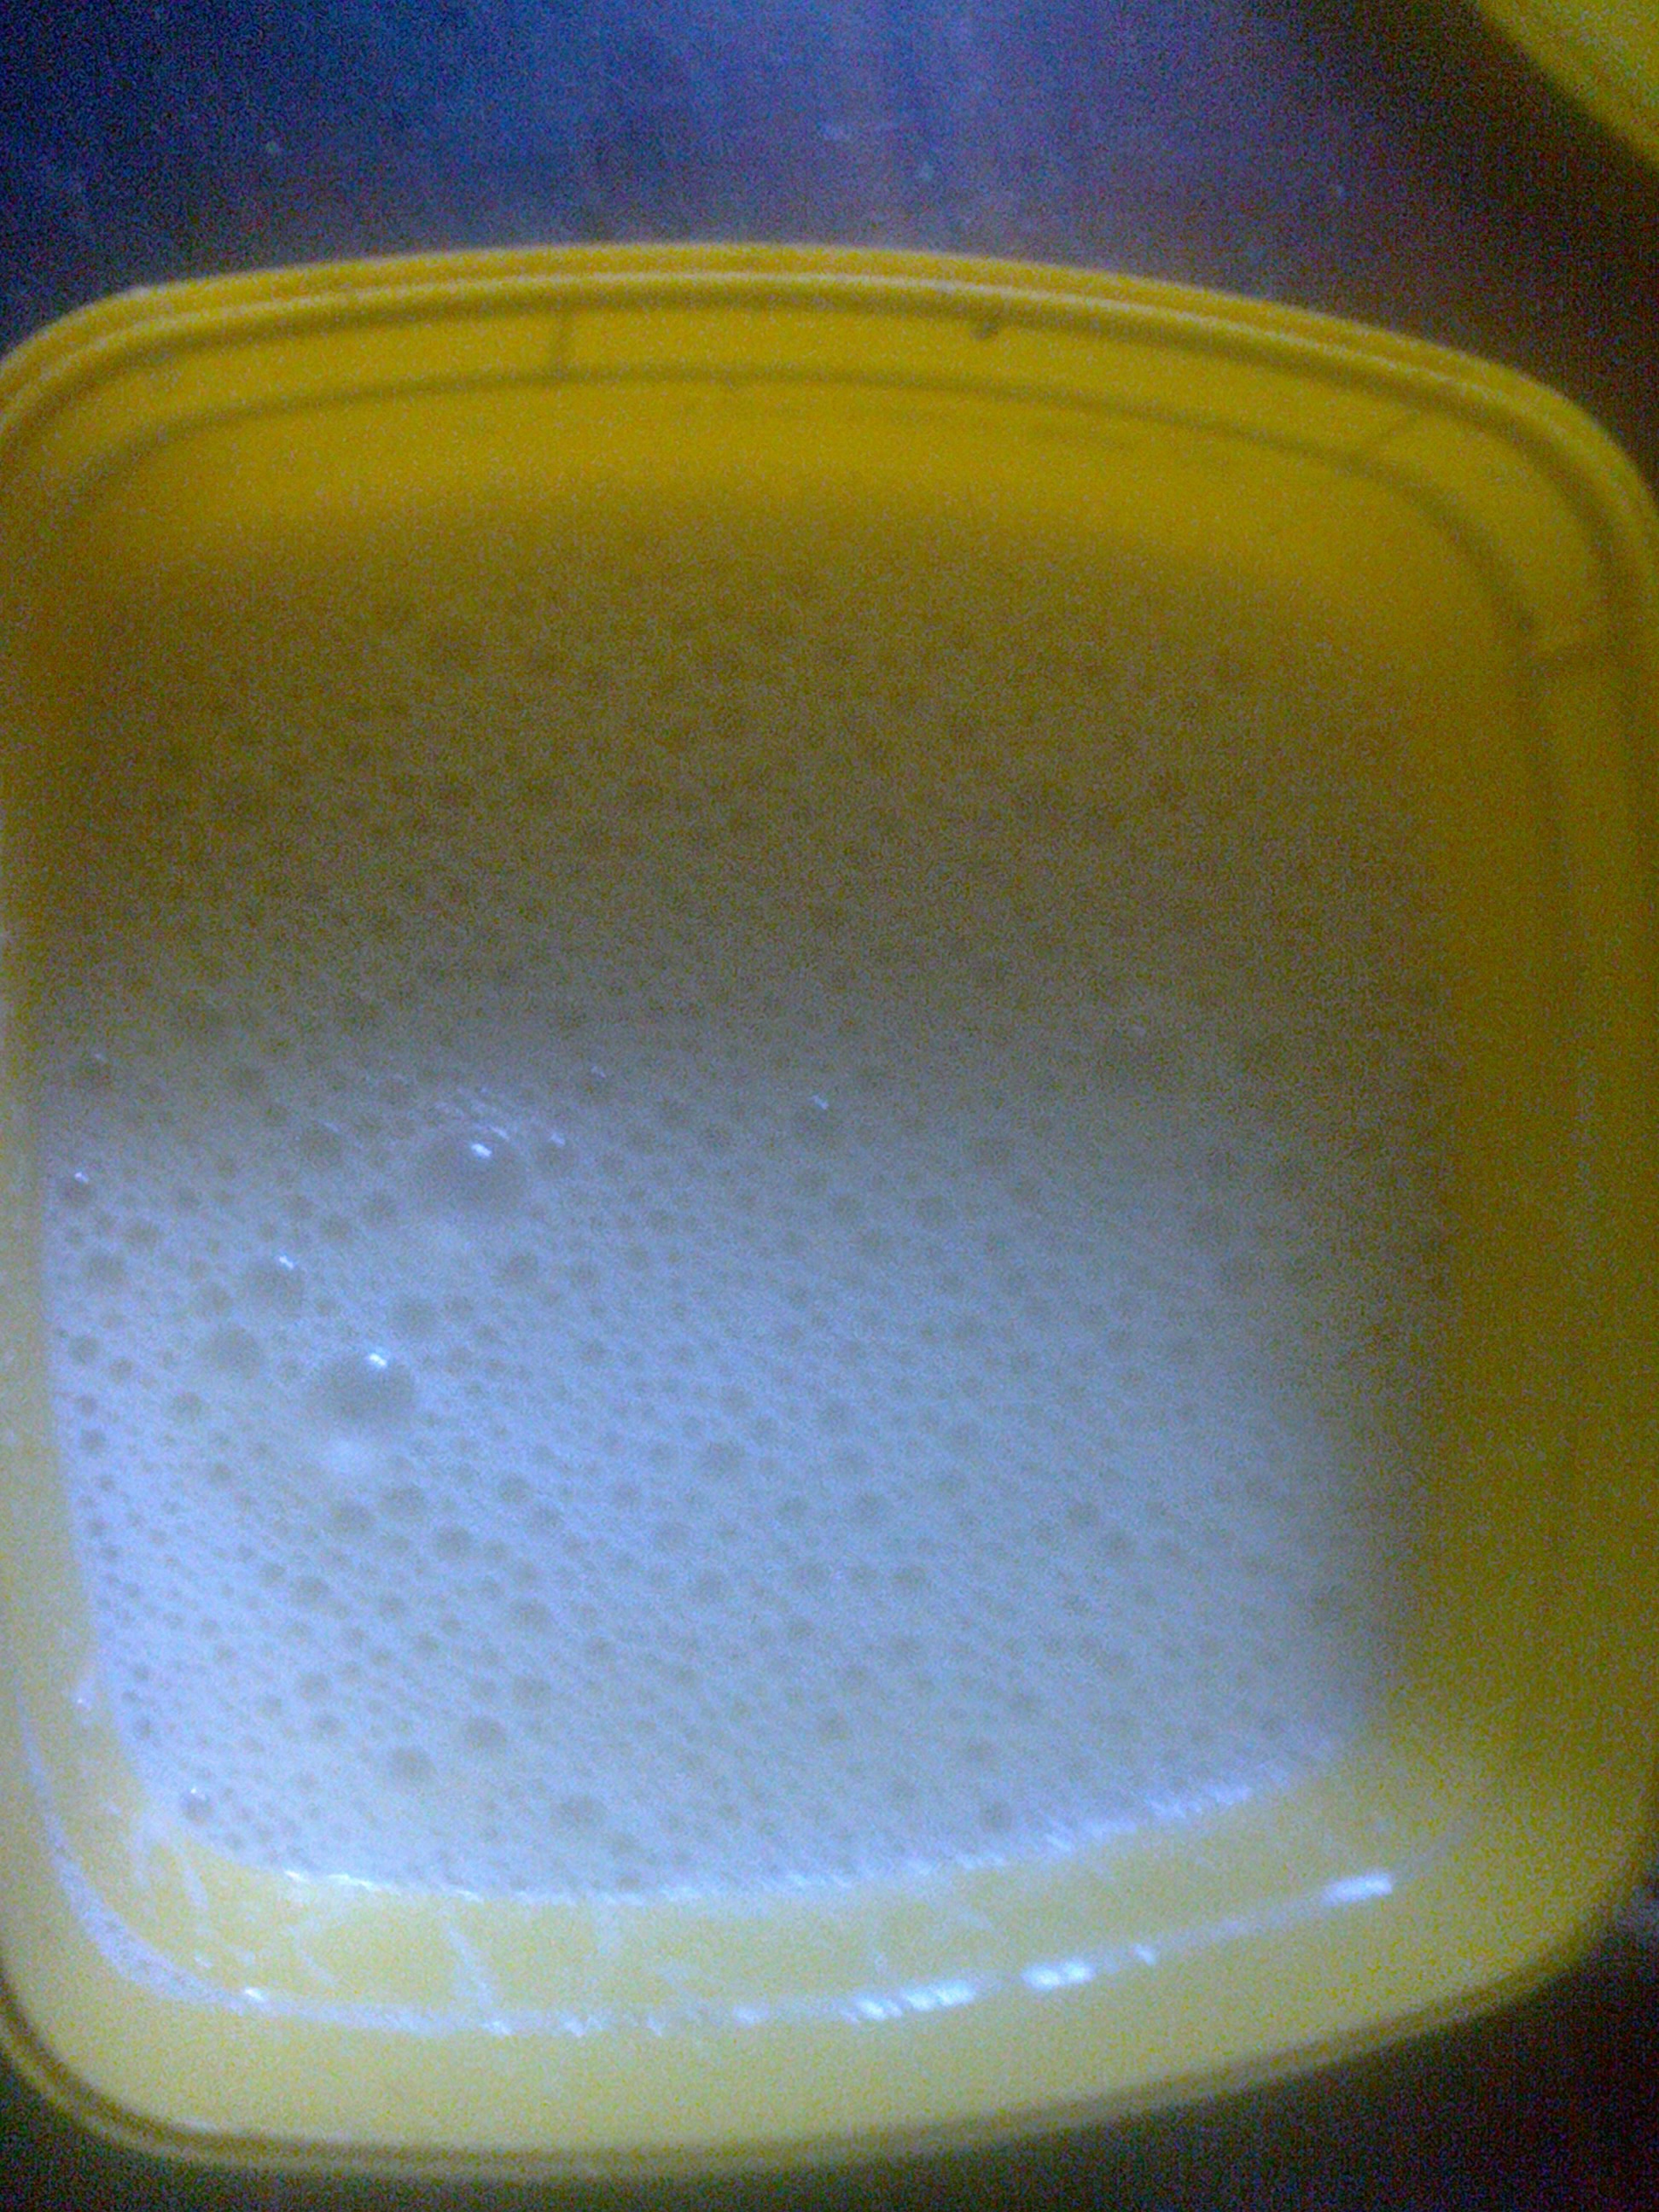
Bring the milk to the boil gently and allow to simmer for a few minutes after. Set aside off heat and allow to cool a little before adding in Lemon Juice, stirring till it starts to curdle. You should instantly see small curds separating from a thin, yellowish whey.(For this see Gallery below).
Allow to cool to lukewarm and initially drain through colander or strainer lined with cloth over bowl. Then wrap curds in the cloth and squeeze out, pressing in the cloth. When pressed it can either be further pressed or chilled or used instantly in any way cottage cheese is.
If you like your cheese salty then spread the Himalayan salt over it before storage as an alkalising agent.
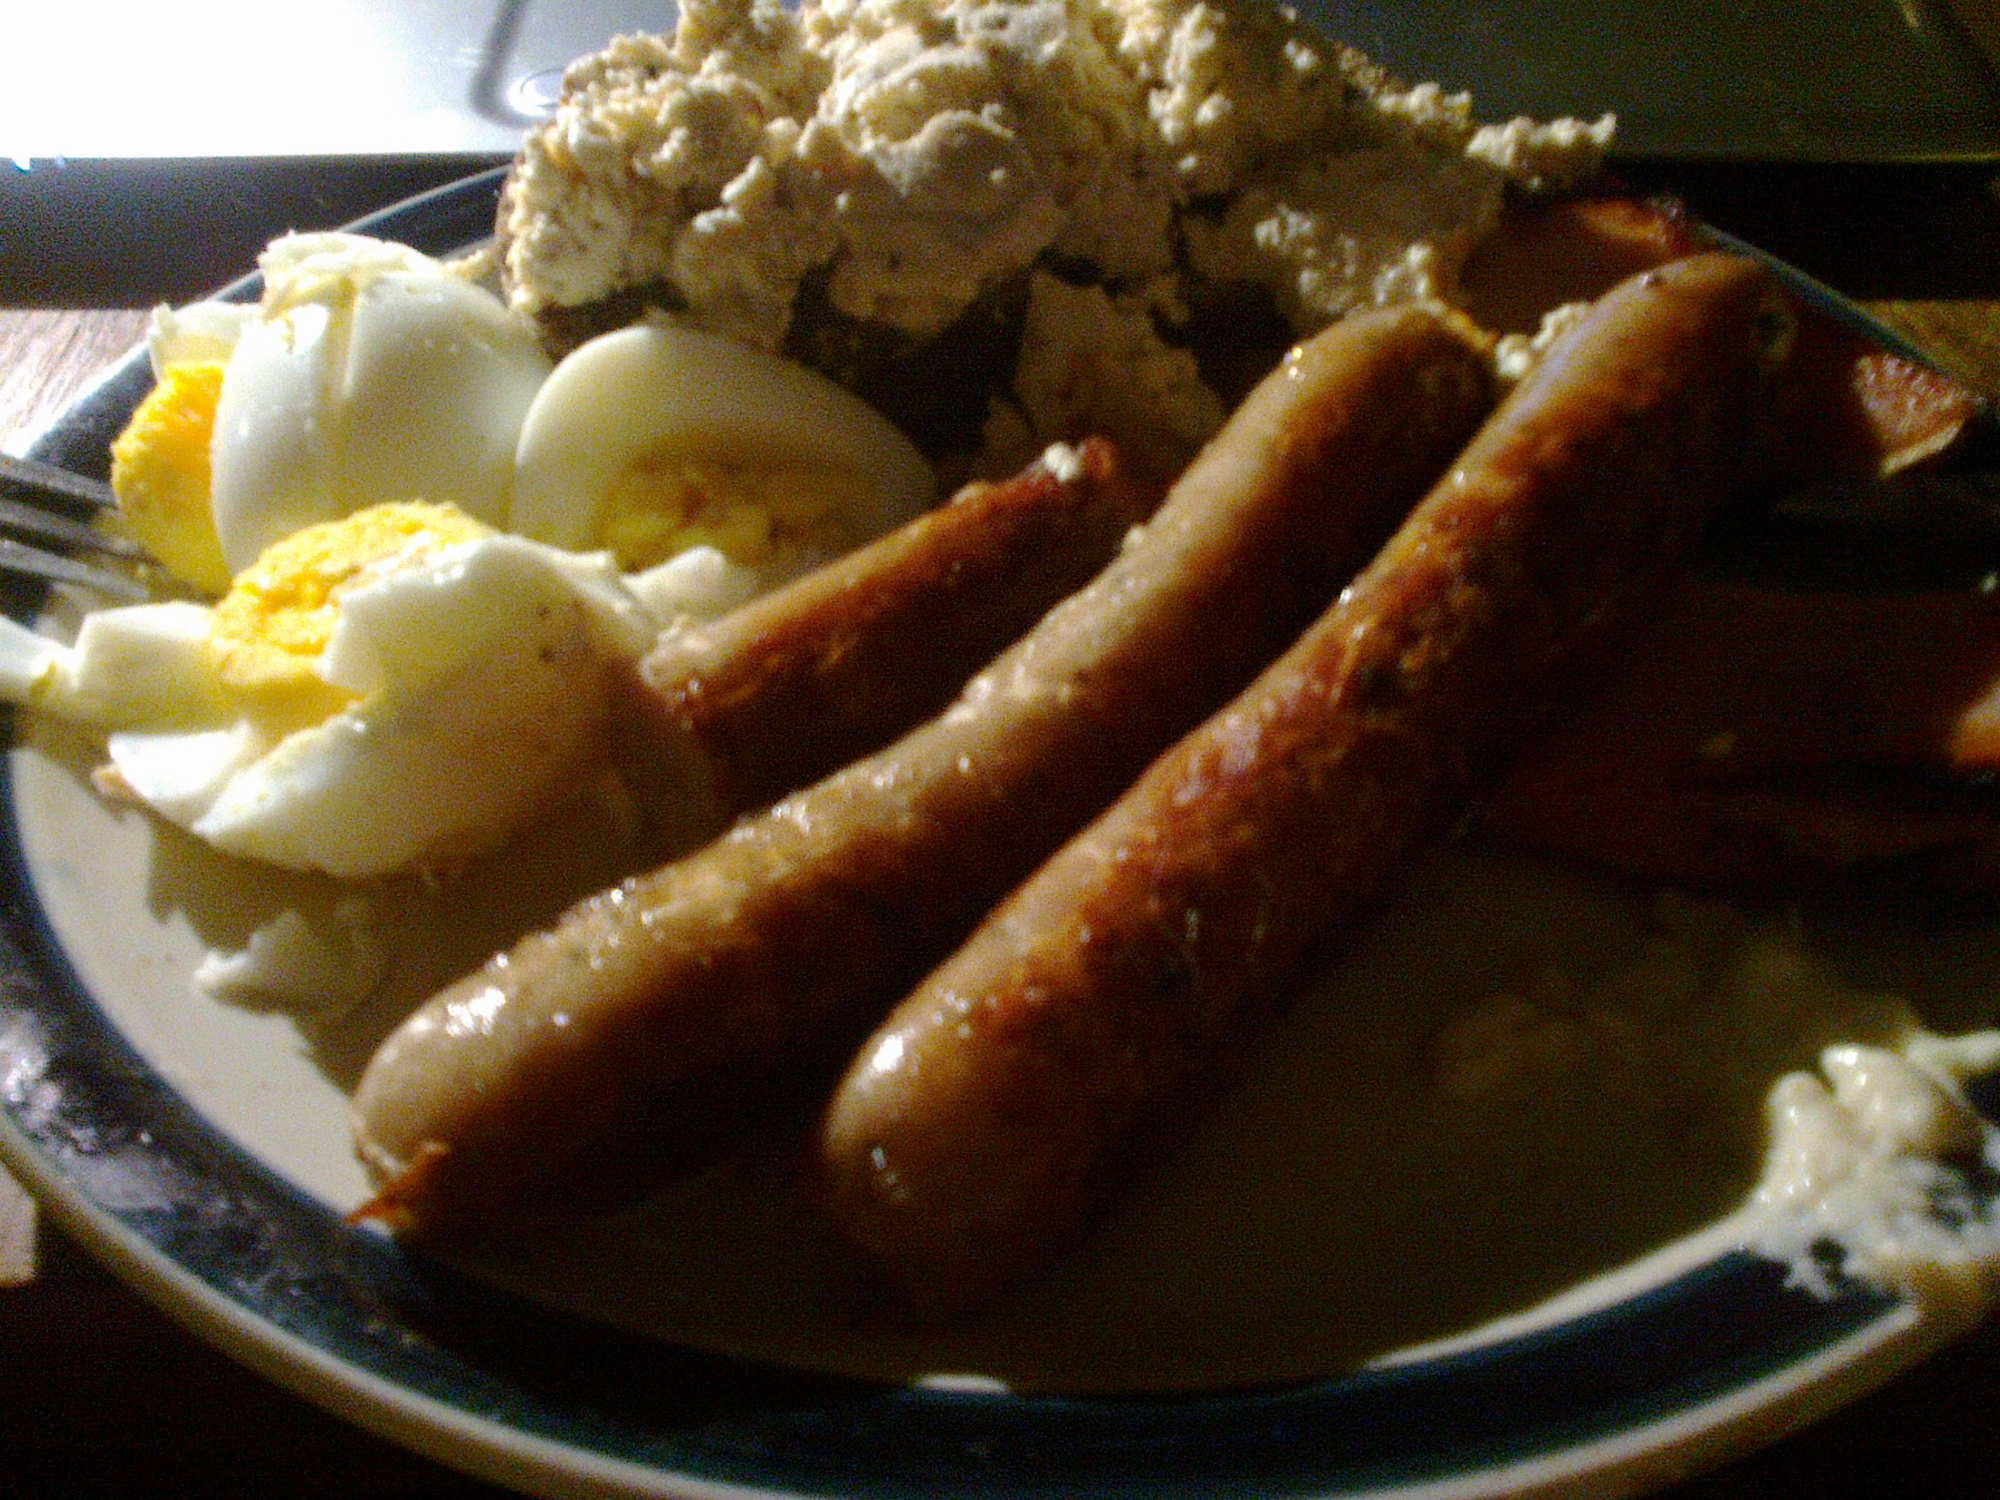
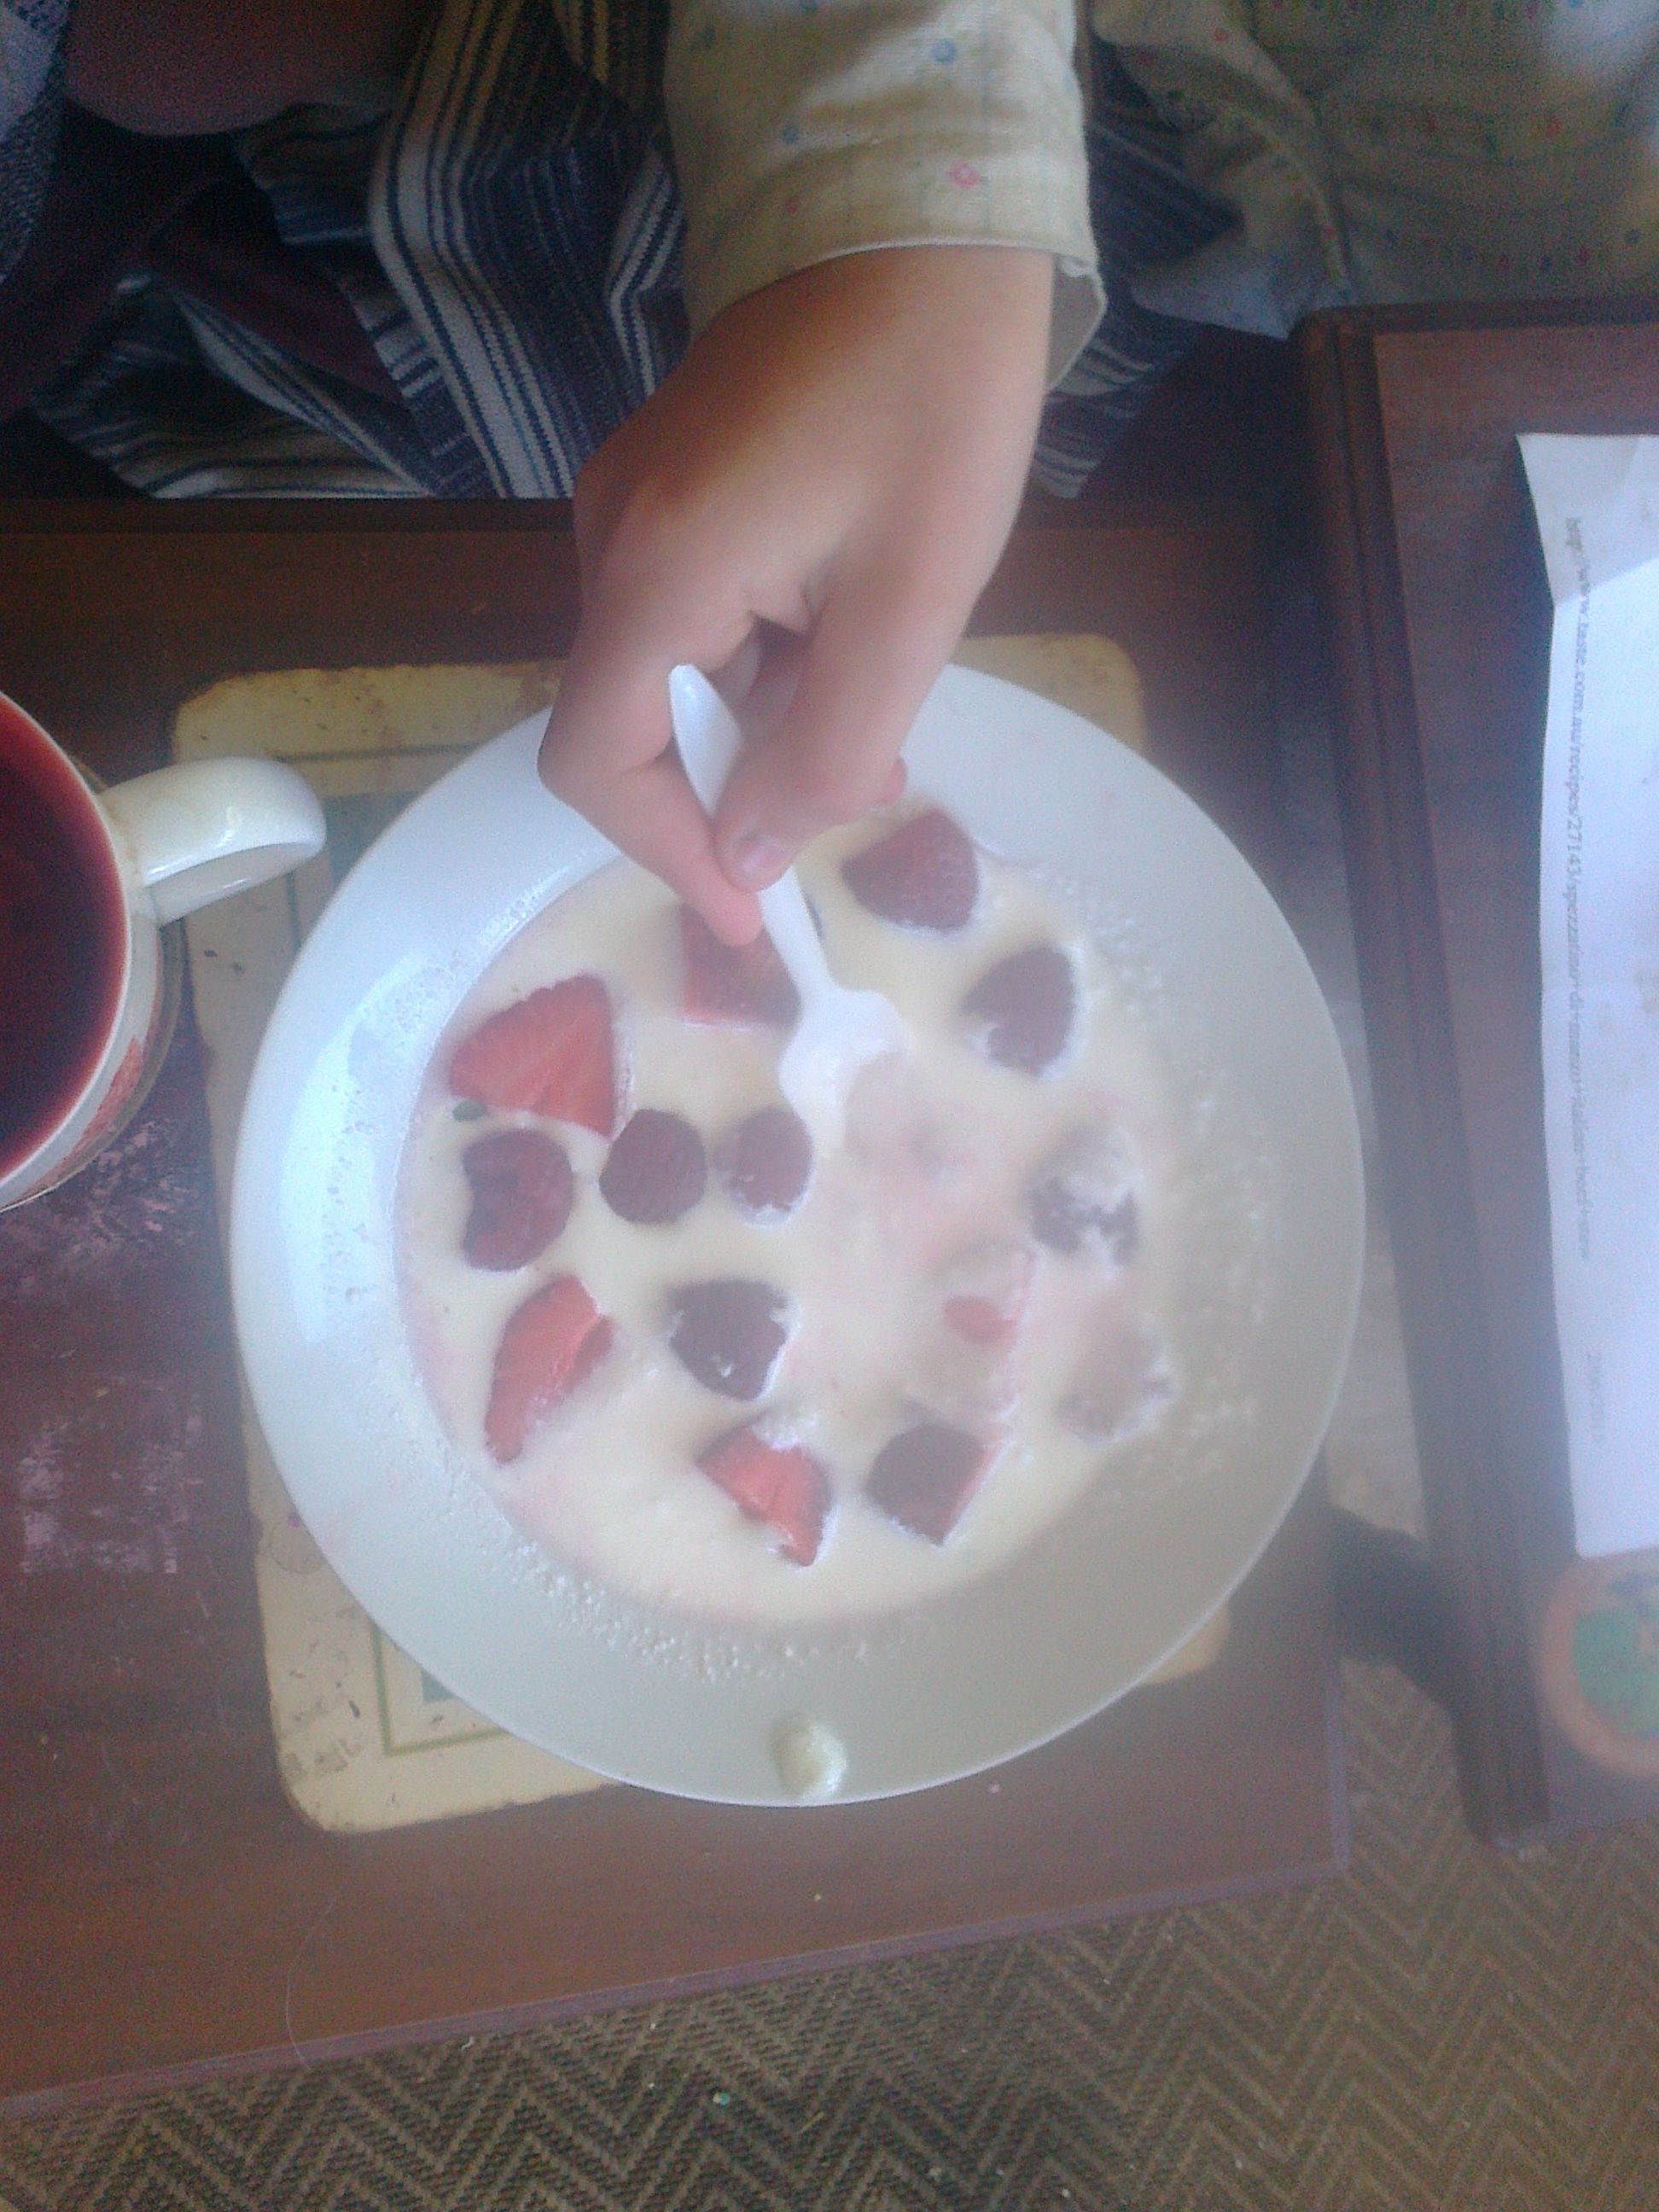
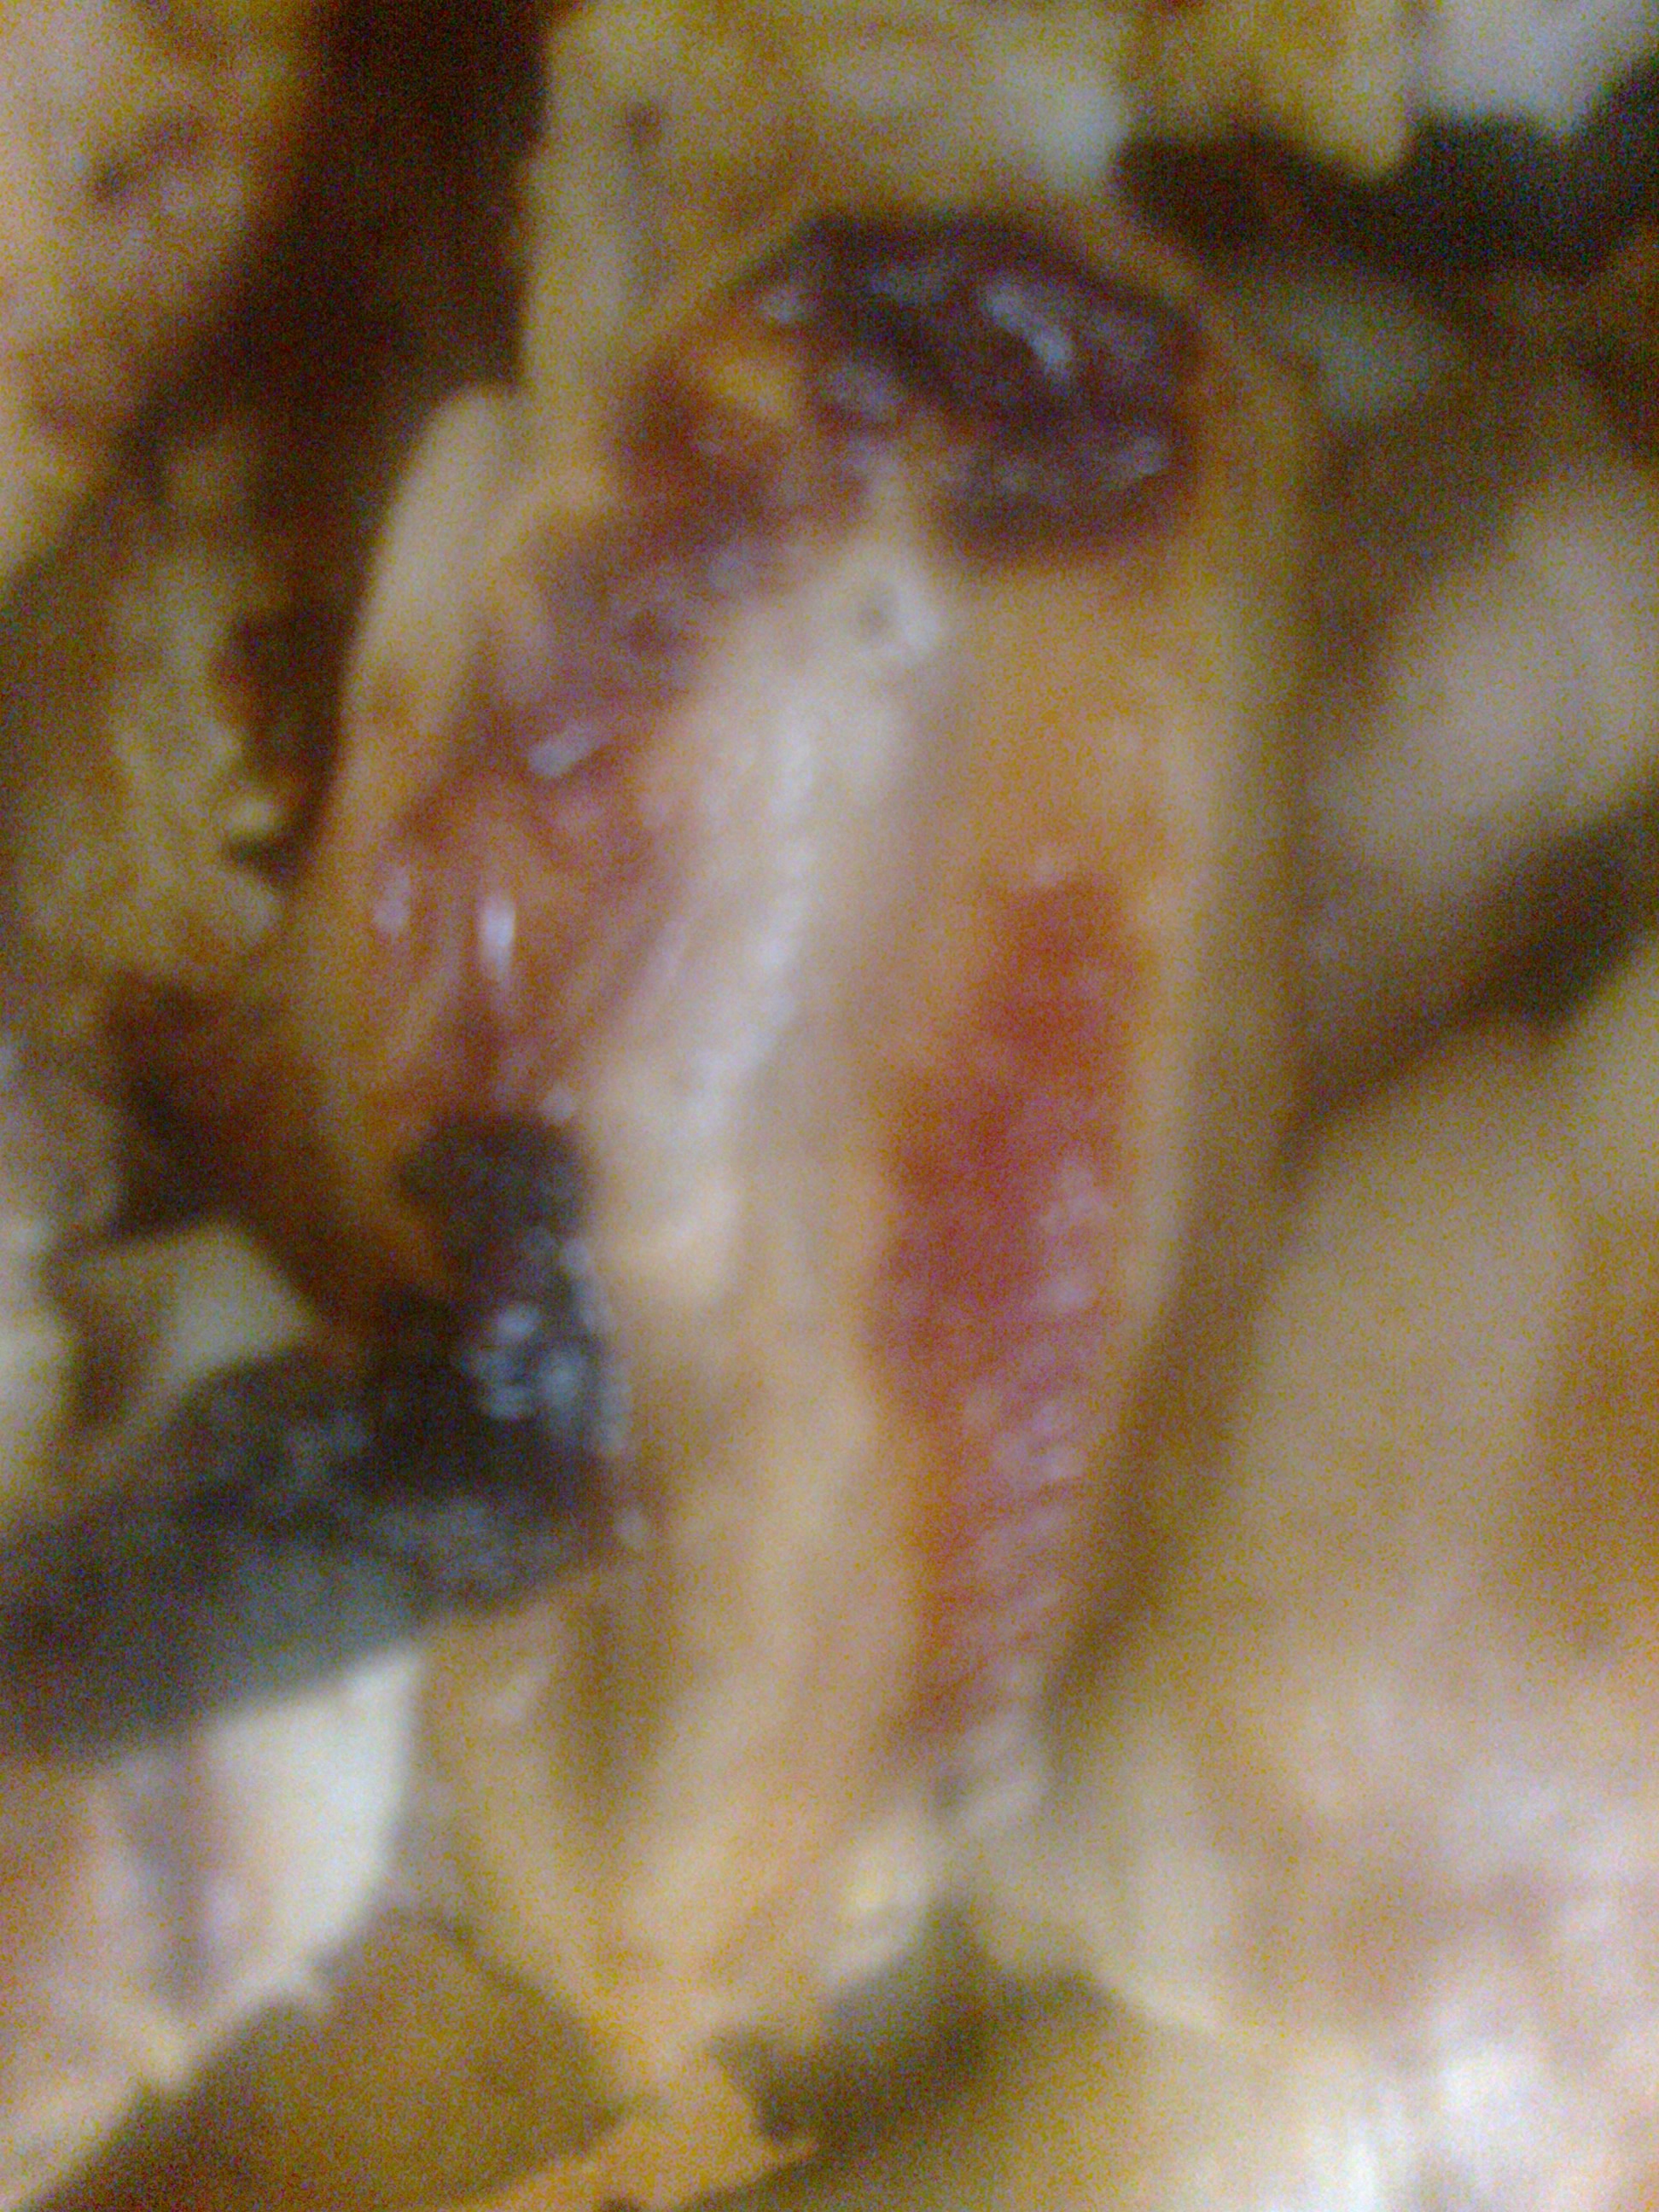
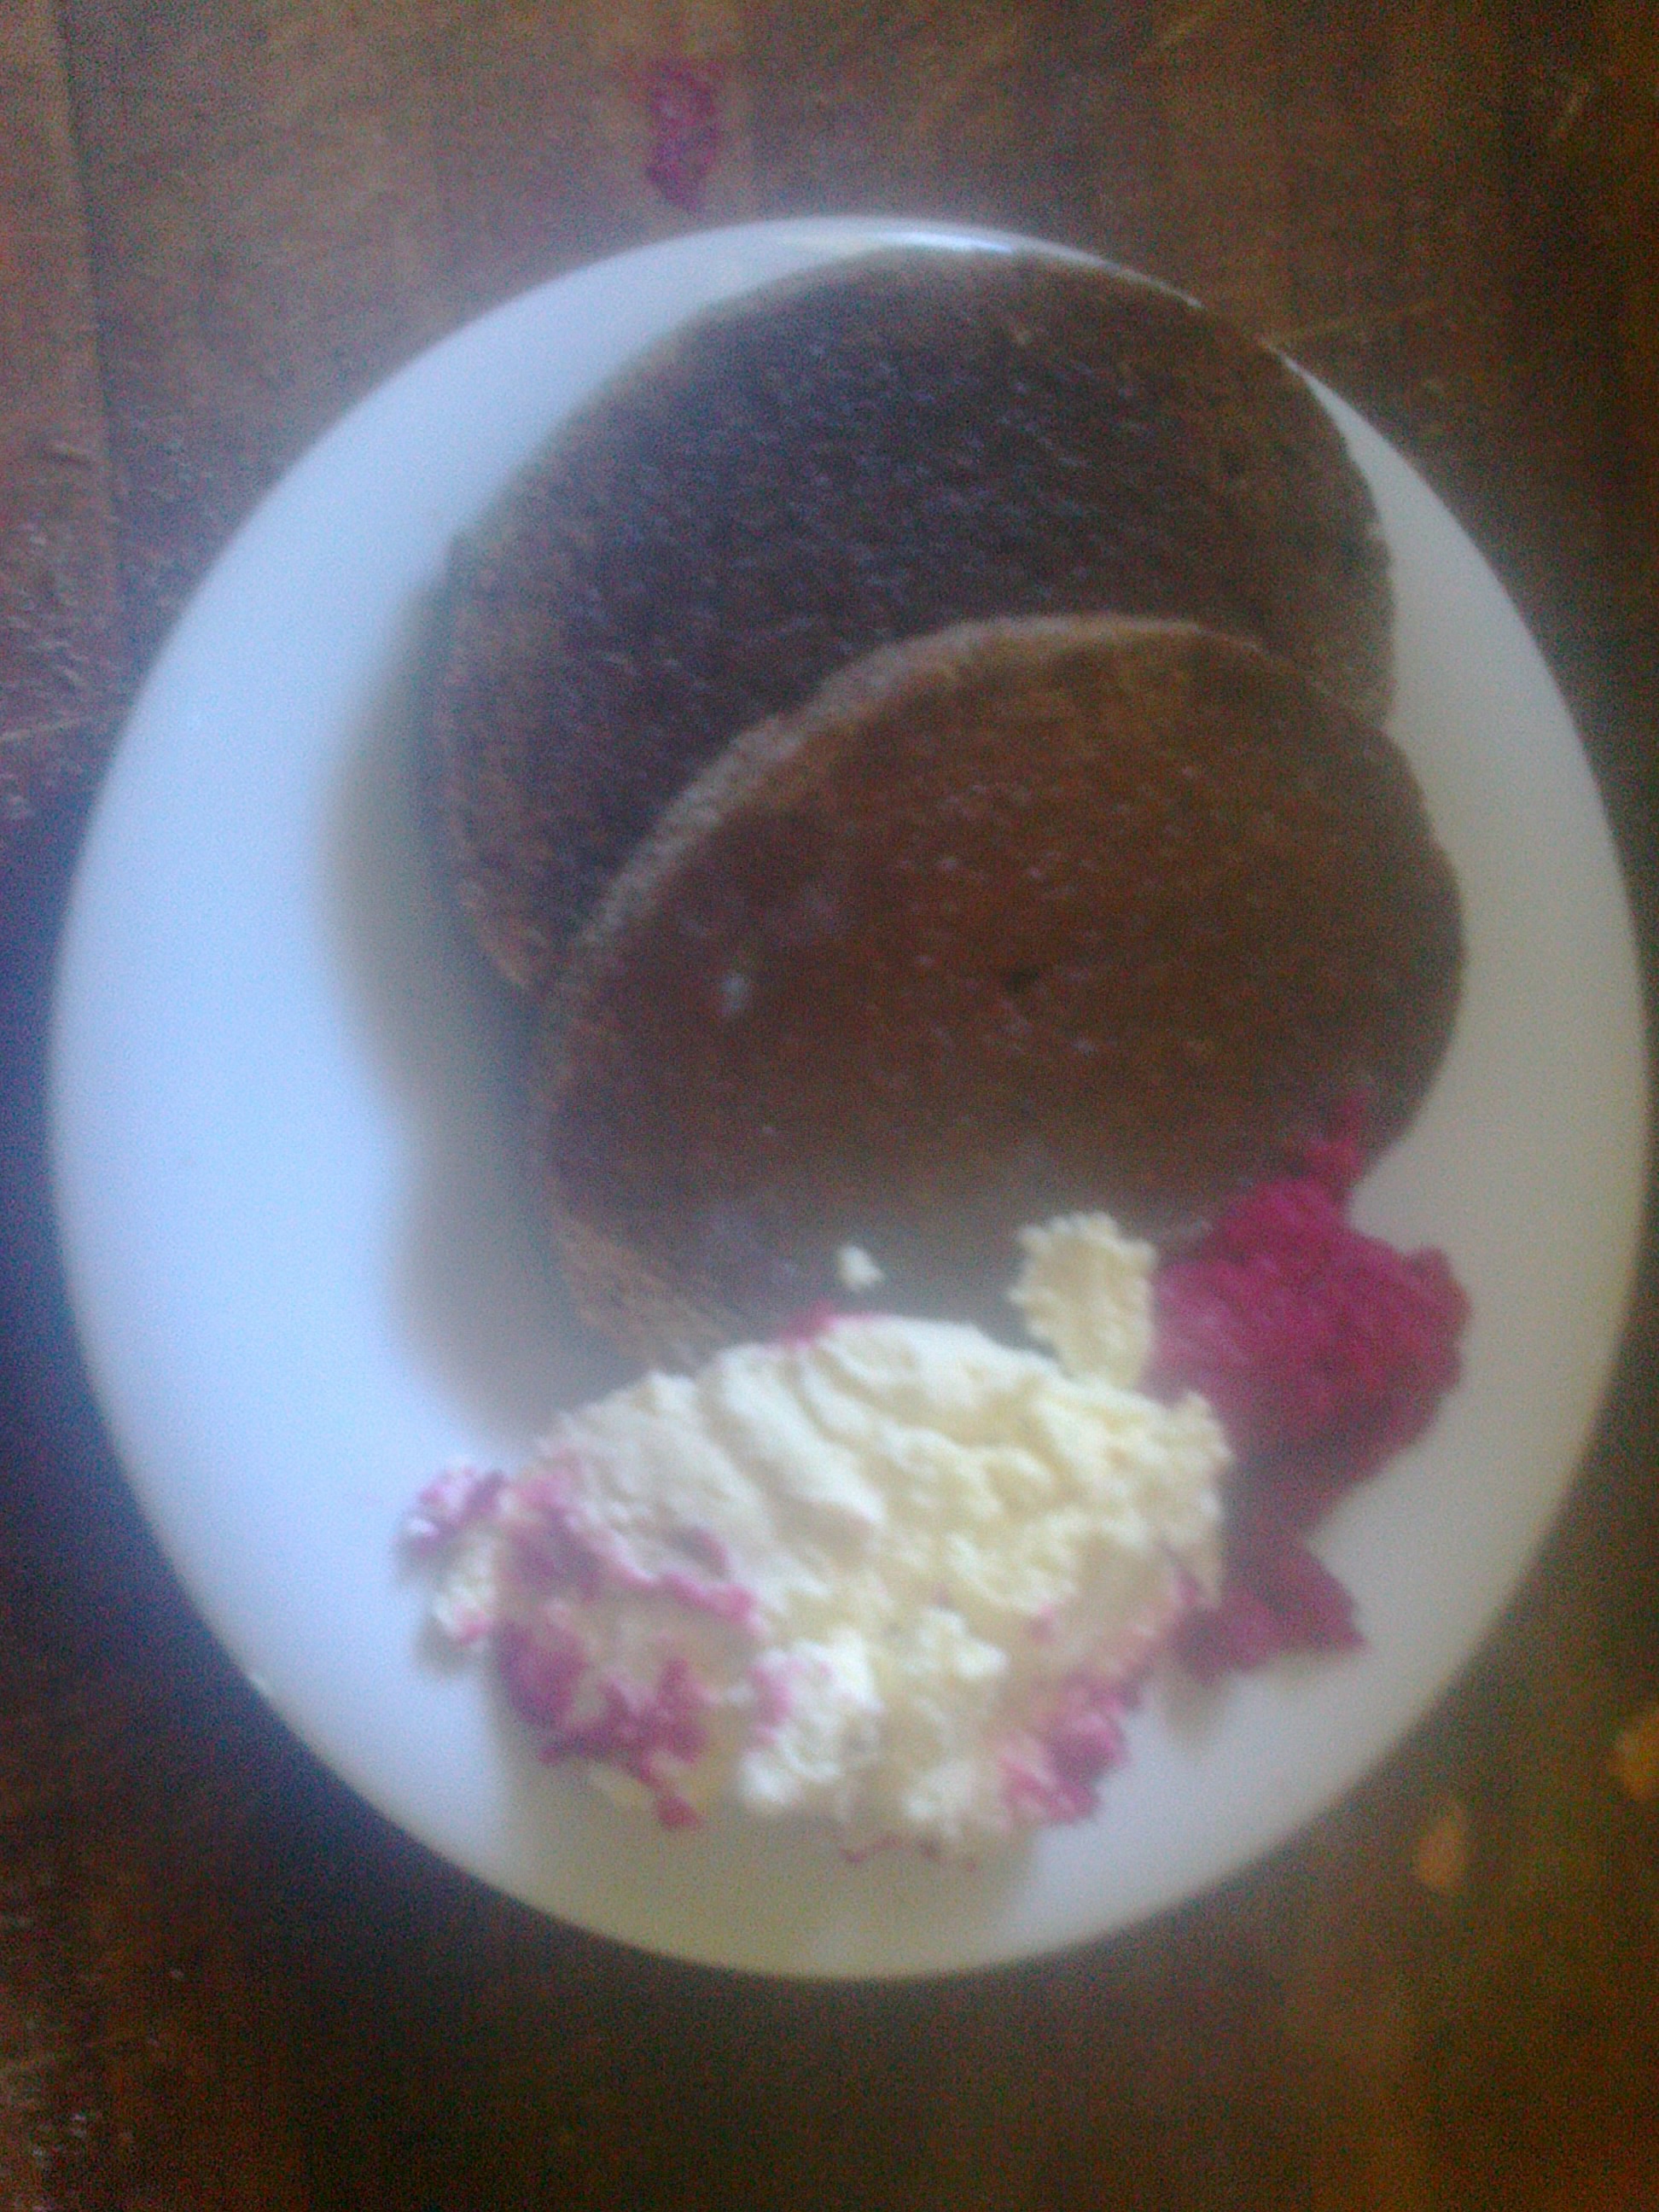
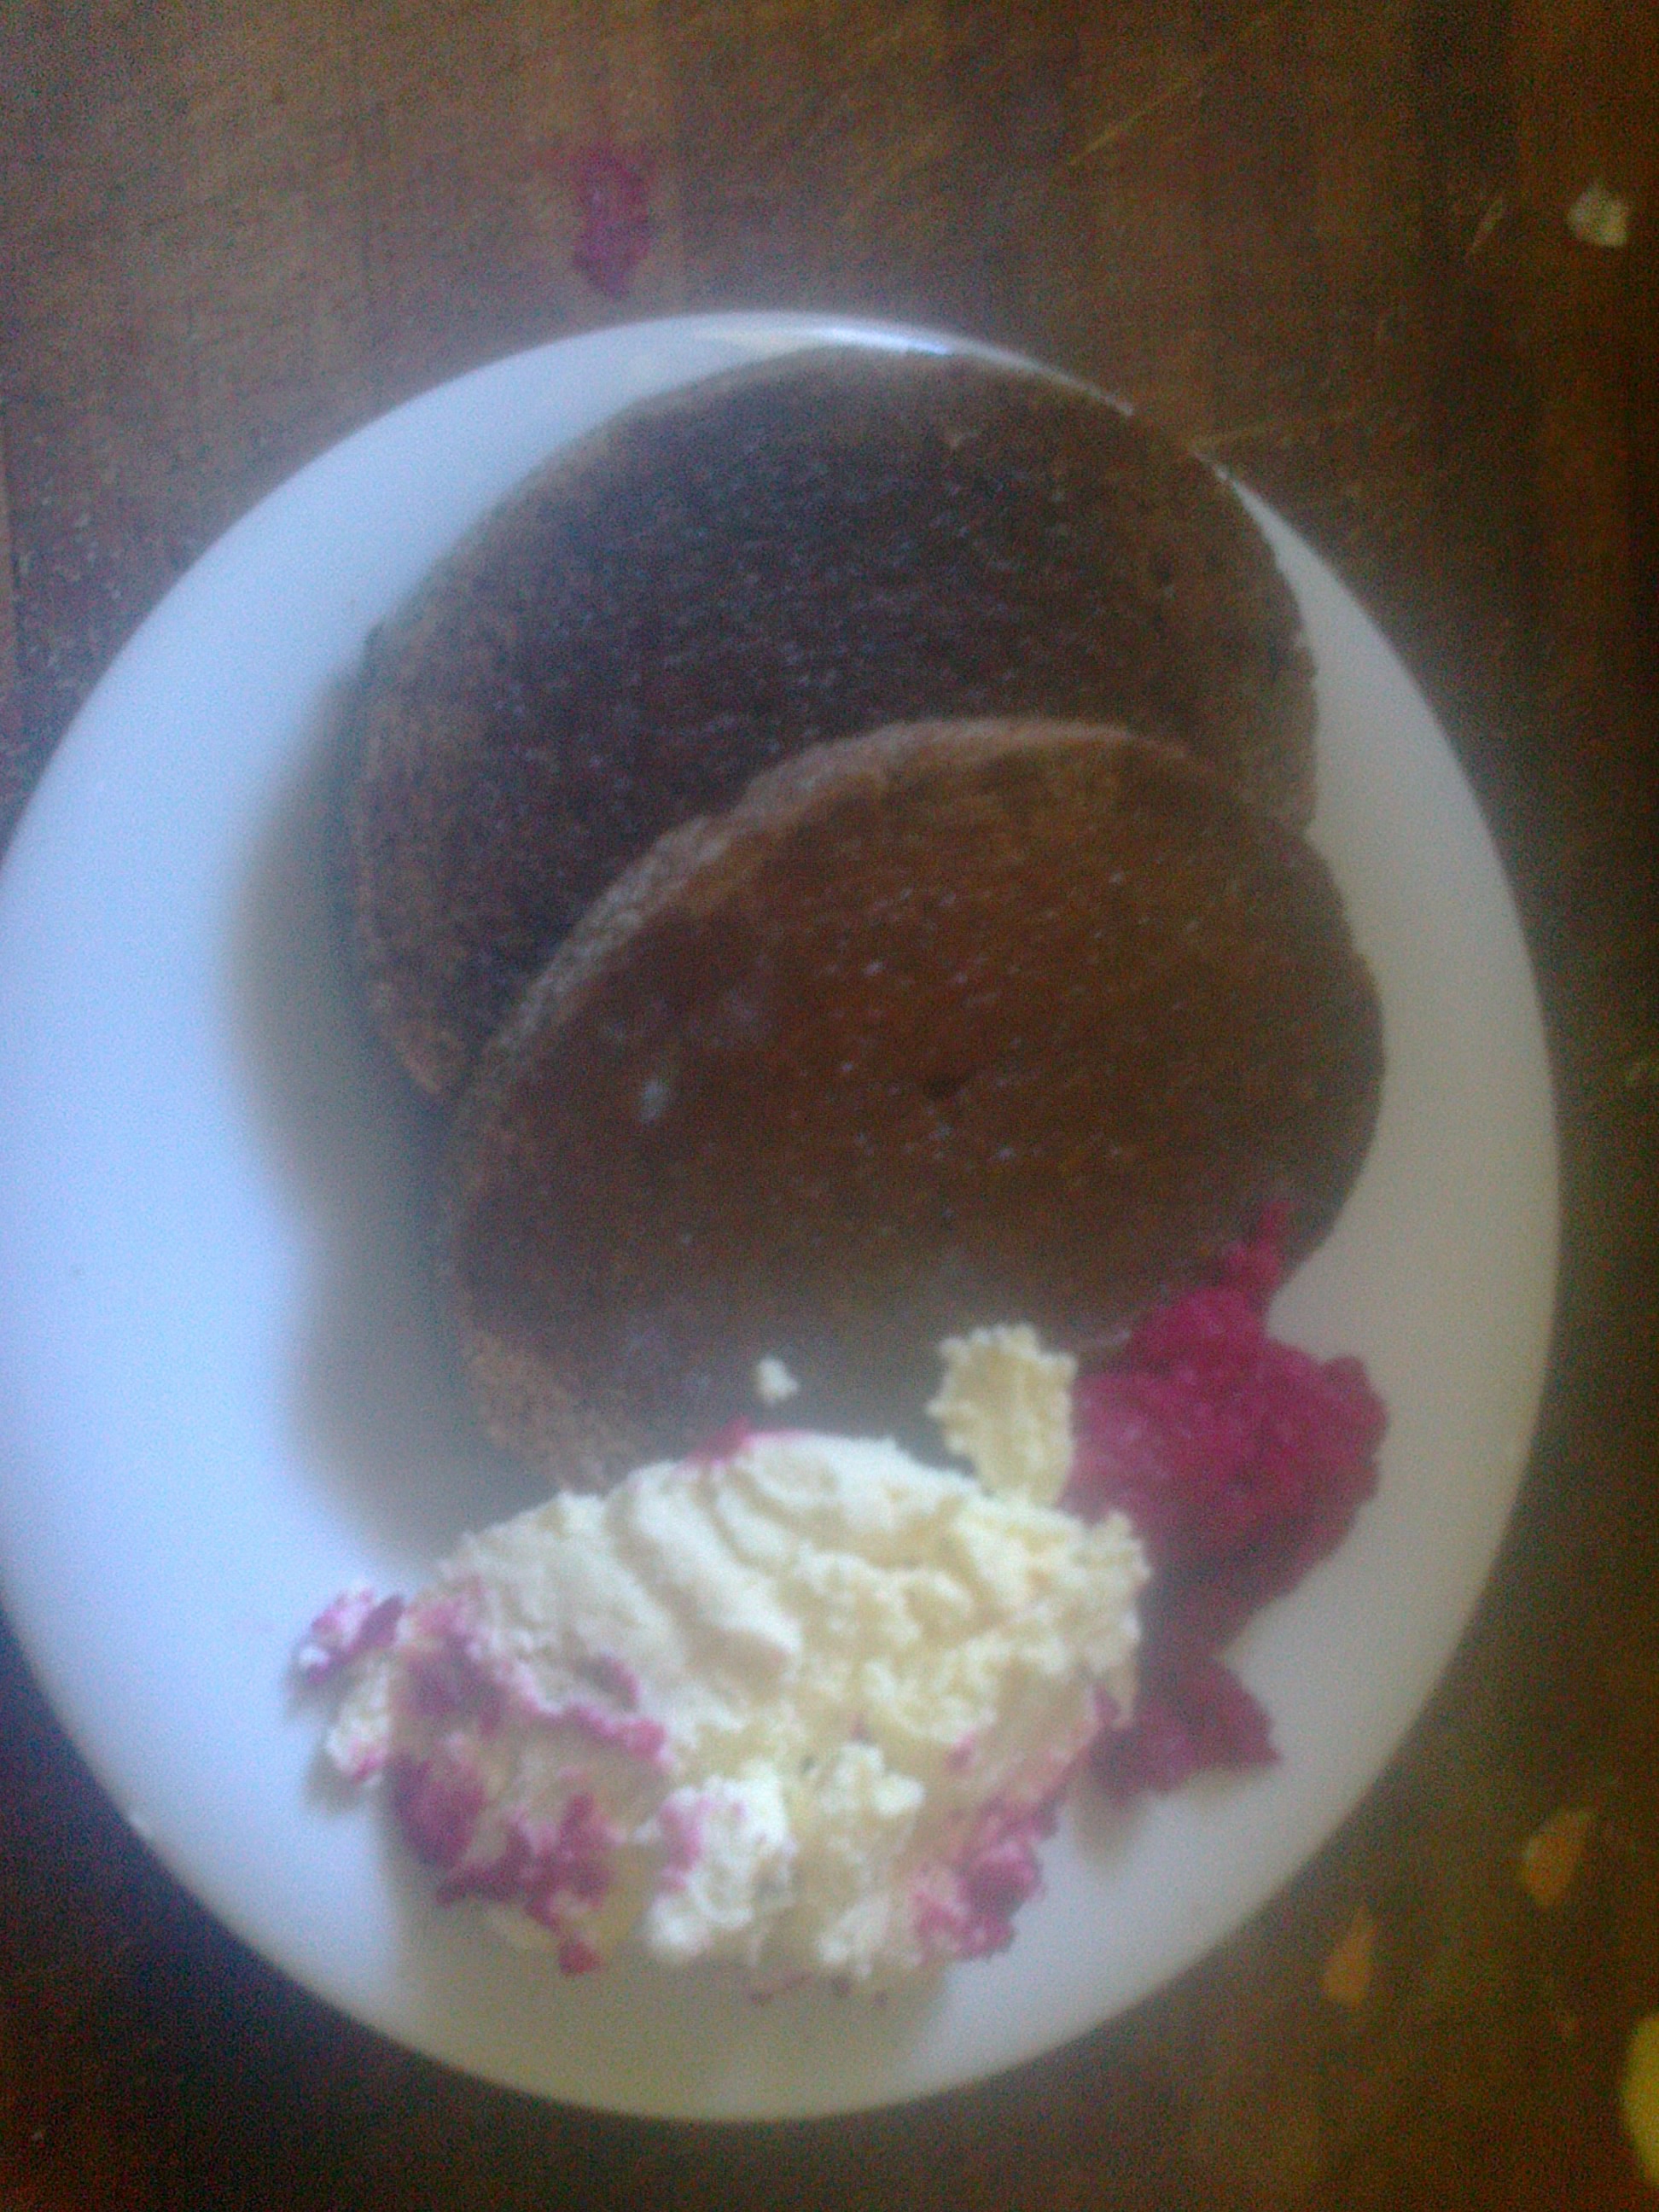
And of course, what it's about. Eating good, basic food cooked with your own homemade ingredients....
Yogurt and Sour Cream
This week we are again looking at some basic dairy ingredients – sour cream and Yoghurt. Both can either be eaten on their own (Especially the yoghurt) or used in cooking, and again very simple to make. So let us look at these and how they are made.
Yoghurt
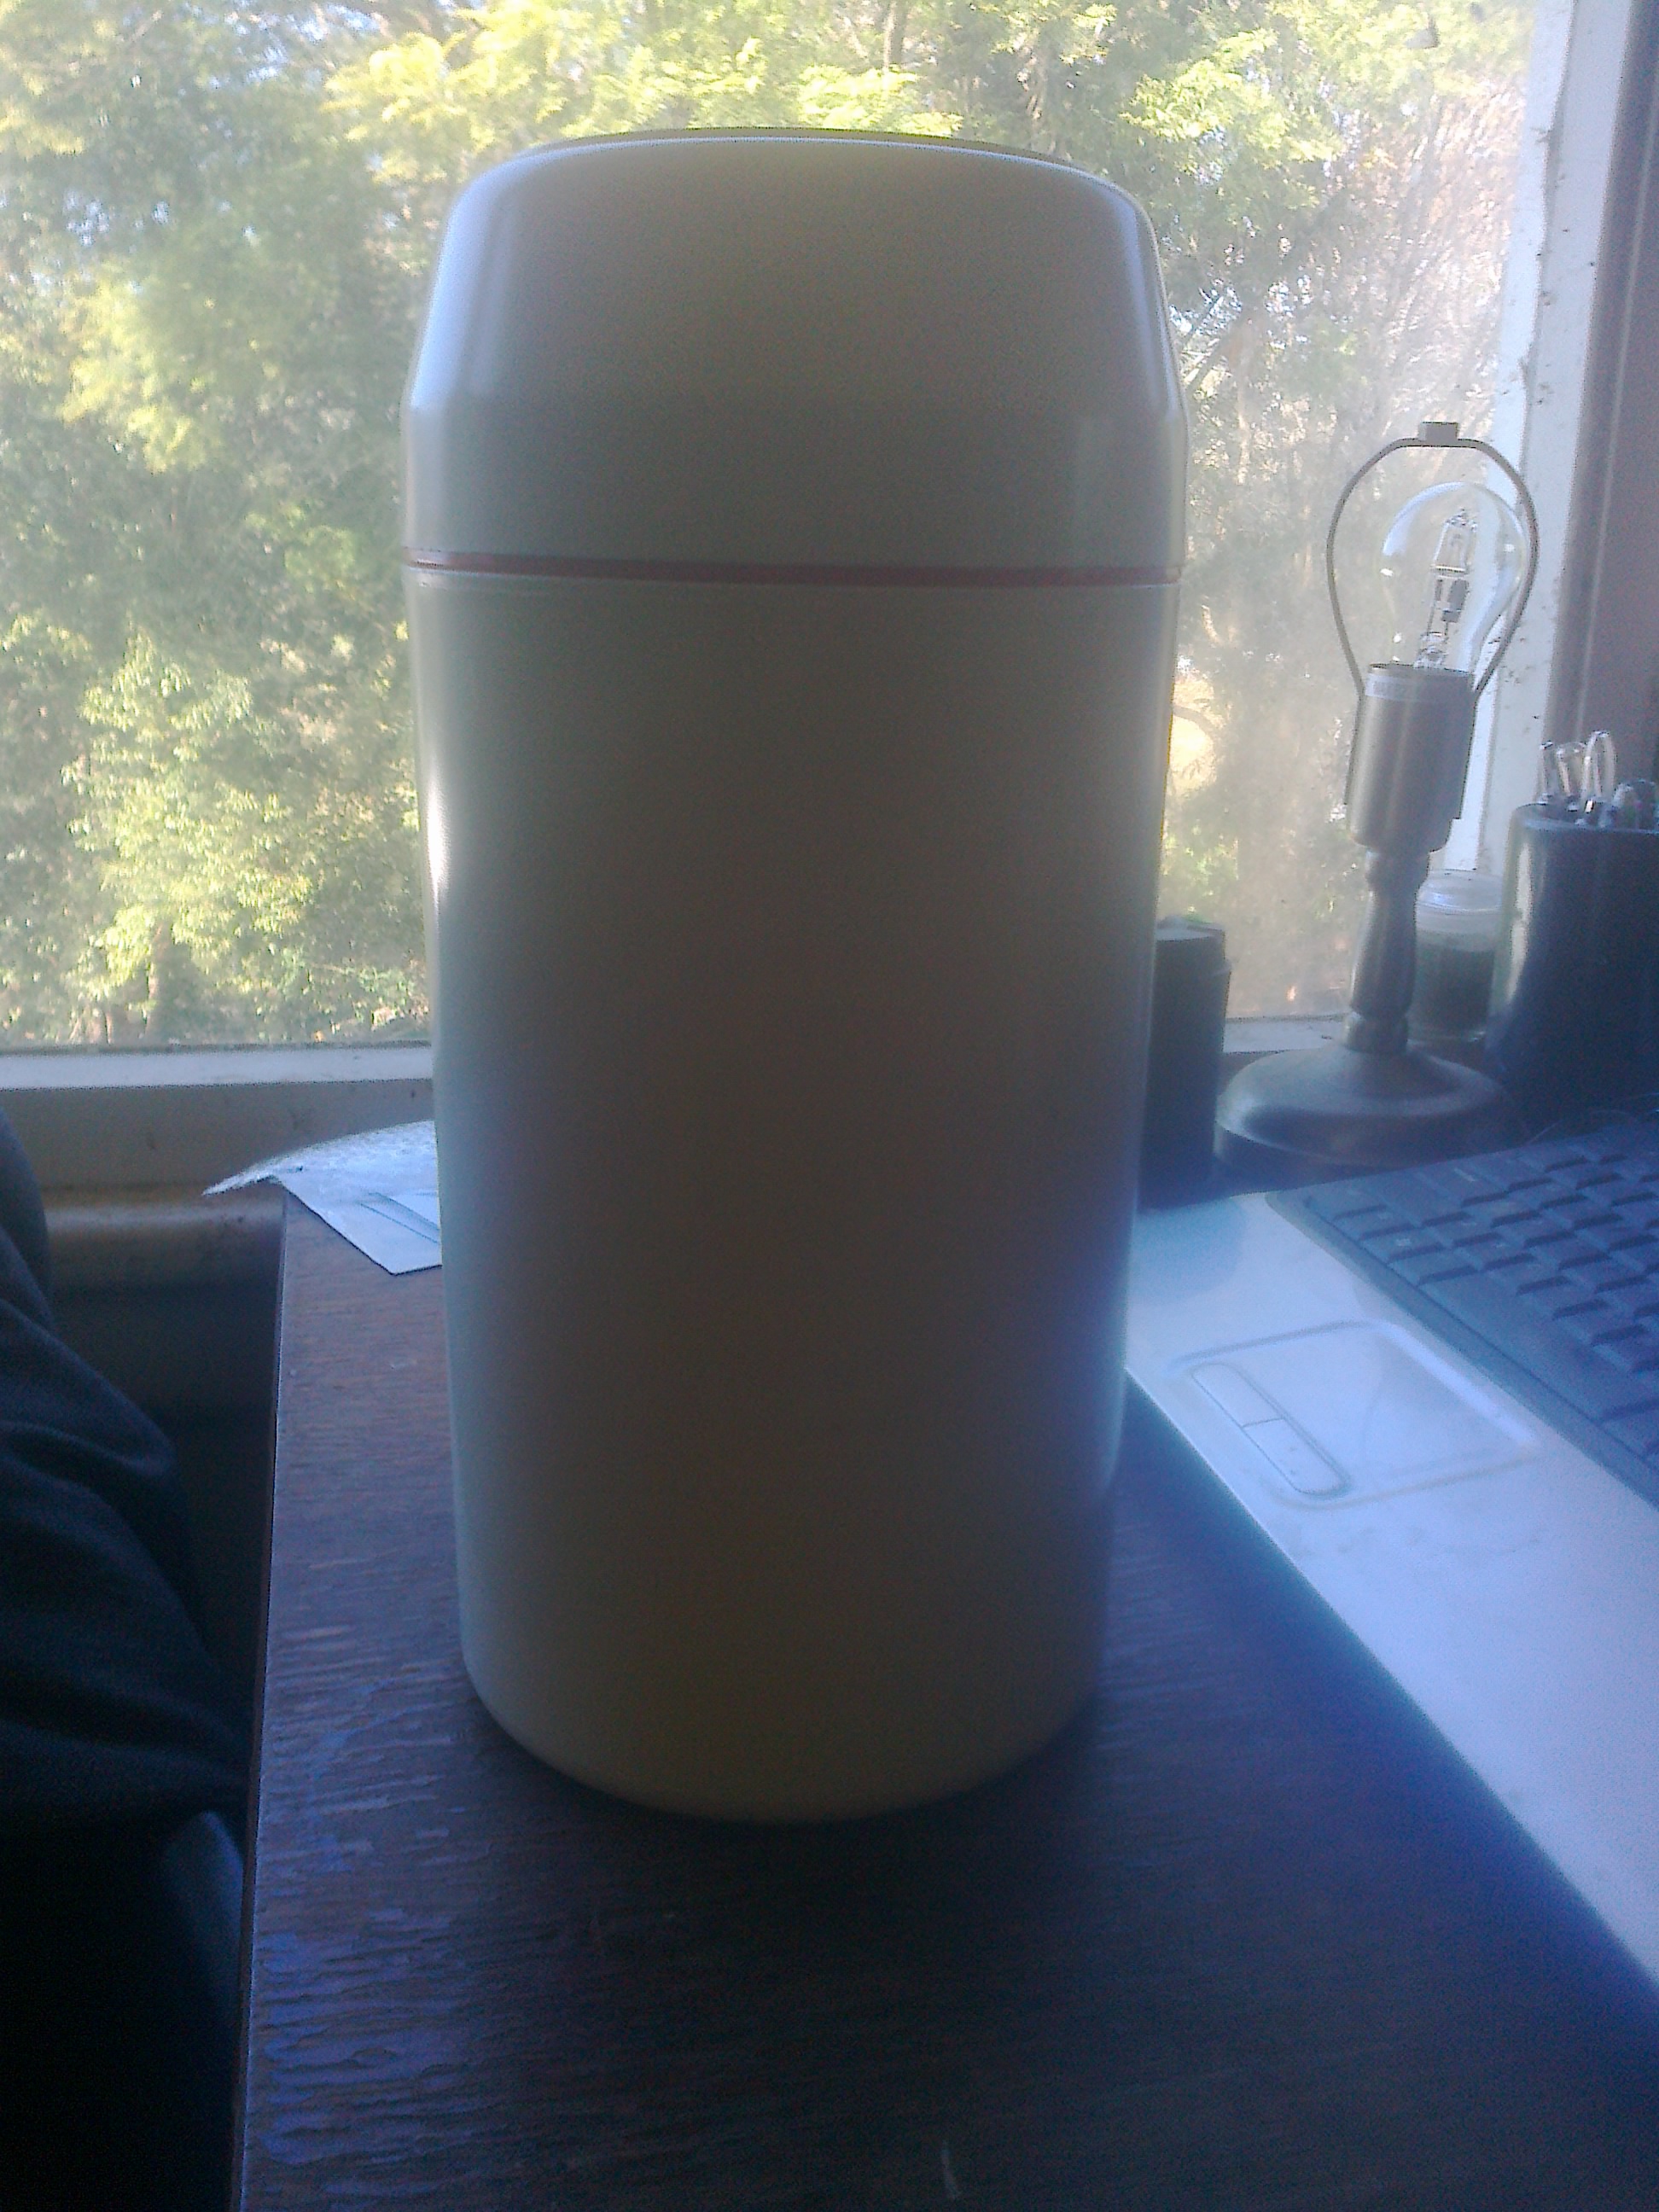
First off, it doesn’t need to be scientific. I had a yoghurt maker because I found one at the Op Shop for under five dollars, but you don't need one. An old Thermos will do. If you can find one (Mine is an Easy yo) it will help but only in that it is a properly insulated container designed for such use. Any properly insulated container will do the job. Likewise the recipe below, taken from epicurious.com (http://www.epicurious.com/recipes/food/views/homemade-yogurt-395111) says candy thermometer at 180 degrees. But after losing patience with this I went to the second method, boiling. Especially if you don't have the best stove in the world this method is by far the best.
I made this with Greek yoghurt as an incubator and got a Greek-style yoghurt if slightly runny because I didn't drain it perhaps as well as I could have. I was also lazy and did the whole non - heating component in the yoghurt container inner. If you have a yoghurt maker or sufficiently long spoon you could also do the same thing. Flavourings could be anything – honey, jams, fruit purees. The choice is yours. This will store well for two weeks apparently, gaining better flavour for one. However, already having made one batch I can say I have hardly any left only a day later so... Keeping it for that long might be a challenge around people keen to eat it.
- 1 litre (4 cups milk)
- 3 Teaspoons yoghurt (0r starter culture)
- Flavourings as desired
- Heavy bottomed saucepan or stock pot
- Strainer and Cloth (optional)
- Ice bath (if going up to 180 degrees)
- Candy Thermometer(if going up to 180 degrees)
- Yoghurt maker or Thermos
- Bowl
- Sterilise all equipment with boiling water.
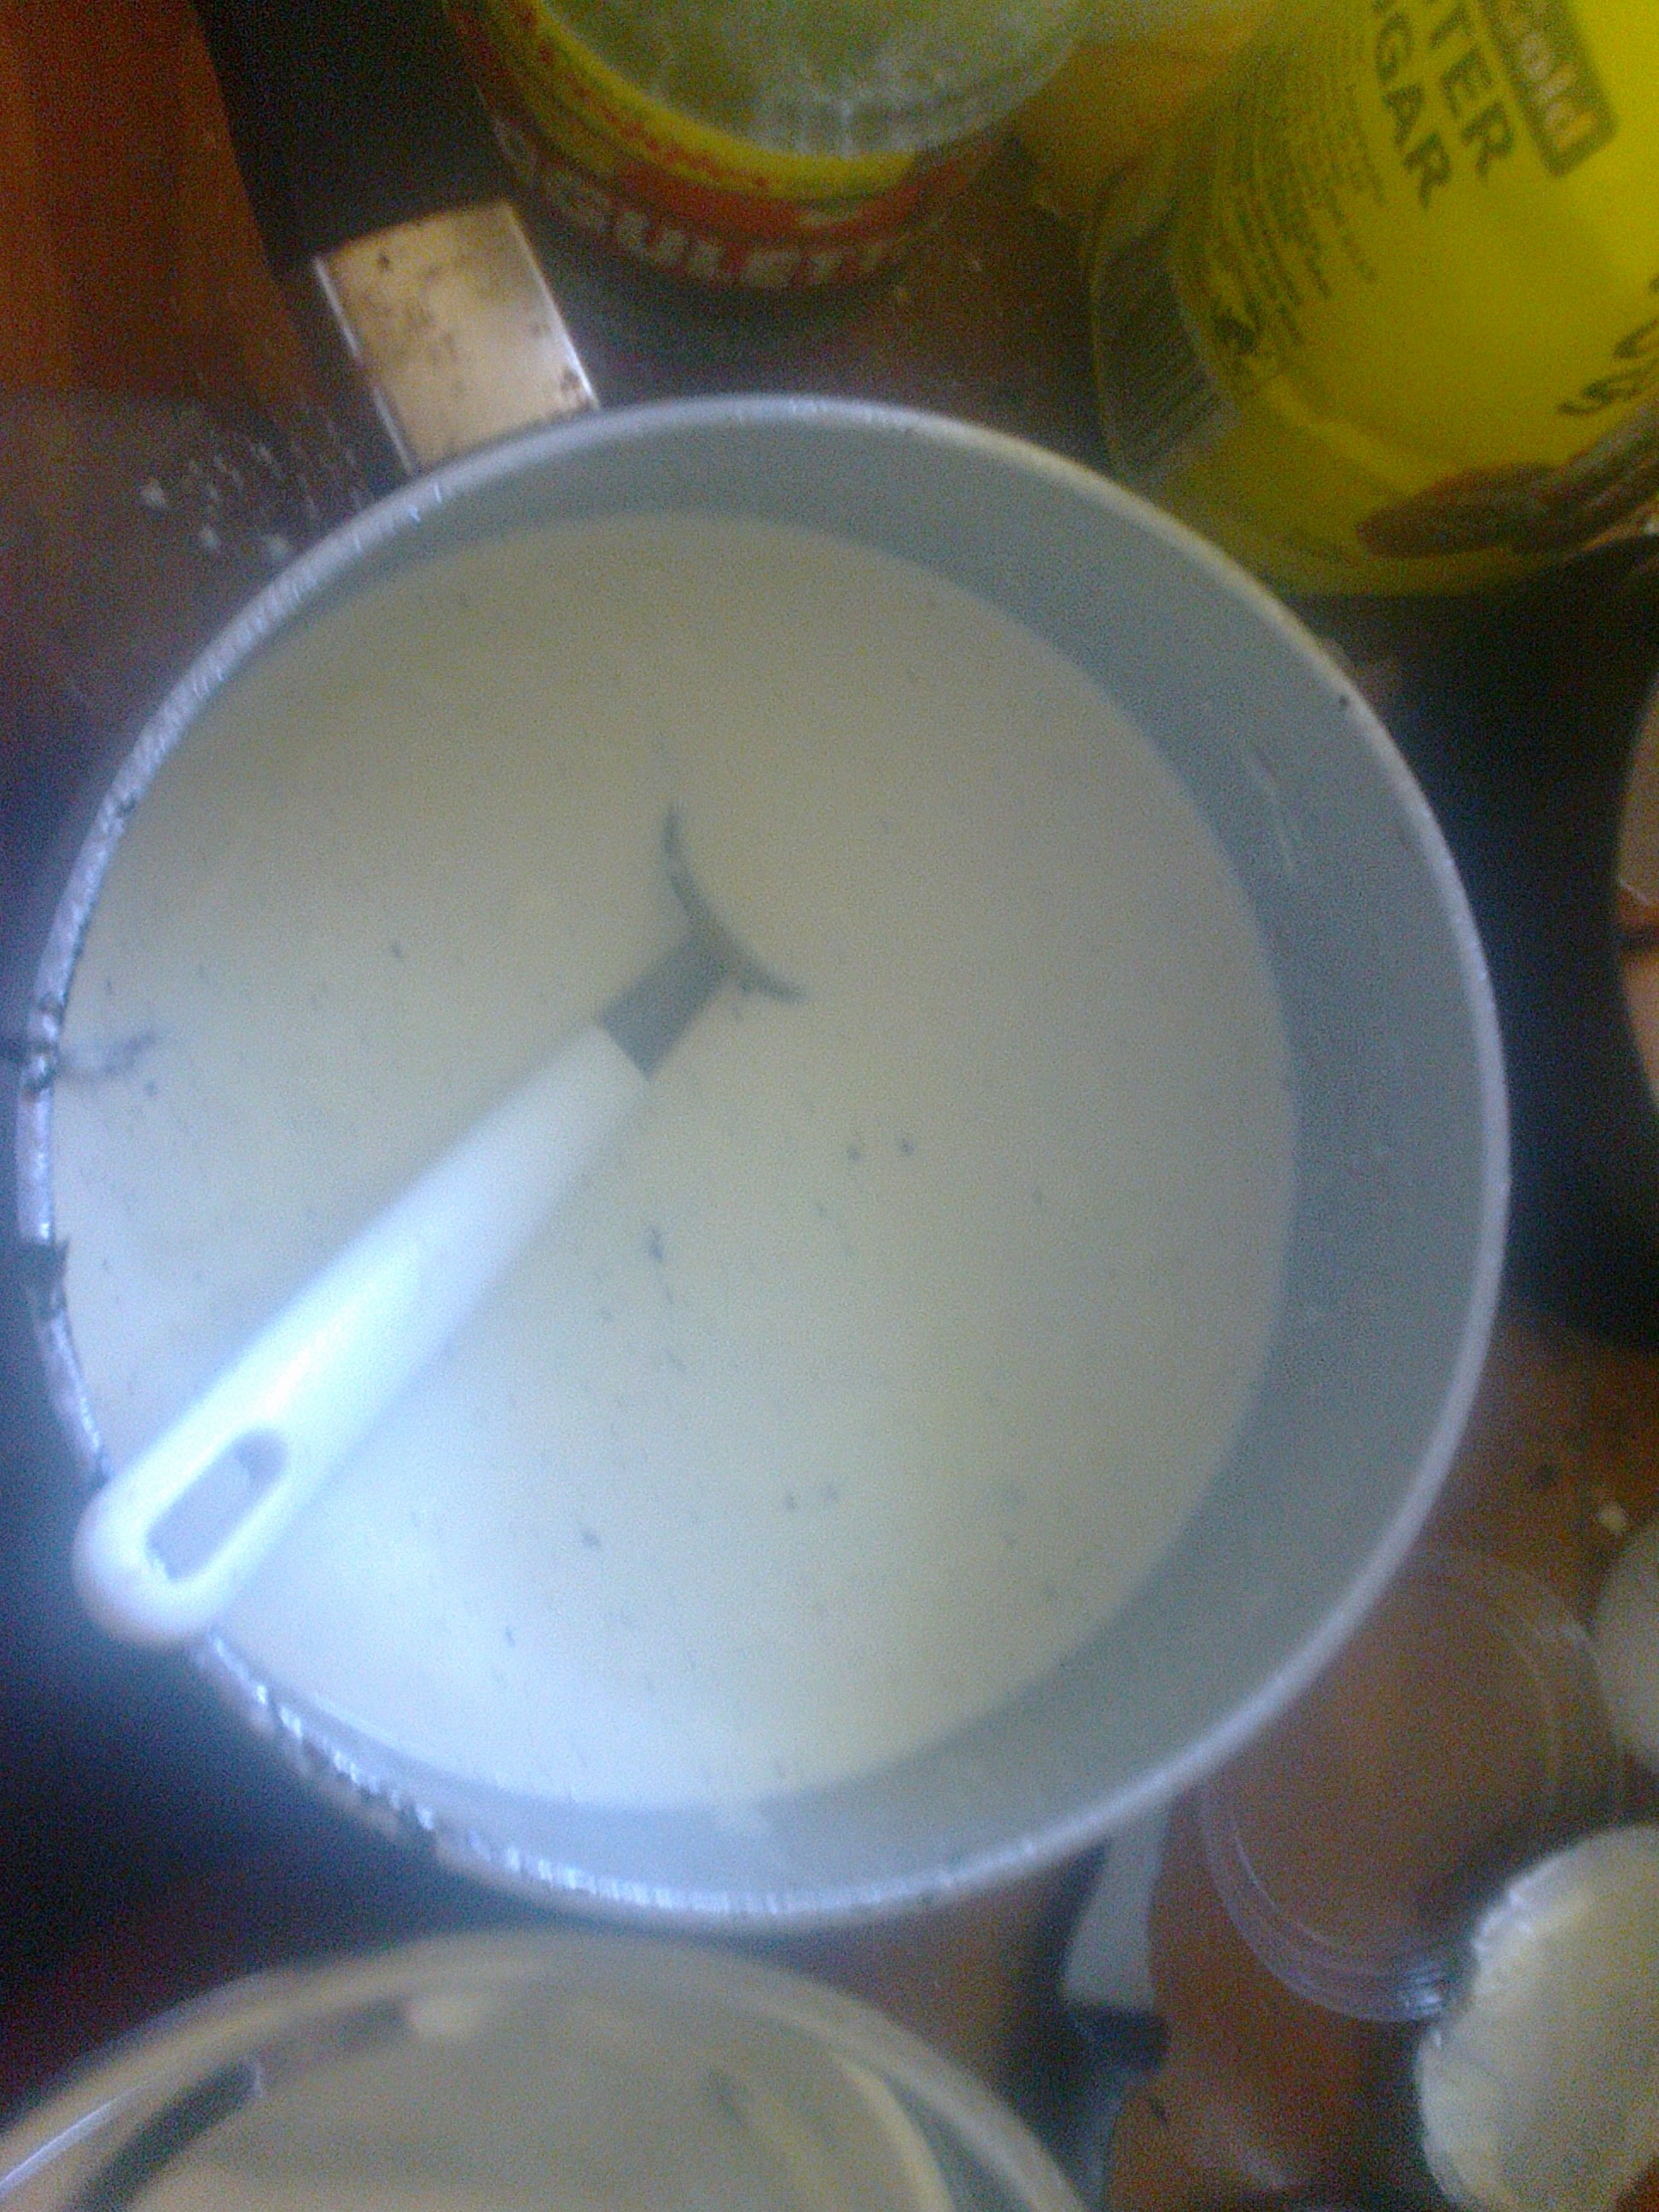
- Bring to Boil or heat up milk to 180 degrees. Boiling is easier, especially if you have a less than perfect stove or short on time. If you did heat the milk to 180 degrees then use the ice bath to bring milk temperature down to 110-115 degrees and maintain.
- Take out one cup of your milk and mix with the yoghurt incubator. The original recipe mentioned cultures, and if you are using them add here according to packet directions. However, a yoghurt is less commercial and easier to get (especially if made it before).
- Stir in the rest gently and put into your incubator. If you wish at this stage add in flavourings, stirring in. Stand for at least five hours, possibly ten. But can be left overnight.
- If you want extra creamy Greek style yoghurt drain after incubating.
- Store in refrigerator.
Sour Cream
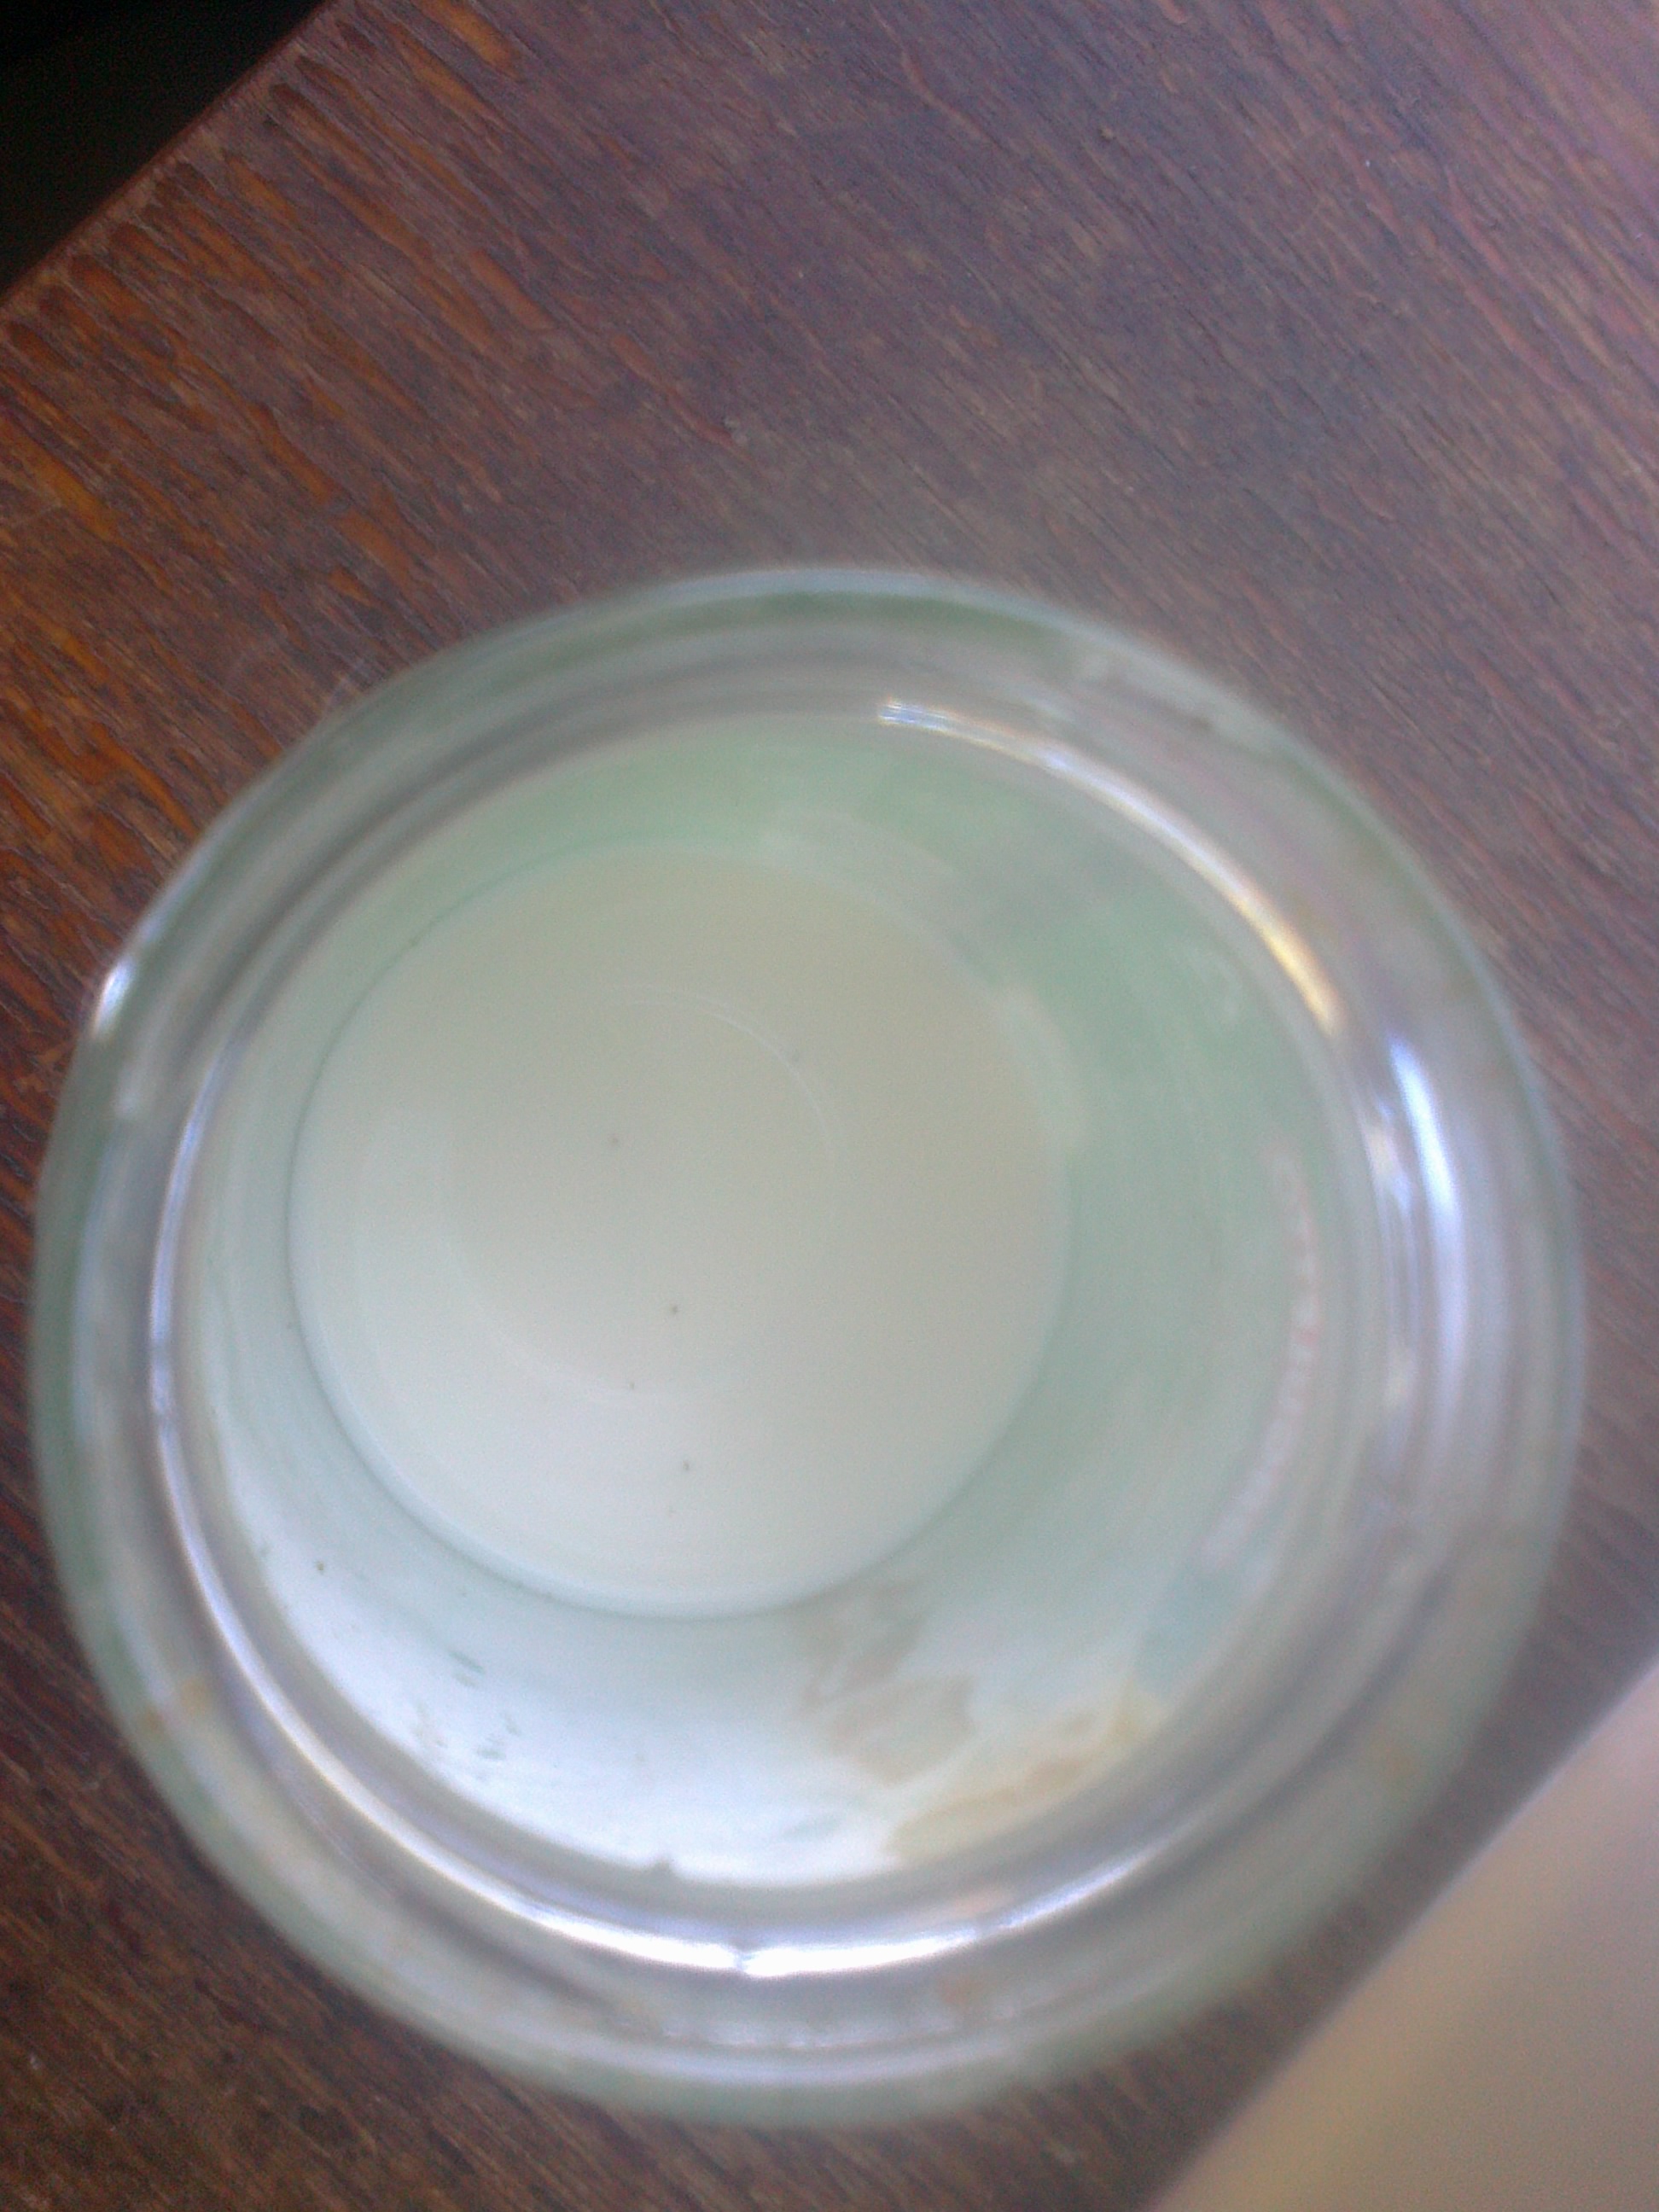
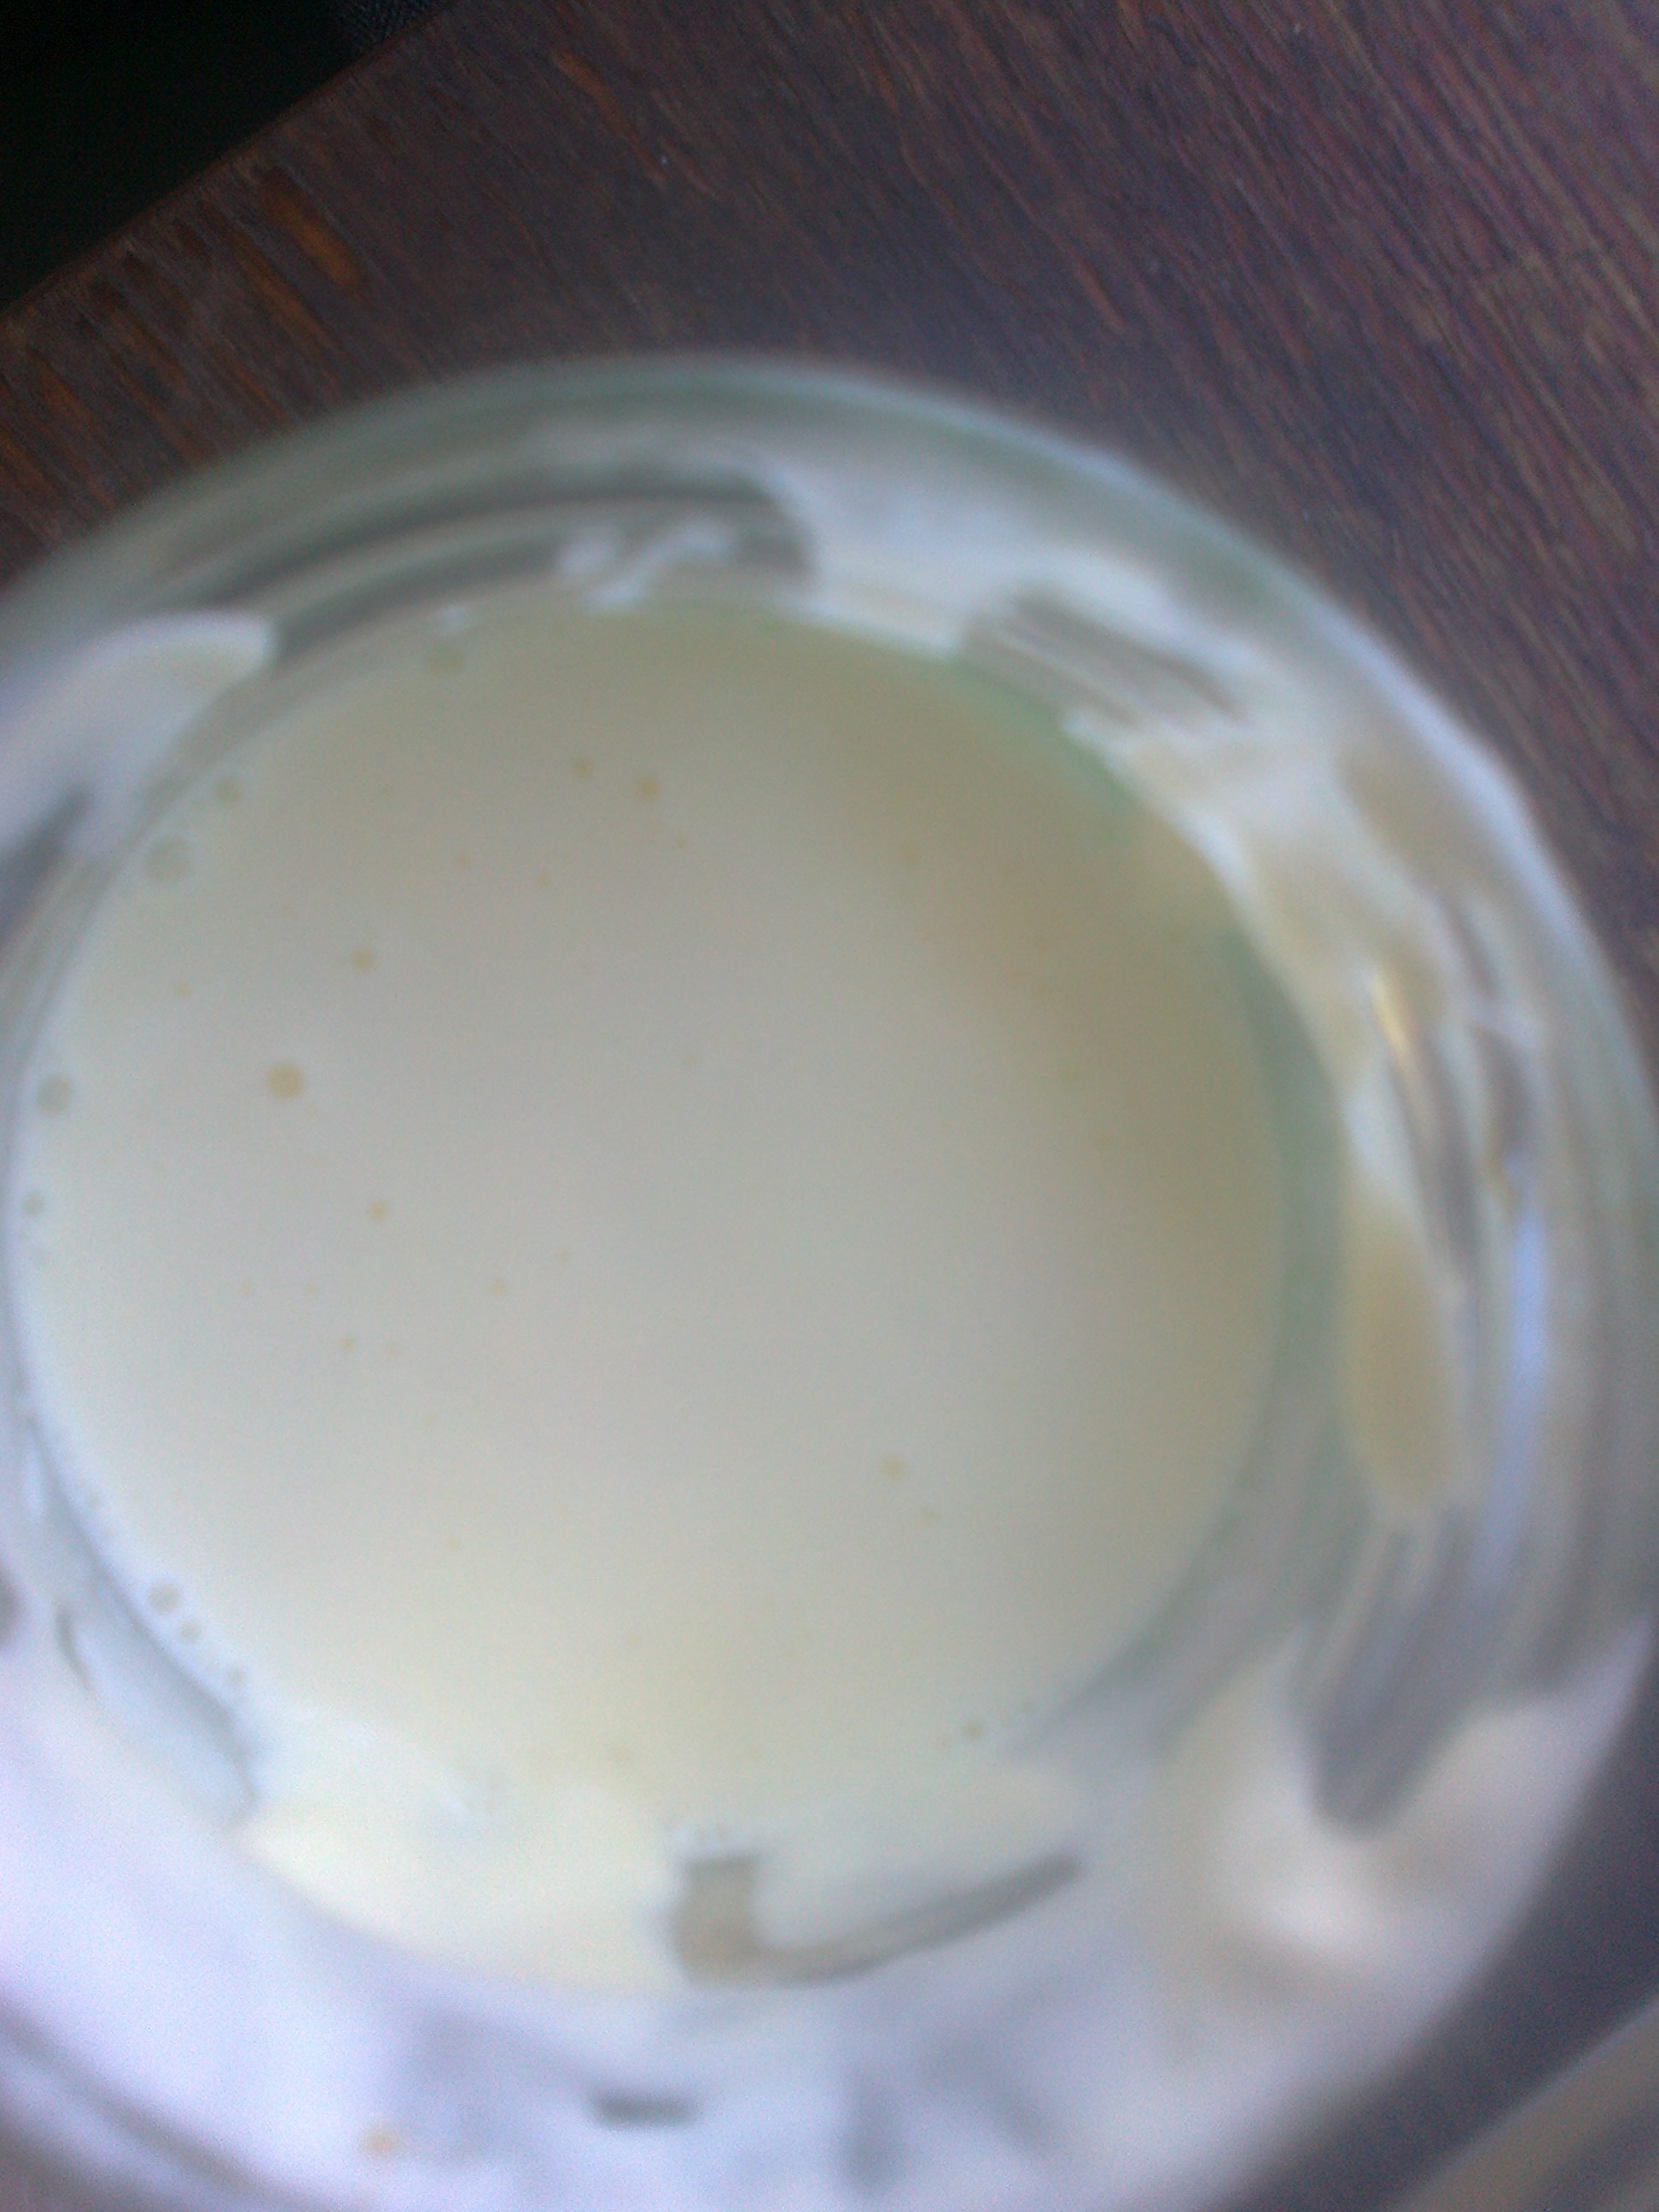
This is even simpler than the yoghurt above. No heating, no fuss. I had a mixed result doing this, but this might have to do with the fact that the room temp in my fridge is like being in an esky for a large part of the day. I was lazy once again and just made it in the standing jar from scratch thought the original recipe (taken from . This is once again very simple to make. Very simple.
- 250 ml hard cream (Double cream or Thick cream, not thickened or Pure)
- Either ¾ of a teaspoon of vinegar or ¼ cup buttermilk (You can get this from making butter)
- ¼ Cup Milk
- Bowl
- Glass jar to incubate your sour cream
- Stir in vinegar or buttermilk into your milk till combined and let stand for ten minutes.
- Stir in cream gently and place in sealed, covered jar on bench for 24 hours at room temperature, letting it stand.
- After 24 hours put in fridge and let cool for 2-3 hours before serving.
Custard and Ice Cream
Okay so this is not so healthy today. Rather unhealthy really if you believe a lot of people. But it is home made with local free range eggs, basic ingredients and you know where it came from preservative and artificial flavouring free so... It's a healthy treat that way if you don't eat too much of it. Especially if you go out of your way to source organic everything, you know what you're eating and can feel like your treat is a little healthier. As it is sweet and very much a treat this is also a good one to do with kids to get them into cooking, especially the ice cream. The recipe I used seeing this was the first time I was making it myself was for a basic vanilla one, but apparently you can make milk ice cream (no vanilla) or once you know what you're doing experiment with flavours.
Both use the same basic base recipe of different forms of custard. This makes a thick pouring custard in one, and a very runny, airy one to make the Ice cream. Both are good tasty treats that while I'm sure you wouldn't want on a diet taste better than store bought and you know exactly what’s in them. The recipe made about a litre (Half an old two litre plastic Ice Cream container) and froze quite well well. The Custard recipe filled an old salsa jar with a few spoonfuls for the cook after.
Custard
This recipe, from taste.com makes a thick, creamy pouring custard. Due to my camera losing charge at the worst possible time there are no photos of the process but it makes a thick, rich yellow dolloping custard and is quite simple and easy to make in a basic kitchen.
This can be served hot or cold and can be made either well before or just after serving.
- 1 cup (250ml) hard cream (dollop, thick or double cream)
- 1 cup (250ml) milk
- 1/3 cup caster sugar
- 1 Teaspoon cornflour
- 1 Vanilla bean
- 4 separated eggs.
- Heatproof bowl
- Whisk or fork
- Knife
- Saucepan
- Jar or container
- Mix up cream and milk in a pot. Add vanilla bean, spit with seeds scraped out. Cook over medium heat for five minutes or until hot, but don't allow to boil. Remove from heat.
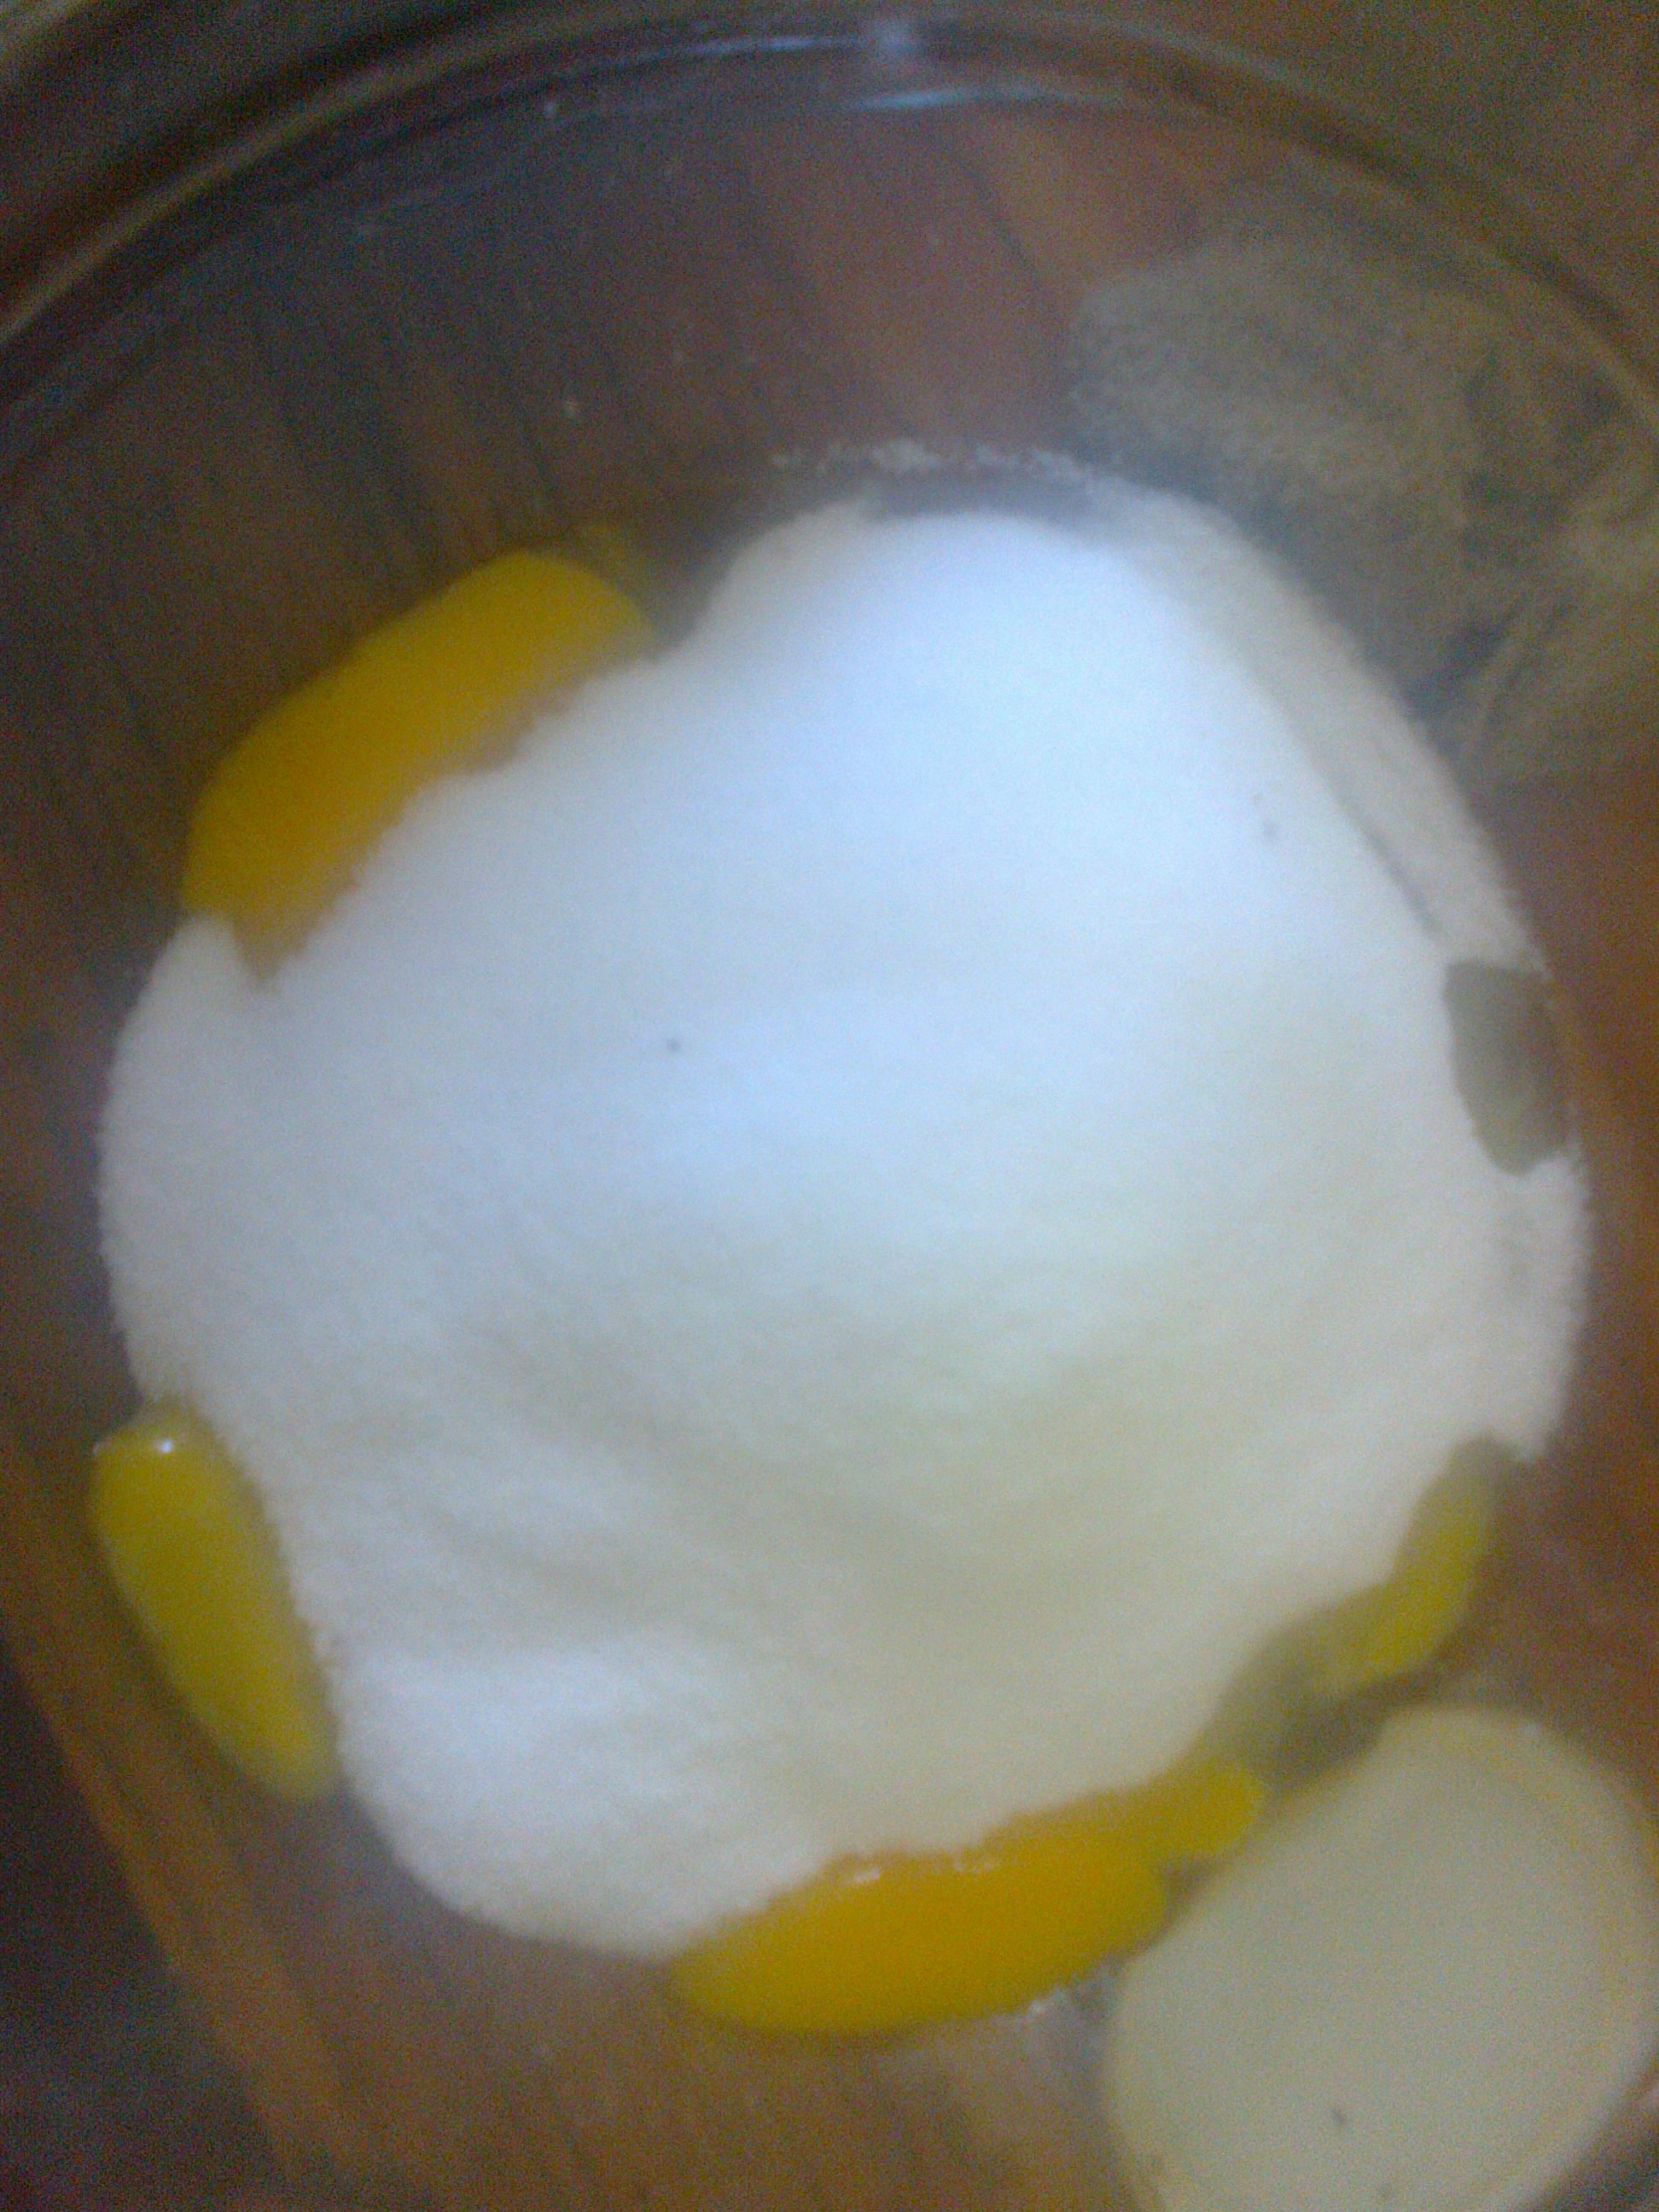
- Whisk the egg yolks separated from the whites with caster sugar and cornflour. Stir in milk mixture, whisking constantly till evenly blended.
- Return to heat and cook for fifteen/twenty minutes or until custard coats the back of a metal spoon, not allowing to boil as it might curdle.
- Serve or put into storage jar.
Ice Cream
This as as stated above is also a custard based recipe, something that said difficult but I found it easy enough, just fiddly. It did help to make the plain custard beforehand so I had some idea of how to sequence things, but it was not hard at all. The main part was the time and patience with the beating. This made a very yellow, rich, creamy ice cream, the recipe making about one litre, or roughly half a two litre ice cream container. The original recipe from taste.com had vanilla essence in the mix (which I will mention) but I did this with two vanilla beans in the milk and cream mix instead and it did just as well. I'm mentioning both methods of flavouring but I like the result from the two vanilla beans a lot.
Leave plenty of time as beating and re-beating can take some time, as can the cooling though the initial part does not take that long at all being a basic custard. The initial recipe mentions an Ice Cream maker, but this is not necessary. If you are using one instead of the last step follow the instructions for your ice cream maker.
- 300mls Milk
- 300mls hard cream (Thick, double or dollop)
- 2 vanilla beans or 1 vanilla bean and 1 teaspoon vanilla essence.
- 175 grams Caster sugar
- 6 Separated eggs
- Saucepan x2
- Stirring Spoon
- Clean plastic container – one to two litre
- Heatproof bowl
- Knife
- Electric beater/mixer
- Cook the milk and cream with split and scraped out vanilla pods. Bring to Boil and set aside for ten minutes to infuse.
- Place Egg Yolks into bowl with caster sugar and vanilla extract (if using this instead of two beans). Beat until pale – this will be about a creamy light gold colour and a spongy consistency of something around uncooked meringue.
- Stir cream and milk mixture, keeping it moving. Cook on low heat, stirring for five minutes or until coating the back of the spoon.
- Set aside to cool, take vanilla bean out. Once cool enough place in container and refrigerate for thirty minutes.
- Place the mixture in the freezer till sides are frozen (Time taken varies on container), then beat. Do this three times in total before leaving to freeze, preferably overnight.
Using Dairy byproducts
Many of the recipes that featured this month have some form of leftover or by-product. Cheese and yoghurt have whey, Butter has Buttermilk and the Custard and Ice Cream has Egg Whites. Egg whites will be coverd later. No pretty pictures and yummy food this week, just ideas on how to reuse all of this so these by products are not wasted.
Whey
Whey is the yellow, watery by-product of making Cheese and Yoghurt. It is not to be wasted as it contains some of the most nutritious part of the Milk. While not as good with the boiled variety that comes from the recipes that are in use here, it is still useful. Don't Waste the Crumbs has some good ideas and links I'm cherry picking here as well as a great Pizza Dough recipe I didn't have time to try out. Some ideas are from The Frugal Foodie (dontwastethecrumbs.com) are;
- Use it in cooking instead of water
- Use it to make up a tart cordial, such as a Lime or Lemon, Lime and Bitters cordial half and half with water. Does not store, but tastes great (This ones mine, I came up with it with my daughter).
- Soak Beans Grains and Nuts. Either add more or use as your acid medium.
- Use in Smoothies.
- Make Lemonade or Ginger Ale – Link on don'twastethecrumbs.com.
- Use in the Garden to water and balance out Soil PH.
- Use it to Condition your face and body – Use some in a cotton ball as toner or add a cup of whey to your bath.
- Also useful to condition hair with or make a face mask – look on don'twastethecrumbs.com for details.
- Use for Keffir
- Substitute for Milk or Buttermilk
- Make the Pizza dough recipe featured on don'twastethecrumbs.com.
Buttermilk
This one is a more commonly known one. Used in some scone recopies this can also be used in omelettes (Which I've done – Just as rich and creamy as with milk) or scrambled eggs. It can also be used directly in the sour cream recipe that featured in week 34 as the souring agent. Look around, remember this is something people buy from the supermarket, so it is rather valuable as an ingredient – And you get it as a by-product for free when others have to buy it.
Of course if you're like me you could occasionally drink it as a bit of treat like a glass of milk. I bought buttermilk for this before, so why not drink your own?
Cold Meats
If you are a vegetarian this is not for you. This is because I am looking here at what many eat without giving a second thought to, cold meat? Do you know where it comes from? While like all of us on a budget I'm prone to getting the special budget bacon because I know that's four days or so dinner this is not good. So I'm taking a journey with you on how to cook and store your own cold meat for the lean times.
Now, a note here. I know there are ethical concerns around meat. How the producers are treated, Free range versus factory farm, any other number of things. This is something you have to deal with for yourself. For the meats featuring for the next seven weeks I will be buying as local as possible, either butchers that buy local or a direct marketer. This means that I have avoided the supermarket supply chains and any possible ethical conflicts there. To me there is no unethical part in actually eating meat in itself, after all we are not the only predator in nature. It is in how the animal lives and how it dies. A good life and being shot behind the shed, an equivalent of how our livestock lived once is not anywhere near as bad as today’s factory farming works. Same way as you should be grateful and use all of the animal, not just the trendy tasty bits. Next focus perhaps, reviving the idea of having the respect for the animals life not to waste it and have to kill more so we can only eat the tasty, gourmet bits. But for now we are looking at how to make our own cold meats at home so we can avoid factory farming to badly chemically processed food chains and eat this part as ethically as possible.
The area I used to live in, the Nambucca Valley, is a place where we can do this because it is rural and dairy and beef are especially abundant, some might not be so lucky and have to do their homework. Needless to say, try to avoid most supermarket chains on this point. Or at least look up third party websites I will also be using some very simple tools all kitchens of busy people should have – Slow cookers, simple stock pots and Electric fry pans. And I can say I recycled my slow cooker and electric fry pan, both bought second hand so... They’re as friendly as they can be without solar power. This may not always last as long, but can be stored and cooked over the weekend or at night with dinner. This way you can source your own ingredients and make it in advance, ensuring you have a healthy, chemical free and animal cruelty free a lunch as possible while eating cold meat.
Cold Meat Marinade
Adapted from a salad dressing recipe of my grandmothers, this basic curing marinade is what we will be using over the next three weeks. The original salad dressing, a mixture of sugar, salt, Vinegar and oil with mustard and garlic is meant to balance out the flavours to create a nice, flavoured whole.
In doing the planning for this I though I thought when doing cold meat you don't want it too be too heavily flavoured, needing to be bland enough to go with many things. If you wish to use this for other reasons such as a barbecue or simple summer dinner you may wish to add flavour, be that the garlic and mustard or something else. If you are using the garlic and mustard add an equal amount, about two cloves of garlic and two teaspoons of Mustard. Other than that experiment and see what you like.
The resulting concoction containing honey, vinegar, salt and oil it is meant to be bland enough not to overpower the meat while giving it a chance to cure to extend shelf life a bit. The substitution of honey instead of sugar was meant to both to add to the curing as well as finding a more natural sugar. This creates a bland marinade that softens, tenderises and helps cure the meat, in this case chicken a little.
This time I was a little irresponsible and did little chicken bites and chicken breast instead of a whole chook but this was about showing some different ways that could be pre-cooked for lunches – bites for the kids and shredded breasts for the adults. I will be trying a whole chook later in the week and posting as a supplement.
Different meats will be needed to be marinaded for different times. For ideas of what this is look at the meat entries below. It is a very simple procedure that due to doing at night I don't have photos but will describe here. I used malt vinegar because that was what I found in my cupboard but feel free to use any type of vinegar you want. The whole thing is meant to balance out to a pleasantly bland flavour suitable for cold meat which is used in many, many ways so needs little enough flavour it doesn’t overpower anything.
- 2 tablespoons honey per kilo of meat
- 2 tablespoons vinegar per kilo of meat
- 2 tablespoons of salt per kilo of meat
- 2 tablespoons of oil per kilo of meat
- Water (or whey)
- Bowl
- Tablespoon
- Mix the ingredients together in a bowl till smooth.
- Add enough water or whey to the mixture to soak the amount of meat.
Chicken Cold Meat
I used one kilo of small chicken pieces and one kilo of breast in at once, so I doubled this for two kilos. You may want to separate batches but use different marinade for each batch if you do this. I will be doing a supplement with a whole chook later in the week to show how it works there. This was done in an electric frying pan because I have one and showing how this can be done in a very basic kitchen even, some of which don't have ovens. Invest in a larger, deeper one that can take a quantity and use the lid. This effectively turns your electric frying pan into a Dutch oven or camp oven and you can even bake in it. If you wish you can use the oven and bake, but here ensure both sides crisp up, especially on the little pieces.
- Marinade soak per kilo of meat
- Chicken pieces – little bite size pieces, breast.
- Butter/cooking oil
- Electric Frying Pan
- Flipper
- Containers to cool & store meat
- Put your meant in your marinade and let soak. Smaller, cut up pieces can be left in there for 12-18 hours (the longer the better) and whole Chickens for 18-24 hours (Longer the better). Refrigerate while marinating.
- Cook on a medium heat. Brown both sides and cook through the bigger pieces of meat such as the breast, ensure glazed and brown both sides.
- Allow to cool. You may wish to shred your chicken breast before storing.
- If storing for longer periods freeze, otherwise refrigerate at a good temperature.
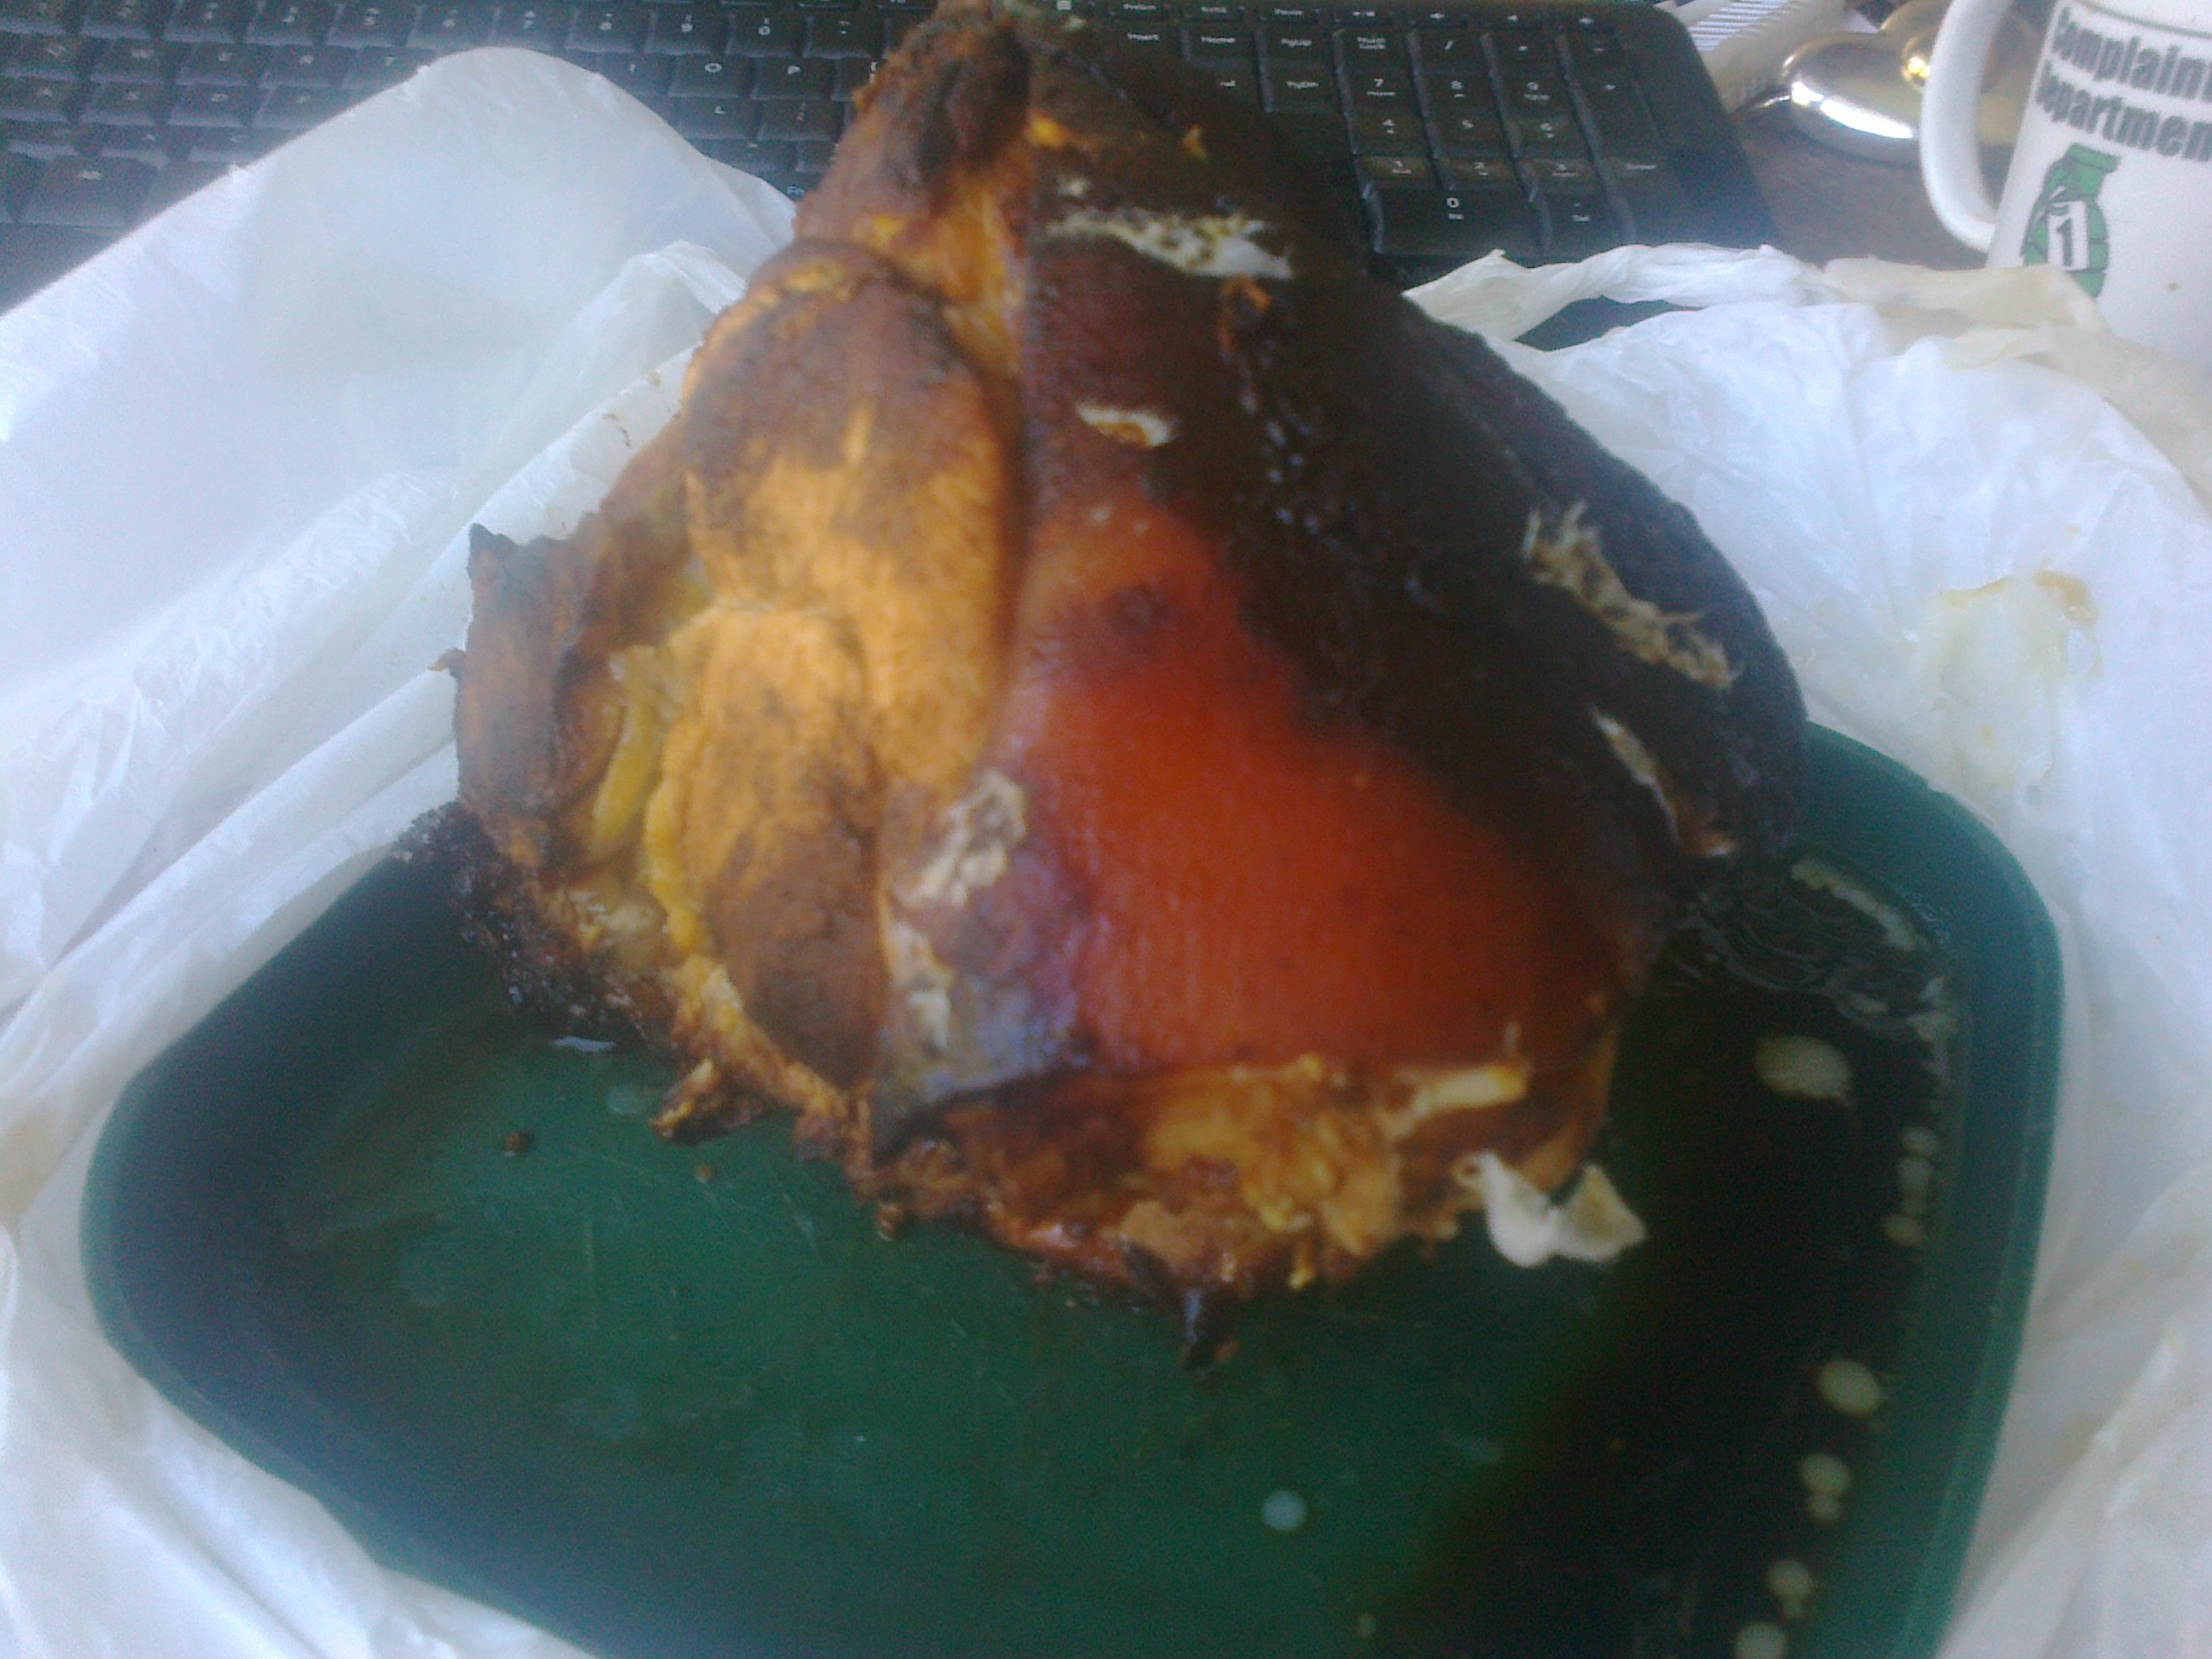
Whole Chicken
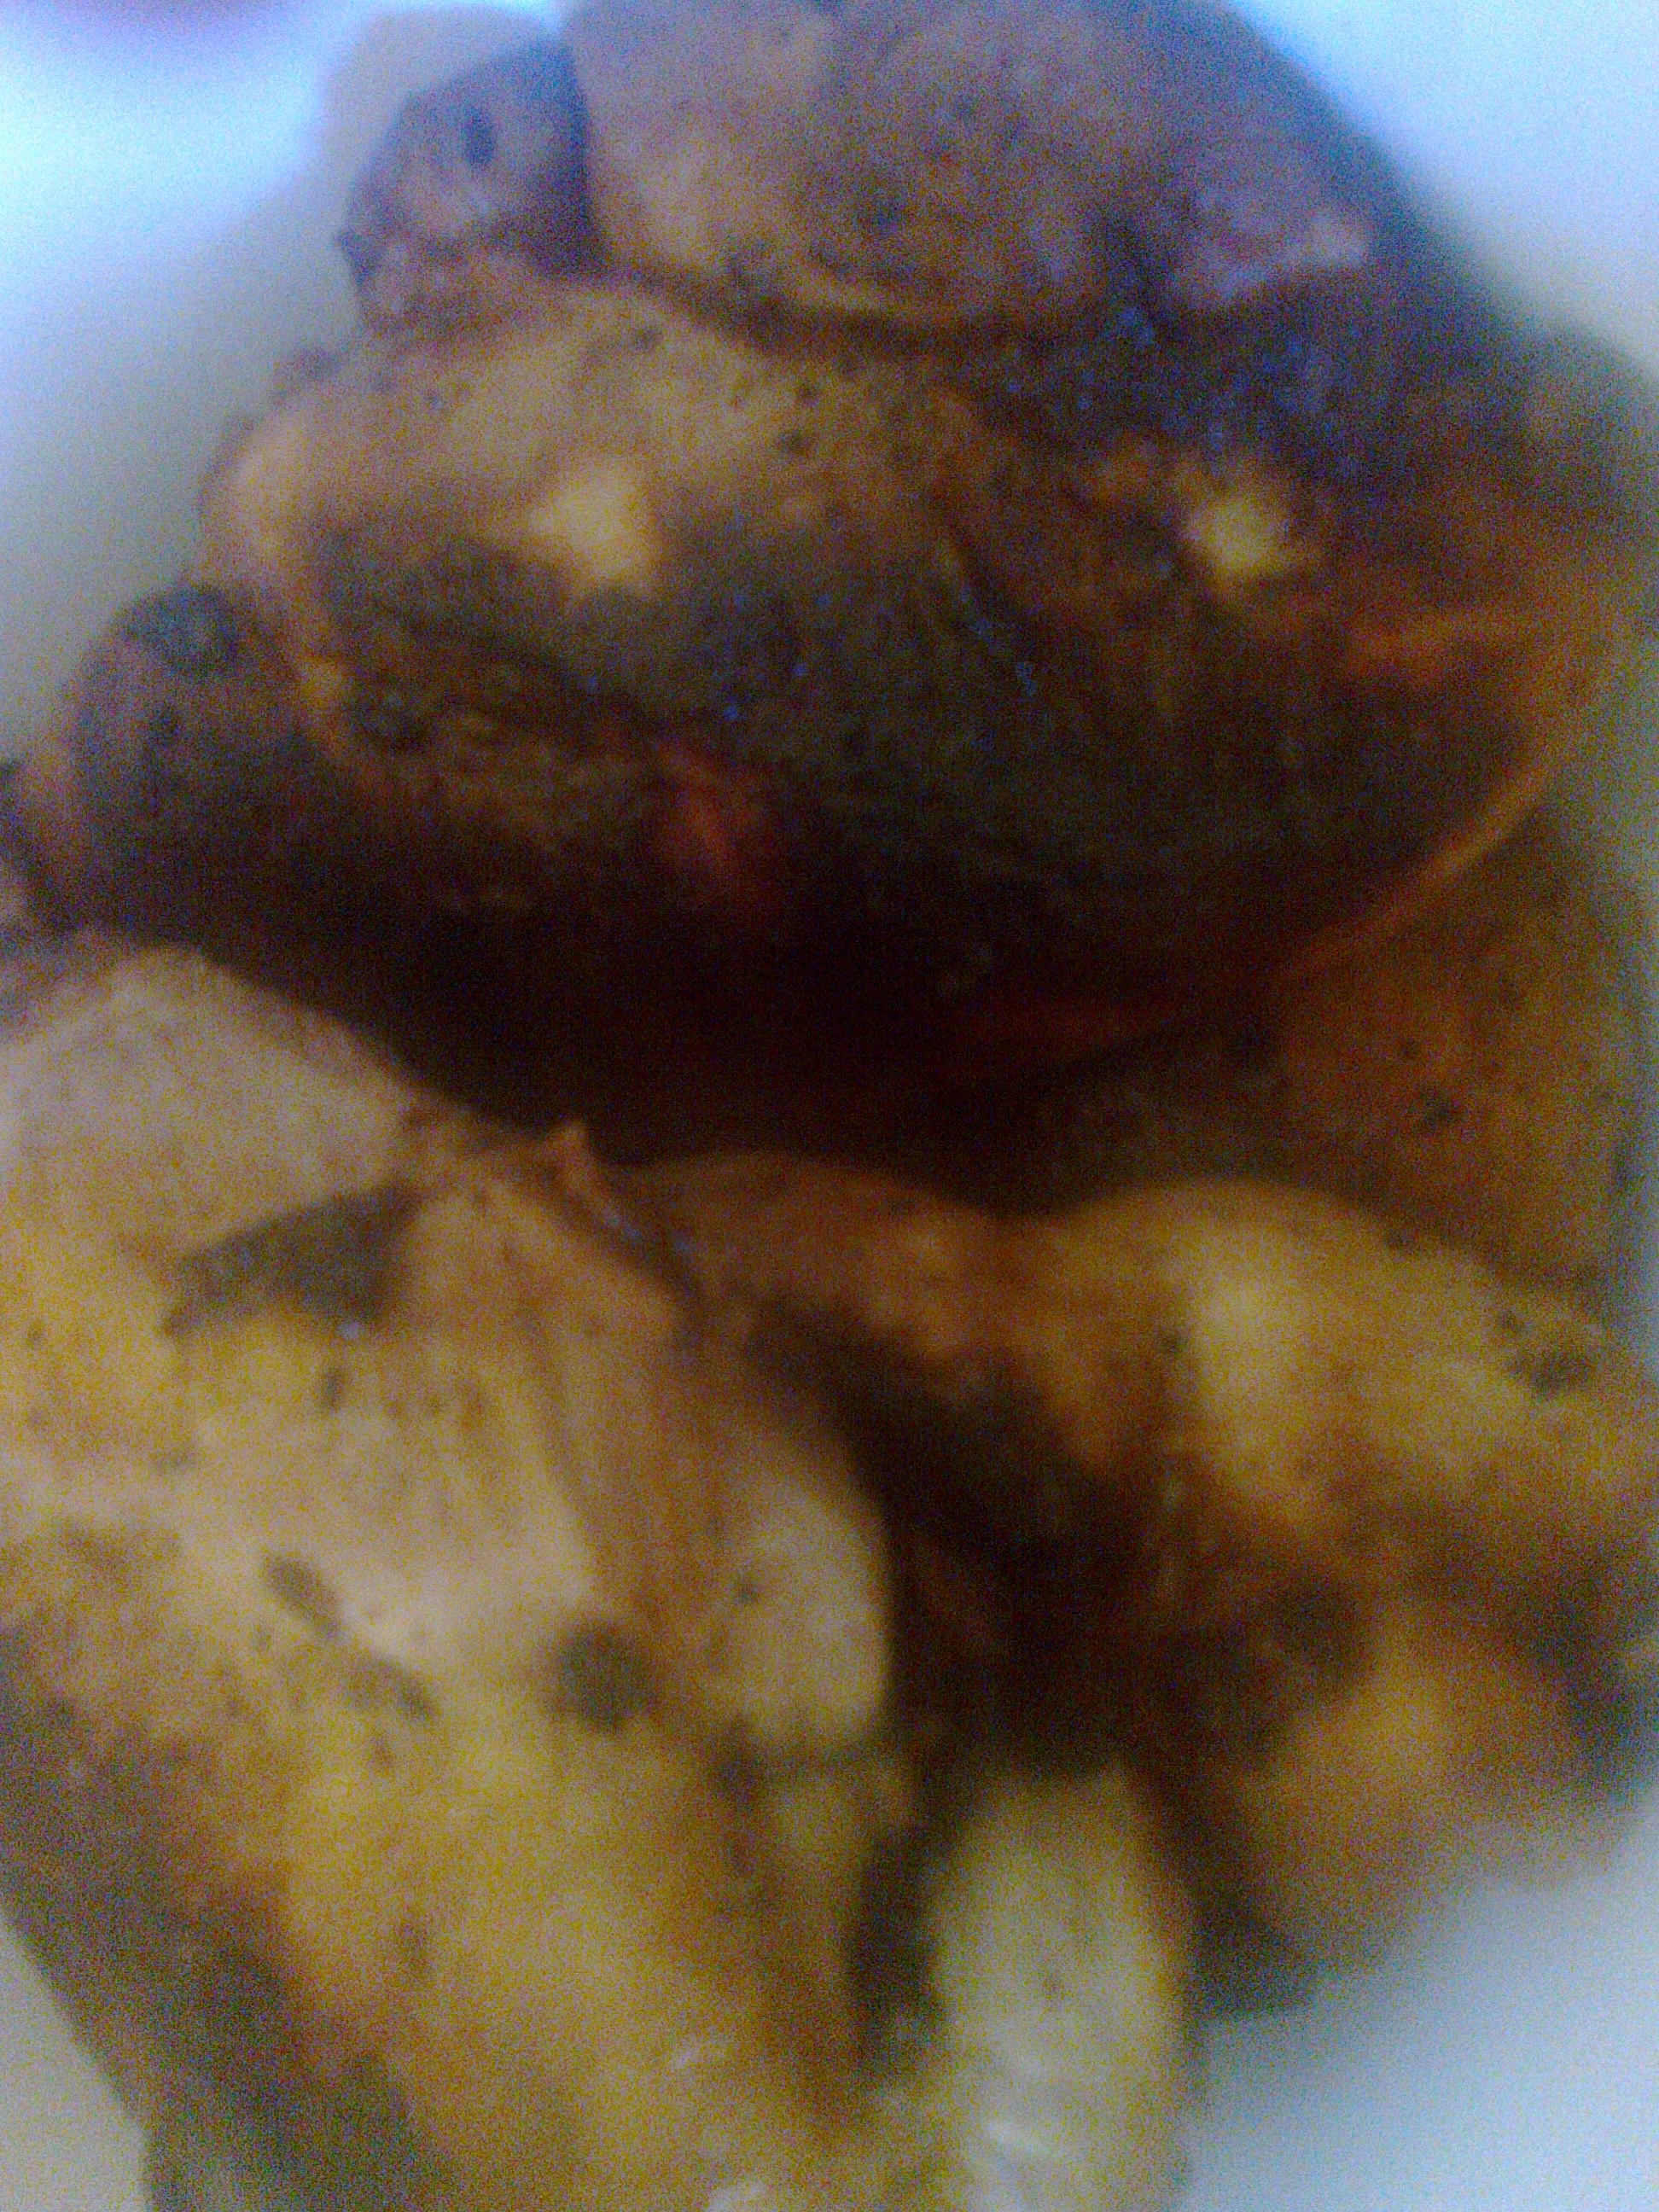
As promised this is the supplement about the whole chicken, in this case cooked for a nice Sunday lunch out. It was done to the same recipe as above accept it with two litres of marinade (Rounded up) and cooked in the electric frying pan for longer as a Dutch oven. Each side got a chance to brown and then it was simmered on a low heat to ensure that it was cooked through. The result before it was dismembered for transport tomorrow was this...

Pork Cold Meat
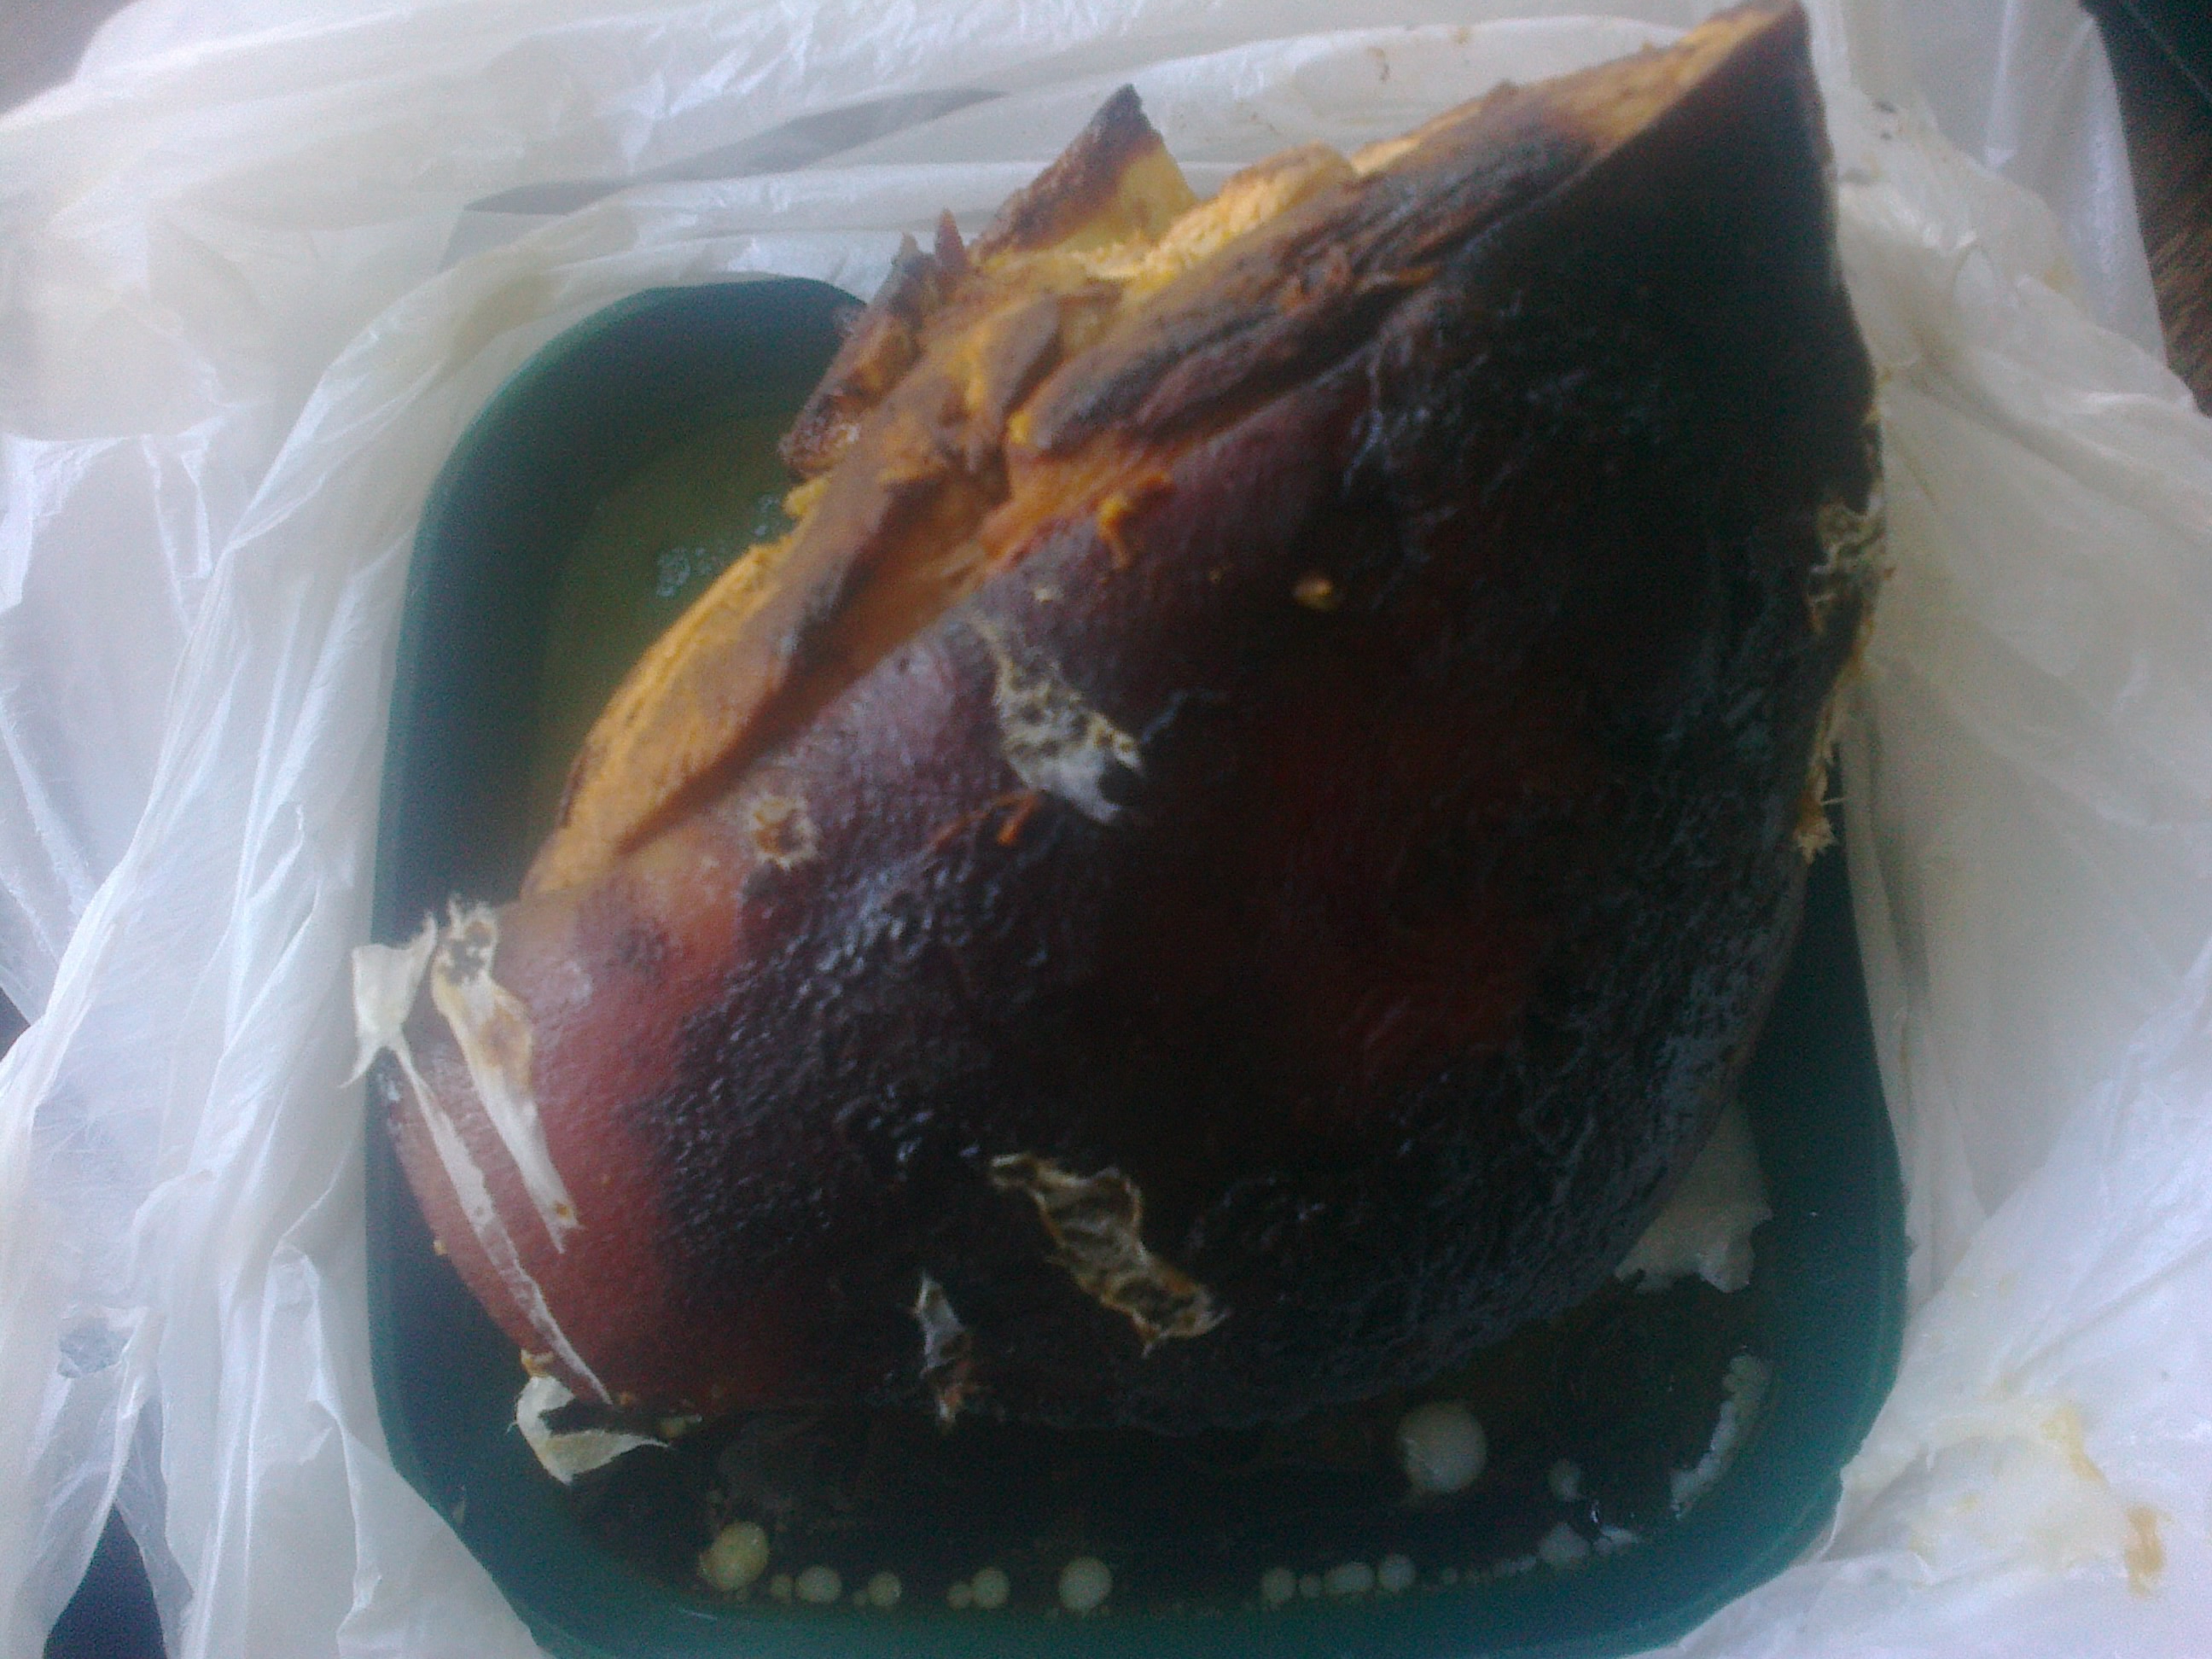
This change in plan due to the local supplier being out of beef is a fortuitous one as it turns out. I managed to find a beautiful bone in Pork roast at the local butchers which will have a beautiful crispy skin as well. This is going to be a very tasty week for me. Sorry, can't send it over the internet. You have to to make this yourself at home.
But on the bright side it is easy. As with the chicken you marinate it in advance then cook it. In this case because it was a large cut. Used marinade for about three kilos to ensure it was a covered so the skin crisped up nicely with the honey. For a recap of the marinade look up last weeks – remember- this has to cover up all your meat if it's going to go through and cure all of it.
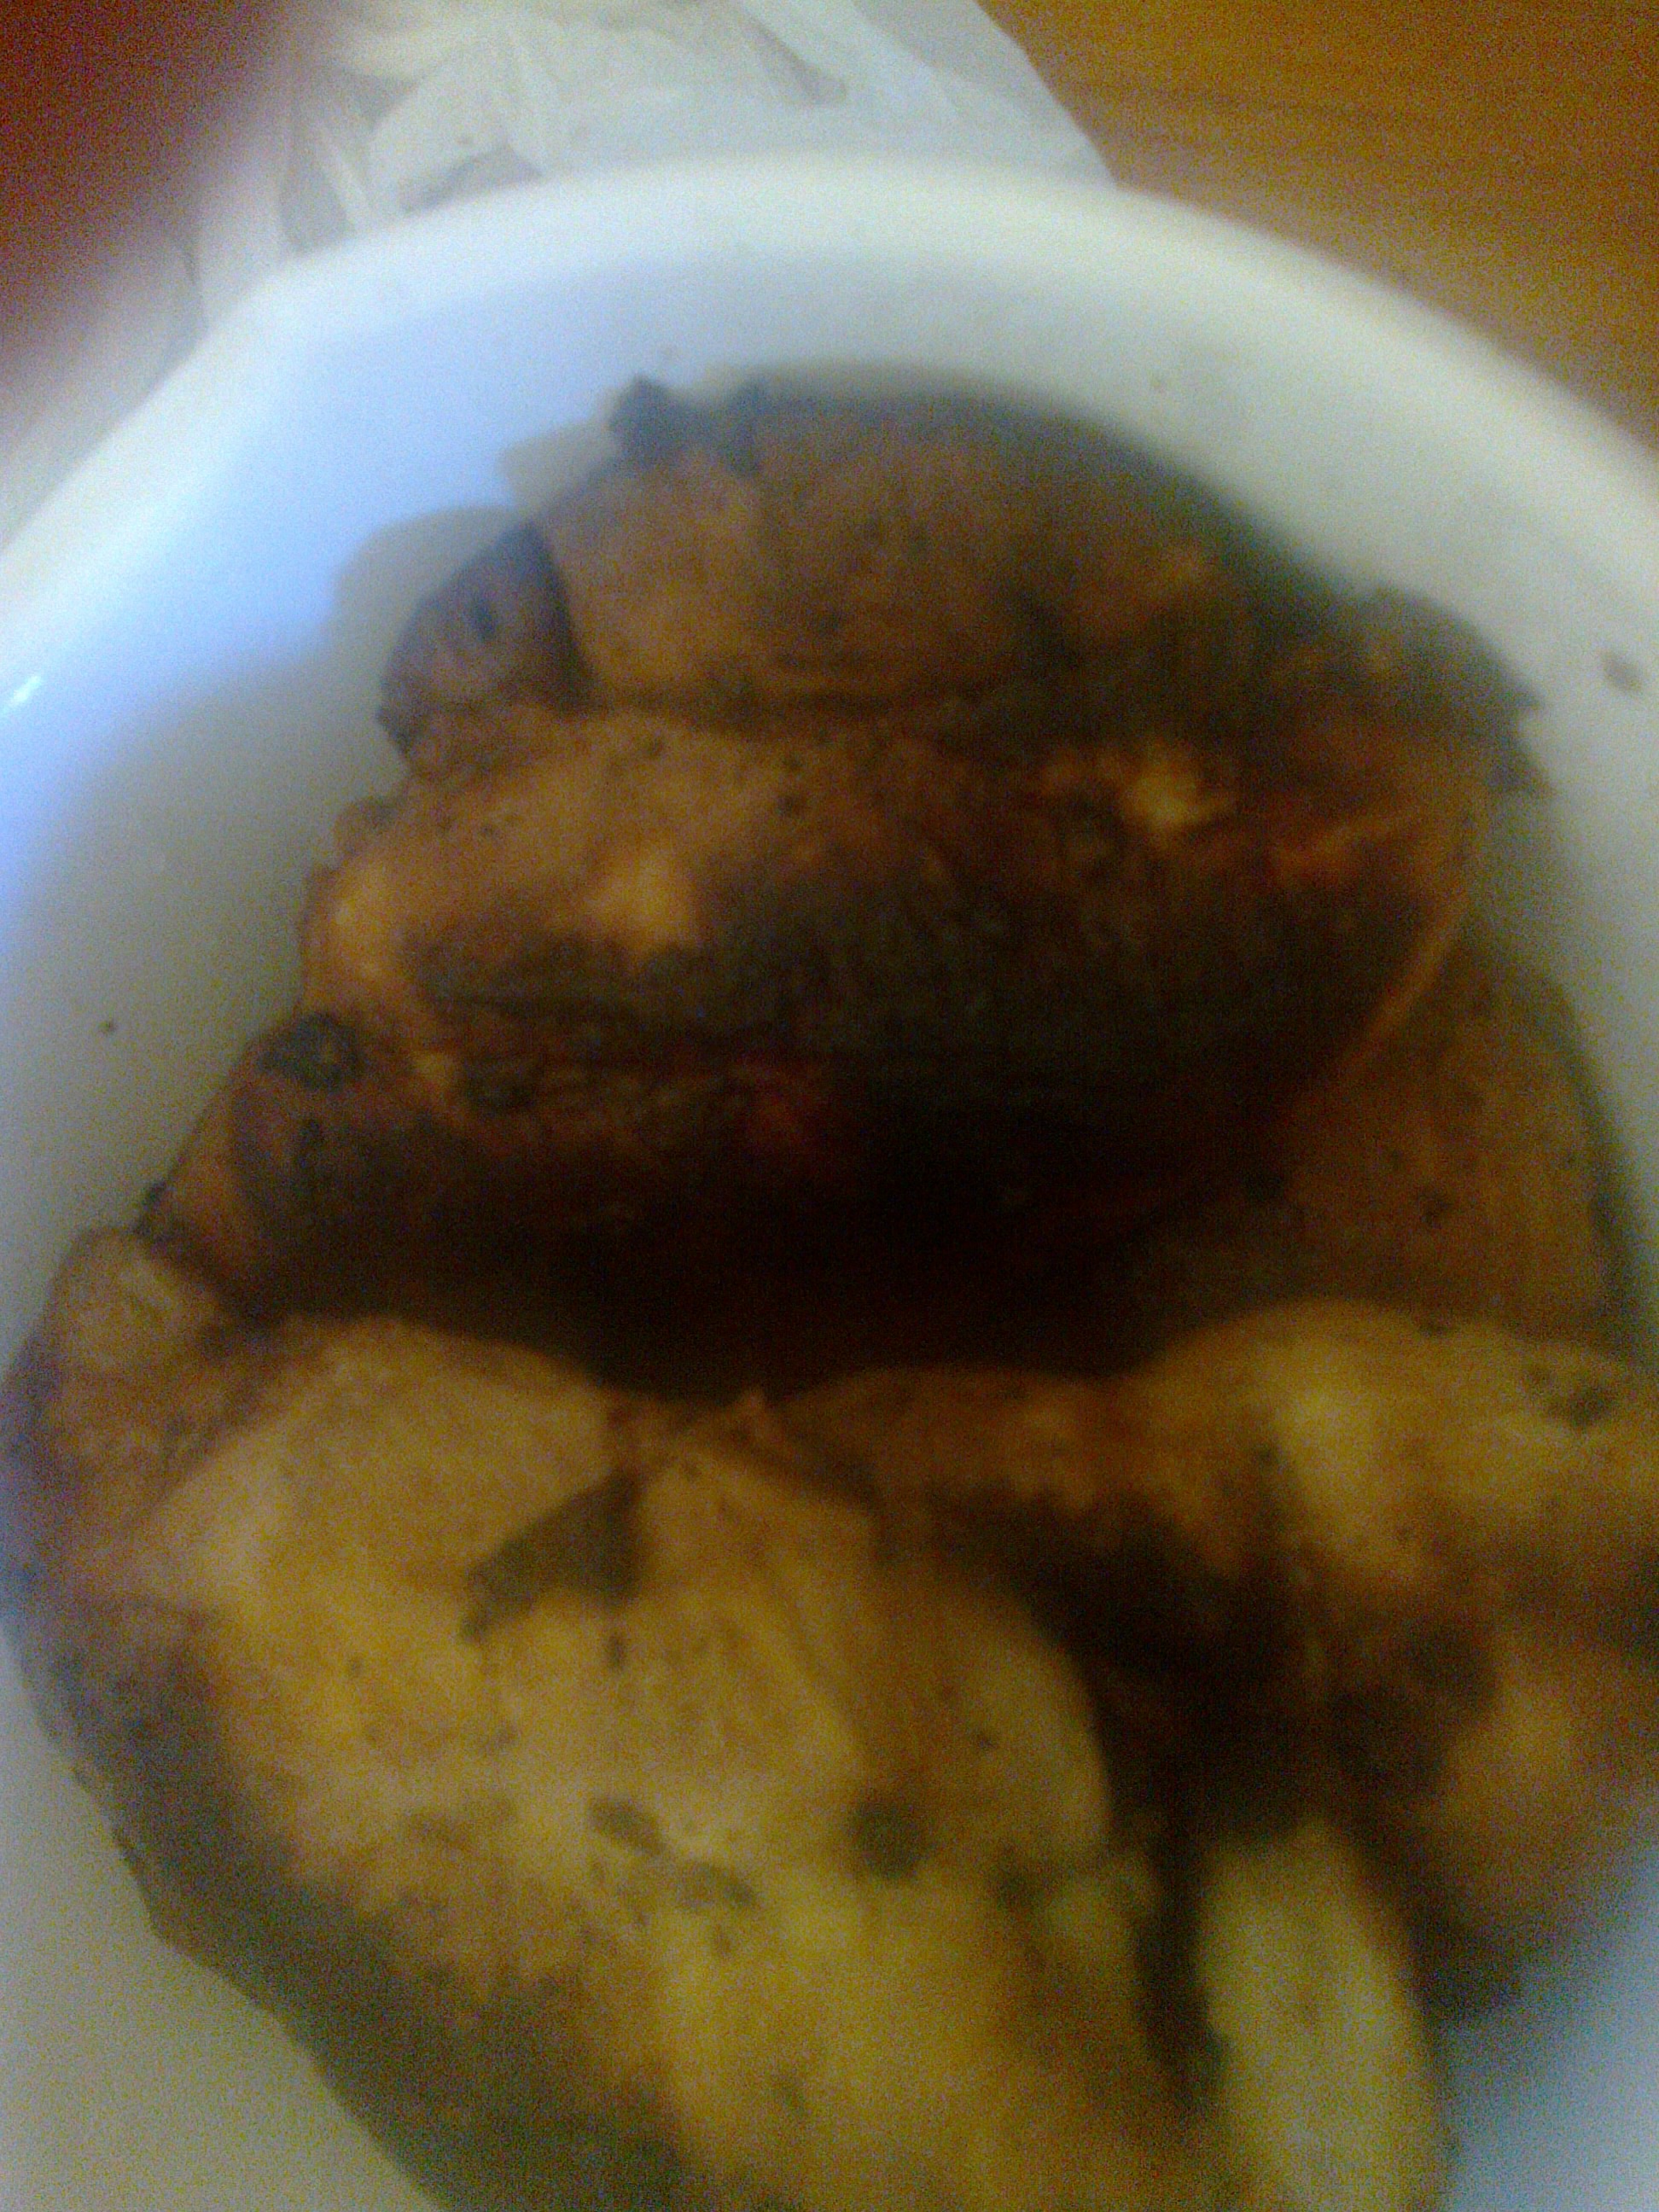
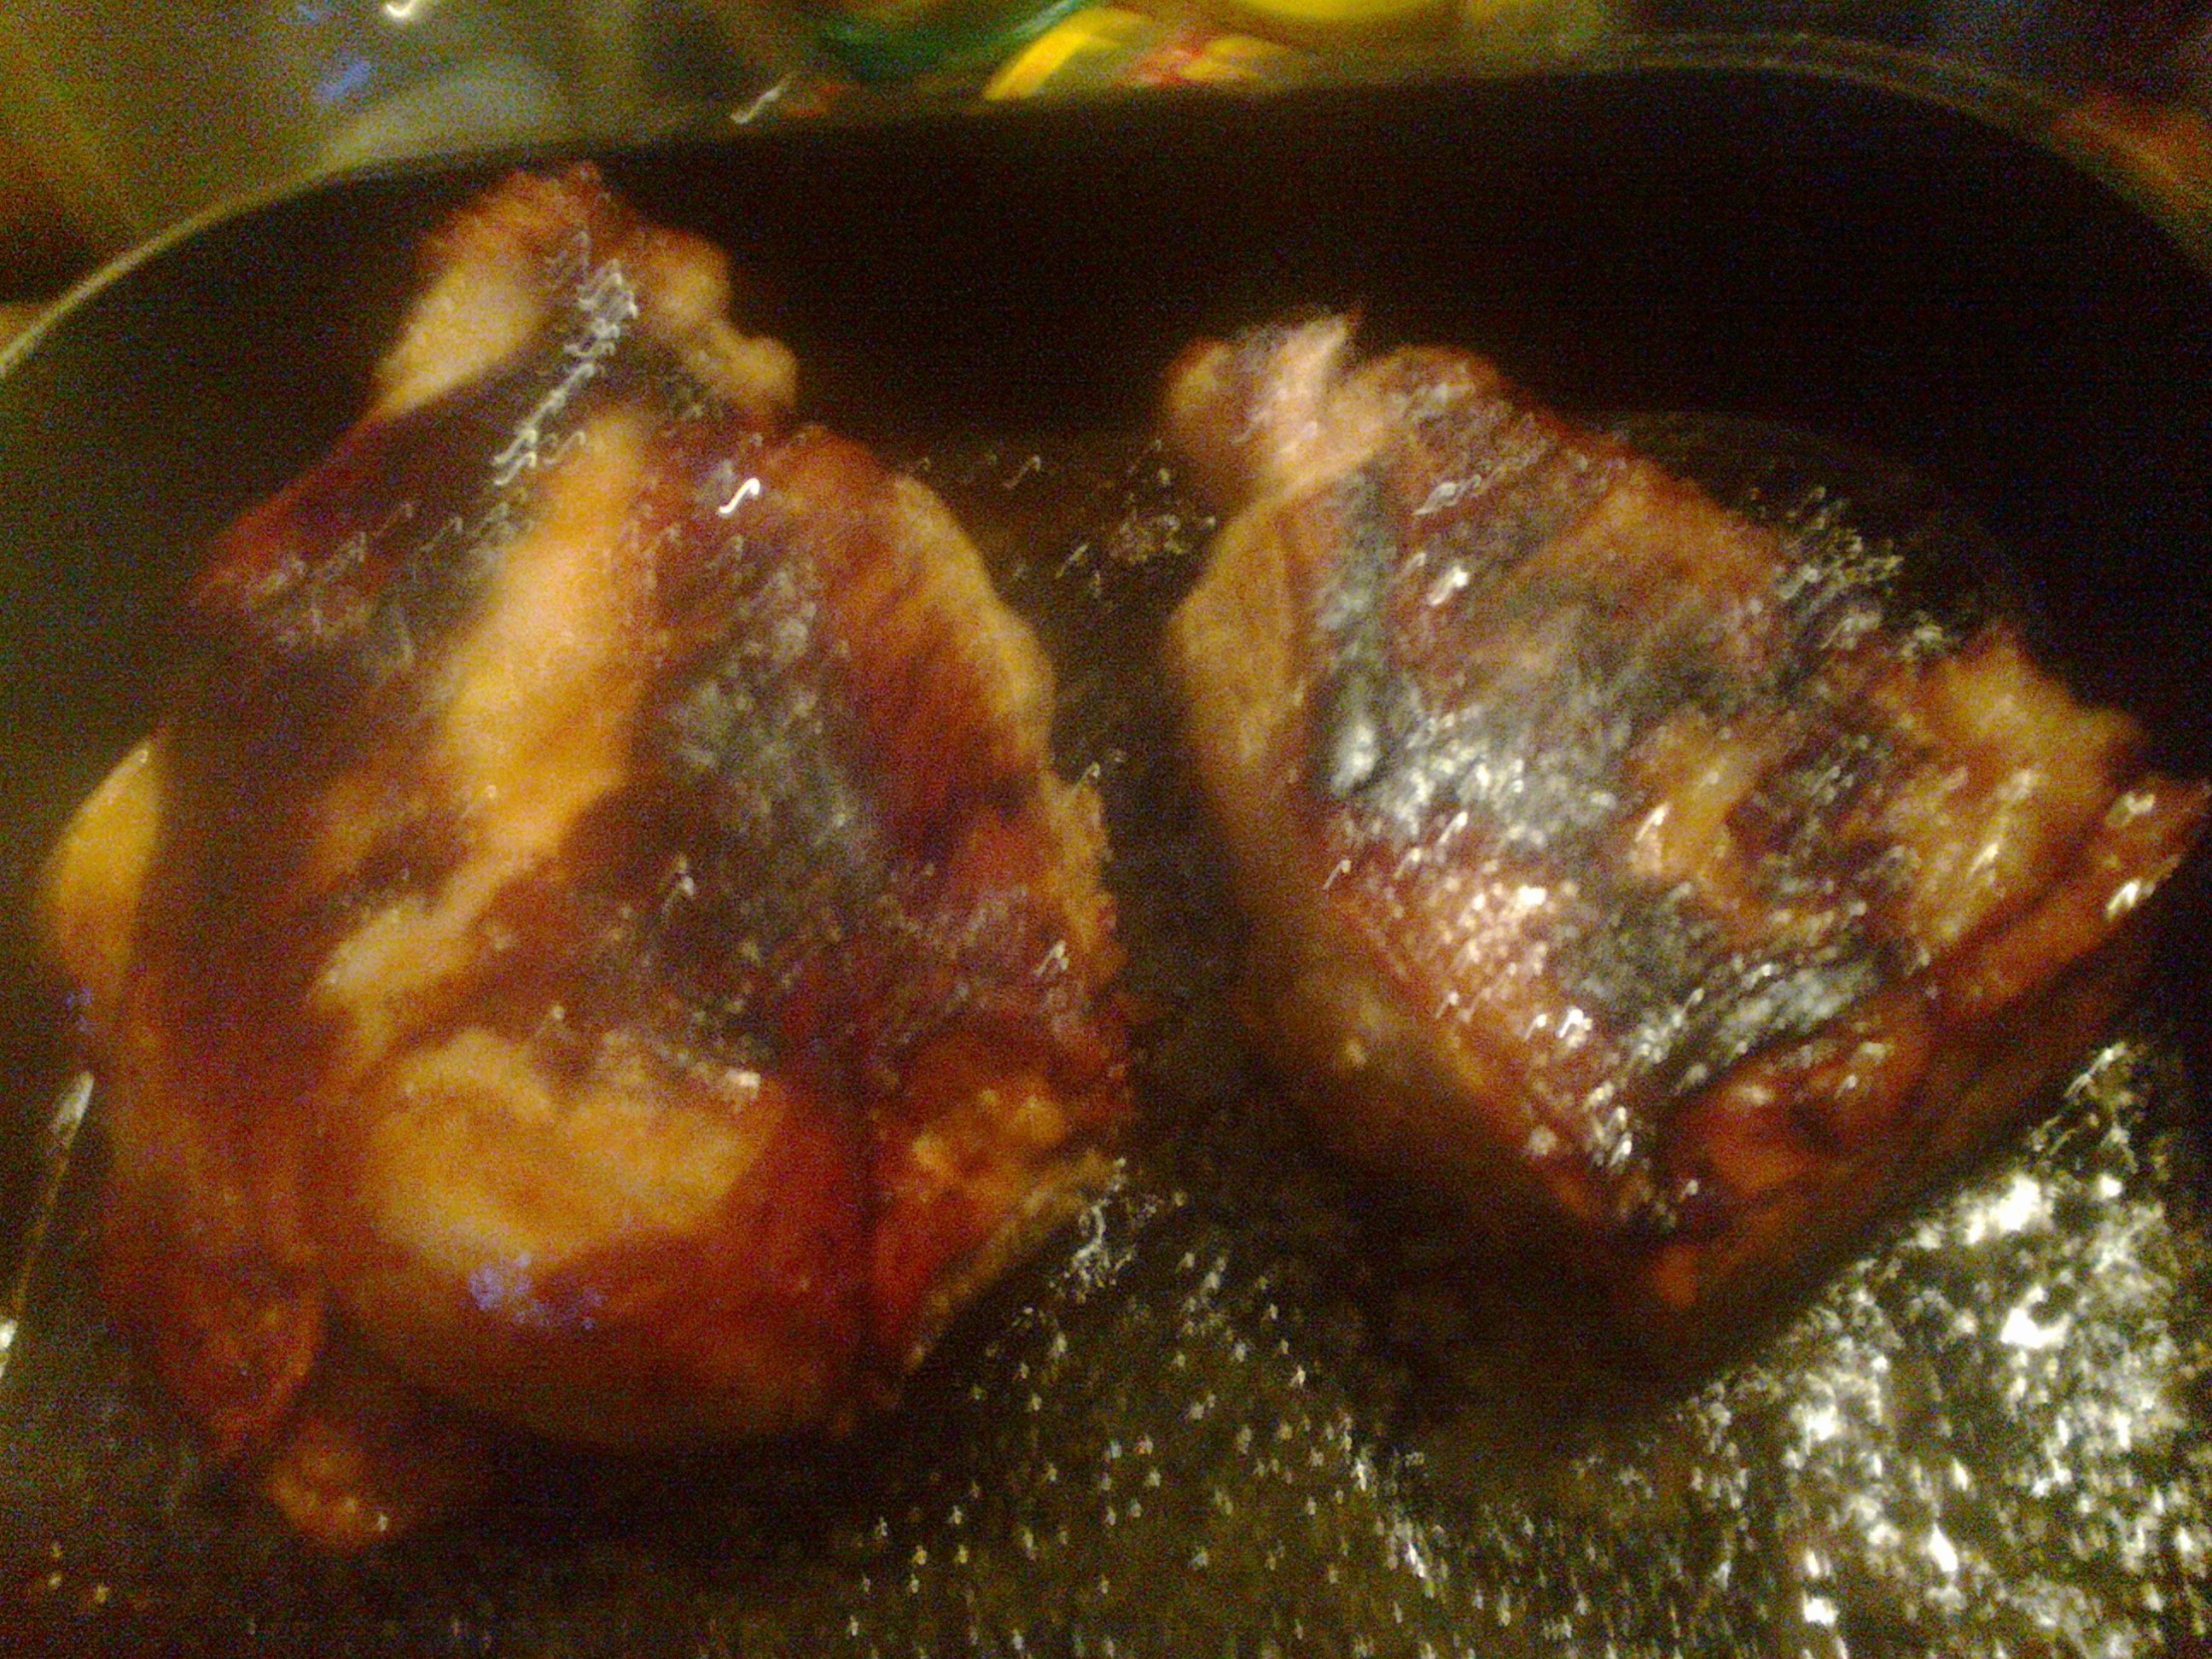
Cold Pork Roast
This the same marinade, done the same way as with the chicken. This time whey was used as well as water as more marinade was being made. The roast I used was a bone in roast with skin that came up very nice and crispy with a cured roast flavour. Done again in the electric frying pan, this took two or three hours but made a about two kilos of meat to carve up as you want to use it. I suggest that after cooking you use a ham bag and paper towel to store.
Cold Roast Pork
- Pork Roast
- Marinade for Size of Roast (Per kilo rounding up)
- Cooking oil
- Electric frying pan
- Flipper
- Storage Plate
- Paper Towel
- Ham Bag
- Marinade eat in Marinade for eighteen to twenty four hours, turning halfway through soaking to ensure both sides are evenly soaked if not fully covered.
- Cook meat through, turning in fry pan 3-4 times during cooking so it is cooked through so all sides are crisped up.
- Cool down and store on plate in paper towel and ham bag.
Beef Cold Meat
This change in plan due to the local supplier being out of beef is a fortuitous one as it turns out. Not only because I found a beautiful Pork Roast last week but the beautiful big bit of meat I bought from the local suppliers was worth the wait. Cut into two to marinade and cook it was well worth the wait when cooked. As with the chicken and the pork you marinate it in advance then cook it. In this case because it was a large cut It was twenty four hours. I used marinade for about three kilos to ensure it was covered and soaked it in a four litre Ice cream container. Remember- this has to cover up all your meat if it's going to go through and cure all of it.
Cold Beef Roast
This the same marinade, done the same way as with the chicken and pork.. The roast I used was a boneless roast, but it was a sold three kilo piece of meant that had a nice fat layer and when cut in two and marinated crisped up very well, remaining tender and moist on the inside with a cured roast flavour. Done again in the electric frying pan, this took two or three hours. I suggest that after cooking you use a ham bag and paper towel to store.
- Beef roast
- Marinade for Size of Roast (Per kilo rounding up)
- Cooking oil
- Flipper
- Storage Plate
- Paper Towel
- Ham Bag
- Marinade meat in Marinade for eighteen to twenty four hours, turning halfway through soaking to ensure both sides are evenly soaked if not fully covered.
- Cook meat through, turning in fry pan 3-4 times during cooking so it is cooked through so all sides are crisped up.
- Cool down and store on plate in paper towel and ham bag.
Other Savory Recipes
Egg White Omlette
I made this egg white omelette that night to use up the whites from ten eggs and leftover cream from the custard. Not as filling as a whole egg omelette but a good side with salad and chicken and done in the same large electric frying pan, and at different times very trendy and gourmet.
- Egg Whites
- Pepperoni or cold meat
- Leftover cream – about 50 grams
- Bowl
- Whisk
- Frying pan
Whisk eggs and cream together to form a basic omelette or scrambled egg mixture. Throw in your cold meat (Preferable a strong flavoured one), whisking in well. Cook in frying pan at about mid high till cooked and serve.
Garlic Toast
This is a simple comfort food that I have often liked as a kid. Best made with a heavier bread such as a dark rye, German Potato Bread or a good sweet and sour it can nonetheless be made with any kind of bread with care.
- Bread, sliced
- 1 Garlic Clove Peeled
- Butter
- Toaster/Grill
- Butter knife
Toast Bread evenly both sides. When bread toasted rub garlic on both sides of the bread and then butter. Can be served any way, delicous by itself or with other food.
Sweets and Preserves
Stewed Apples
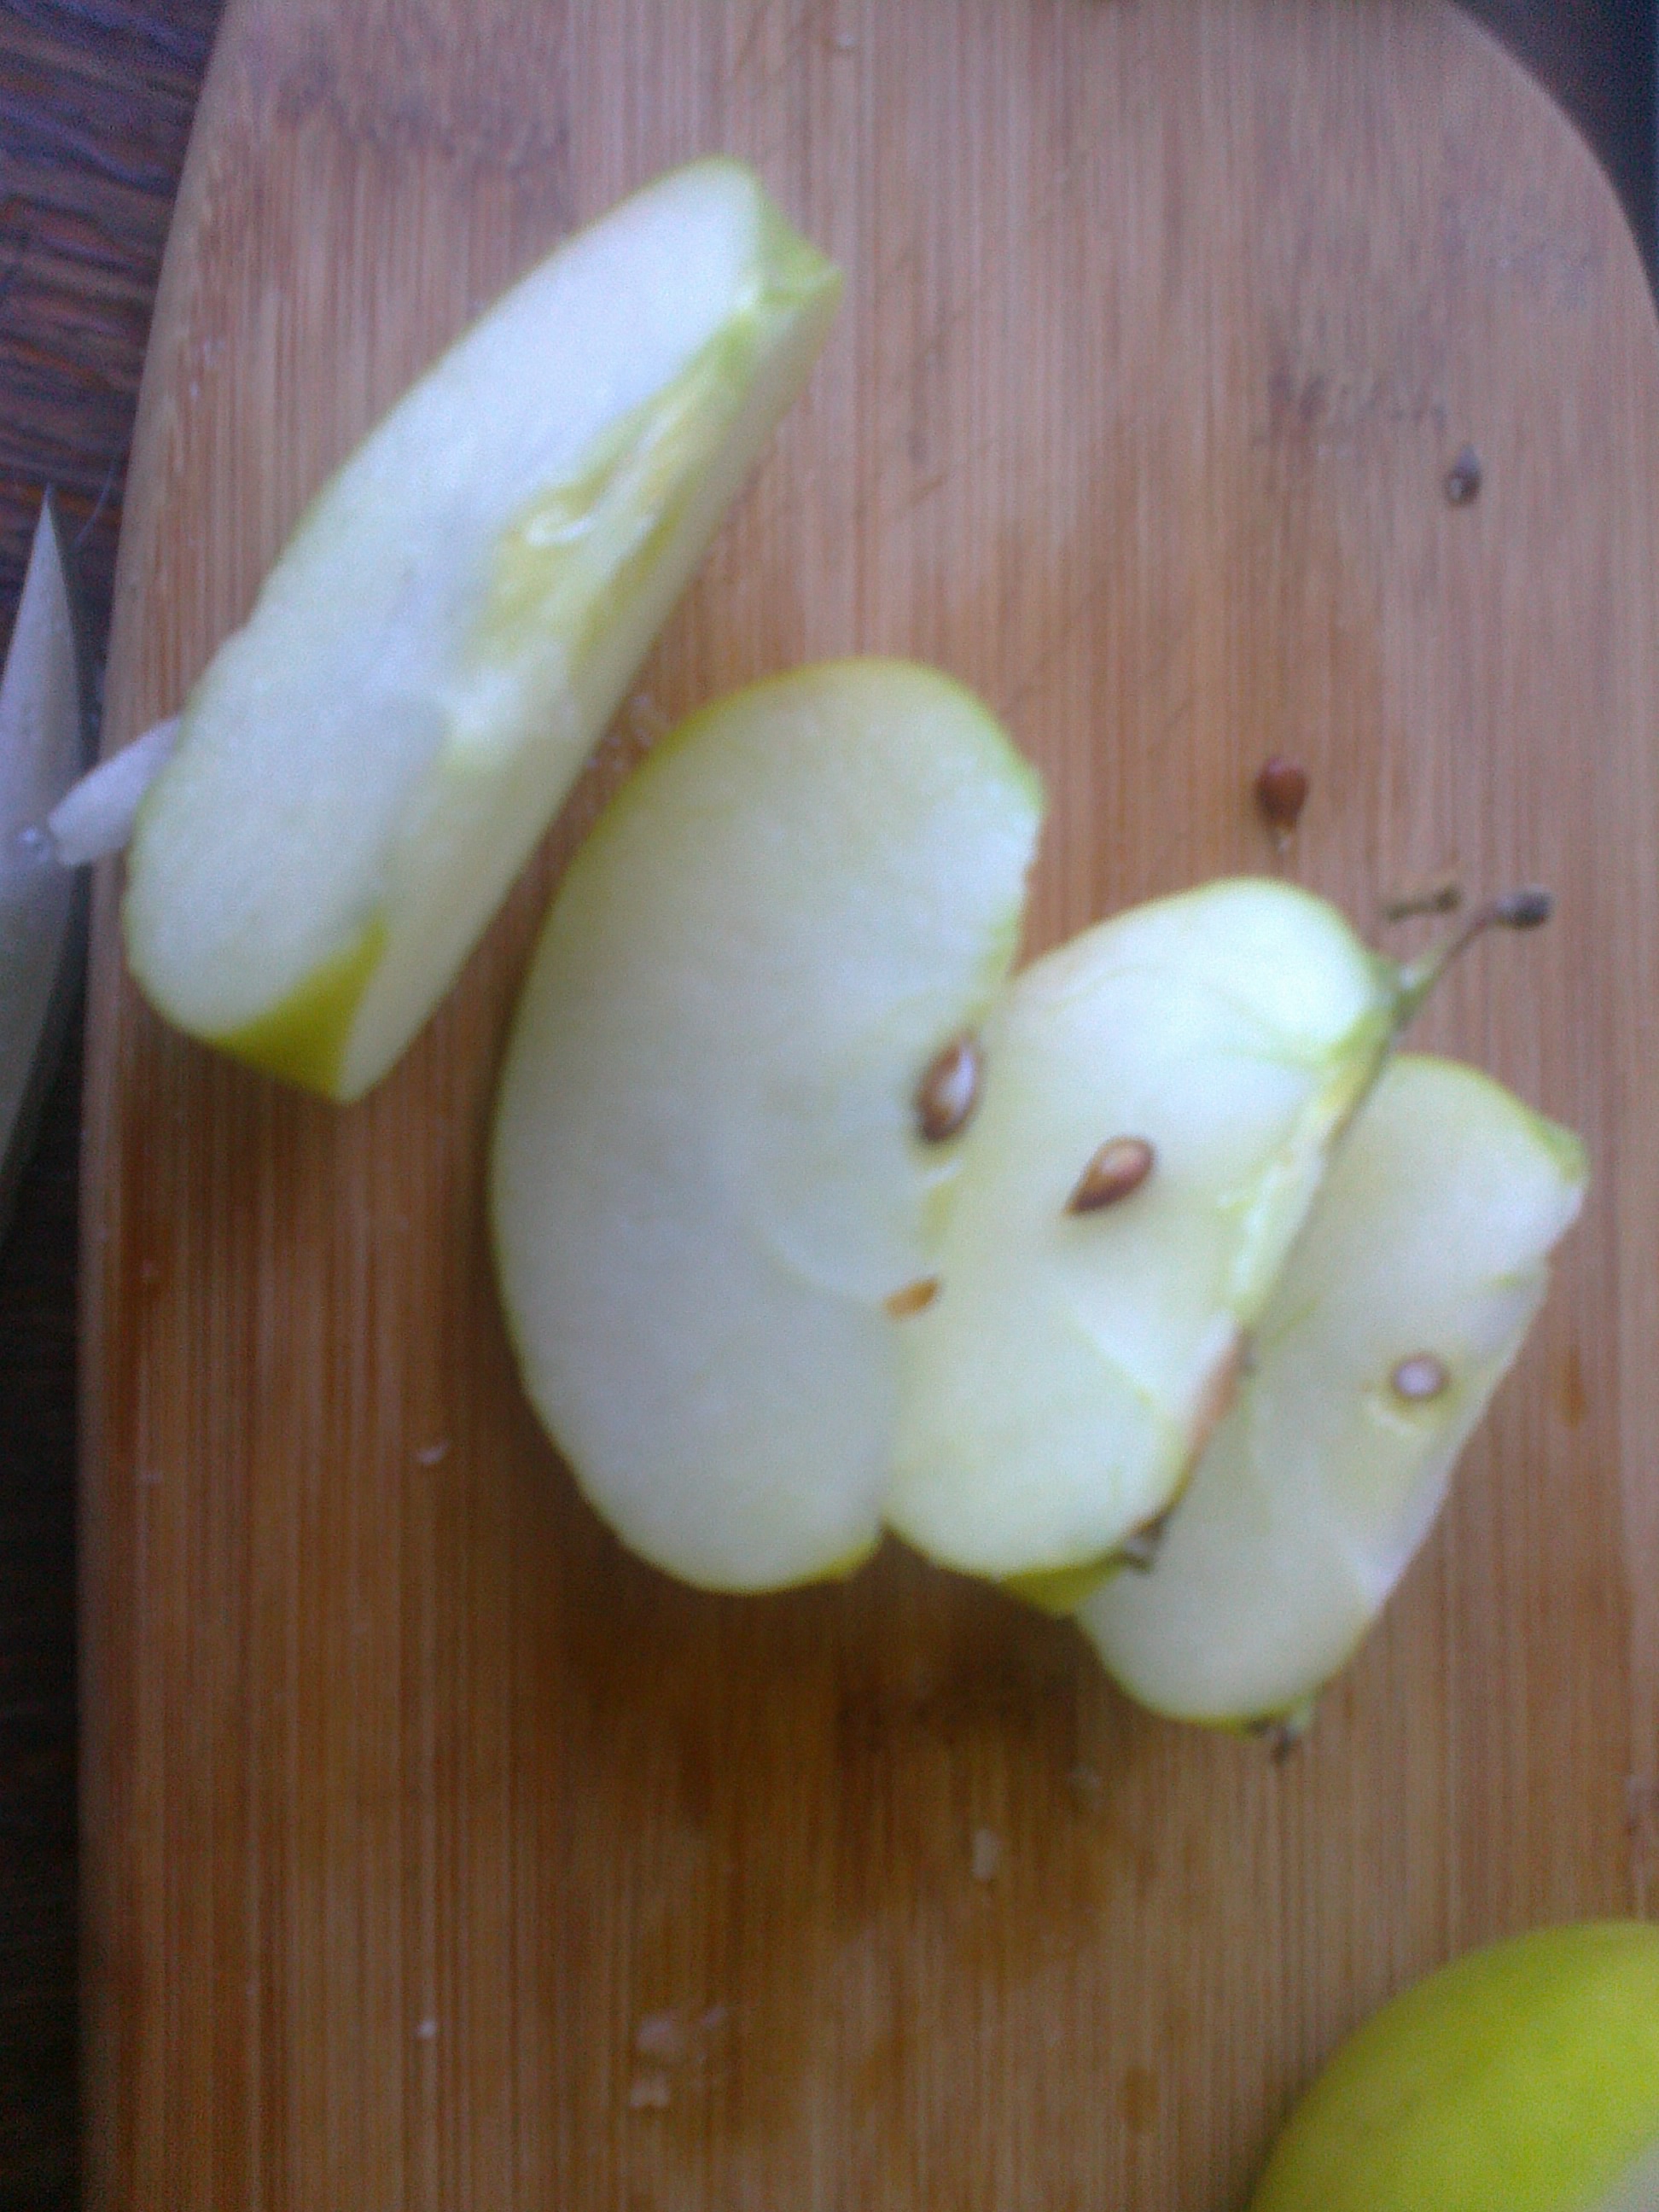
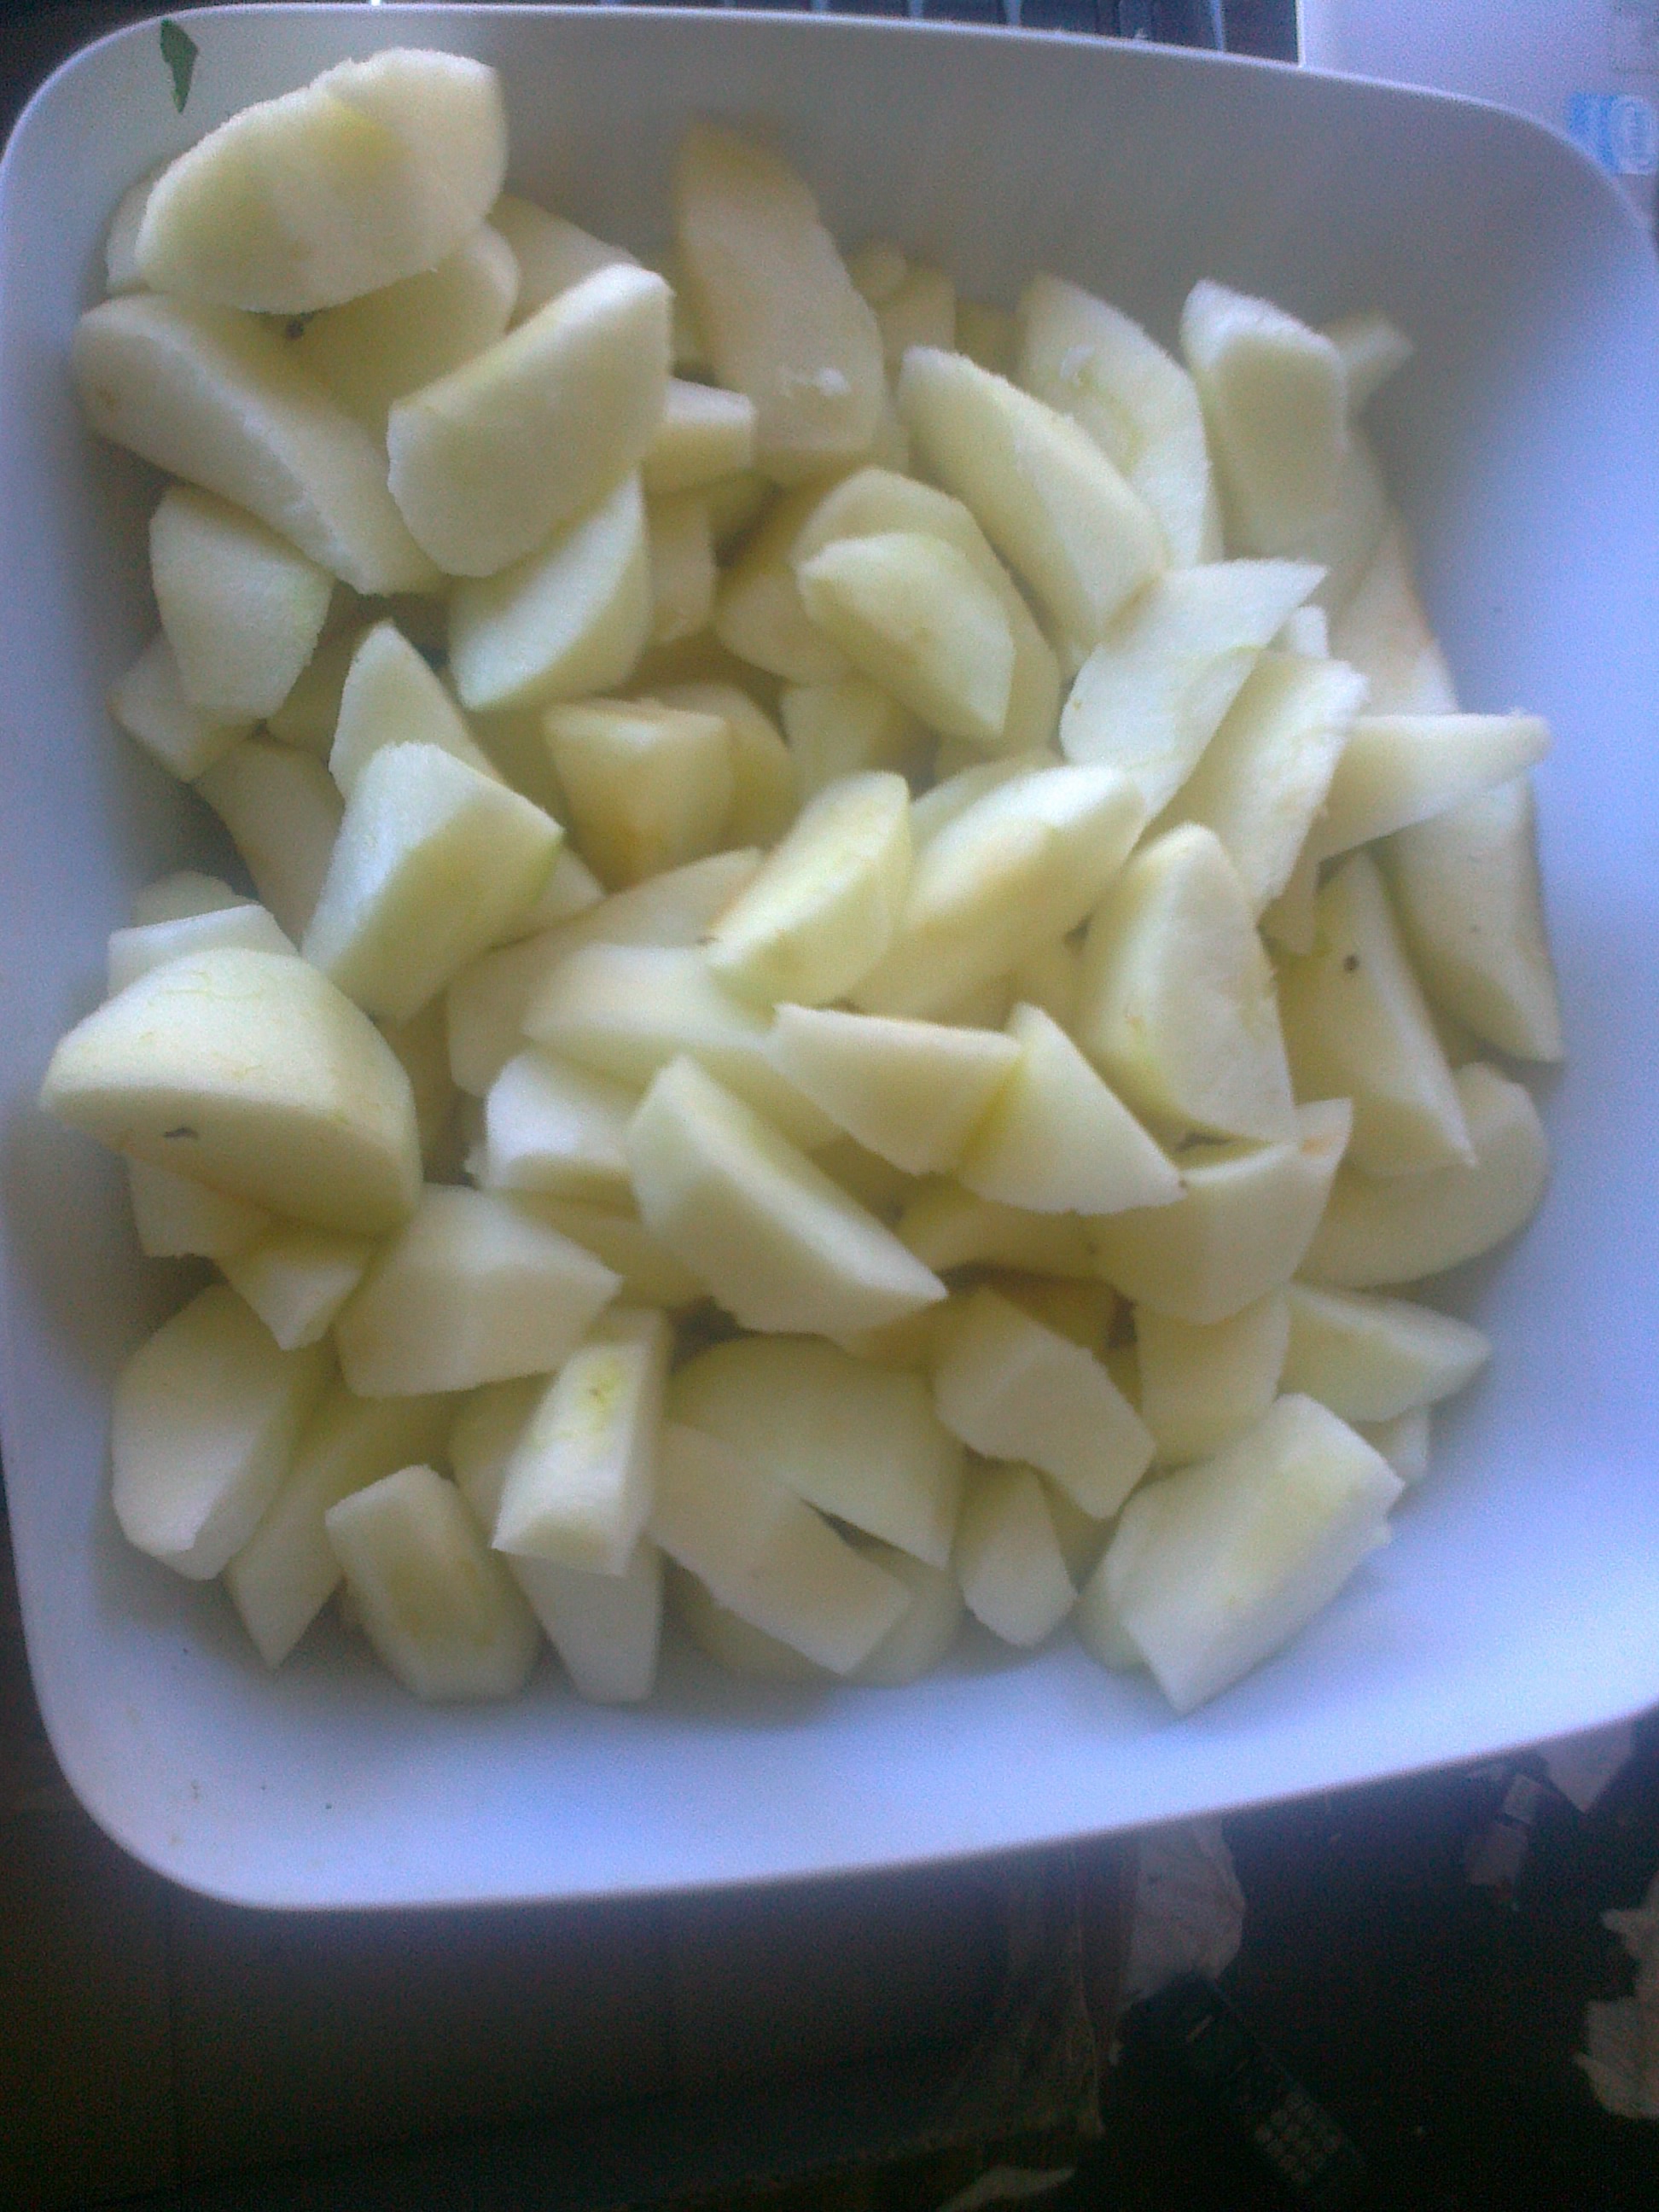
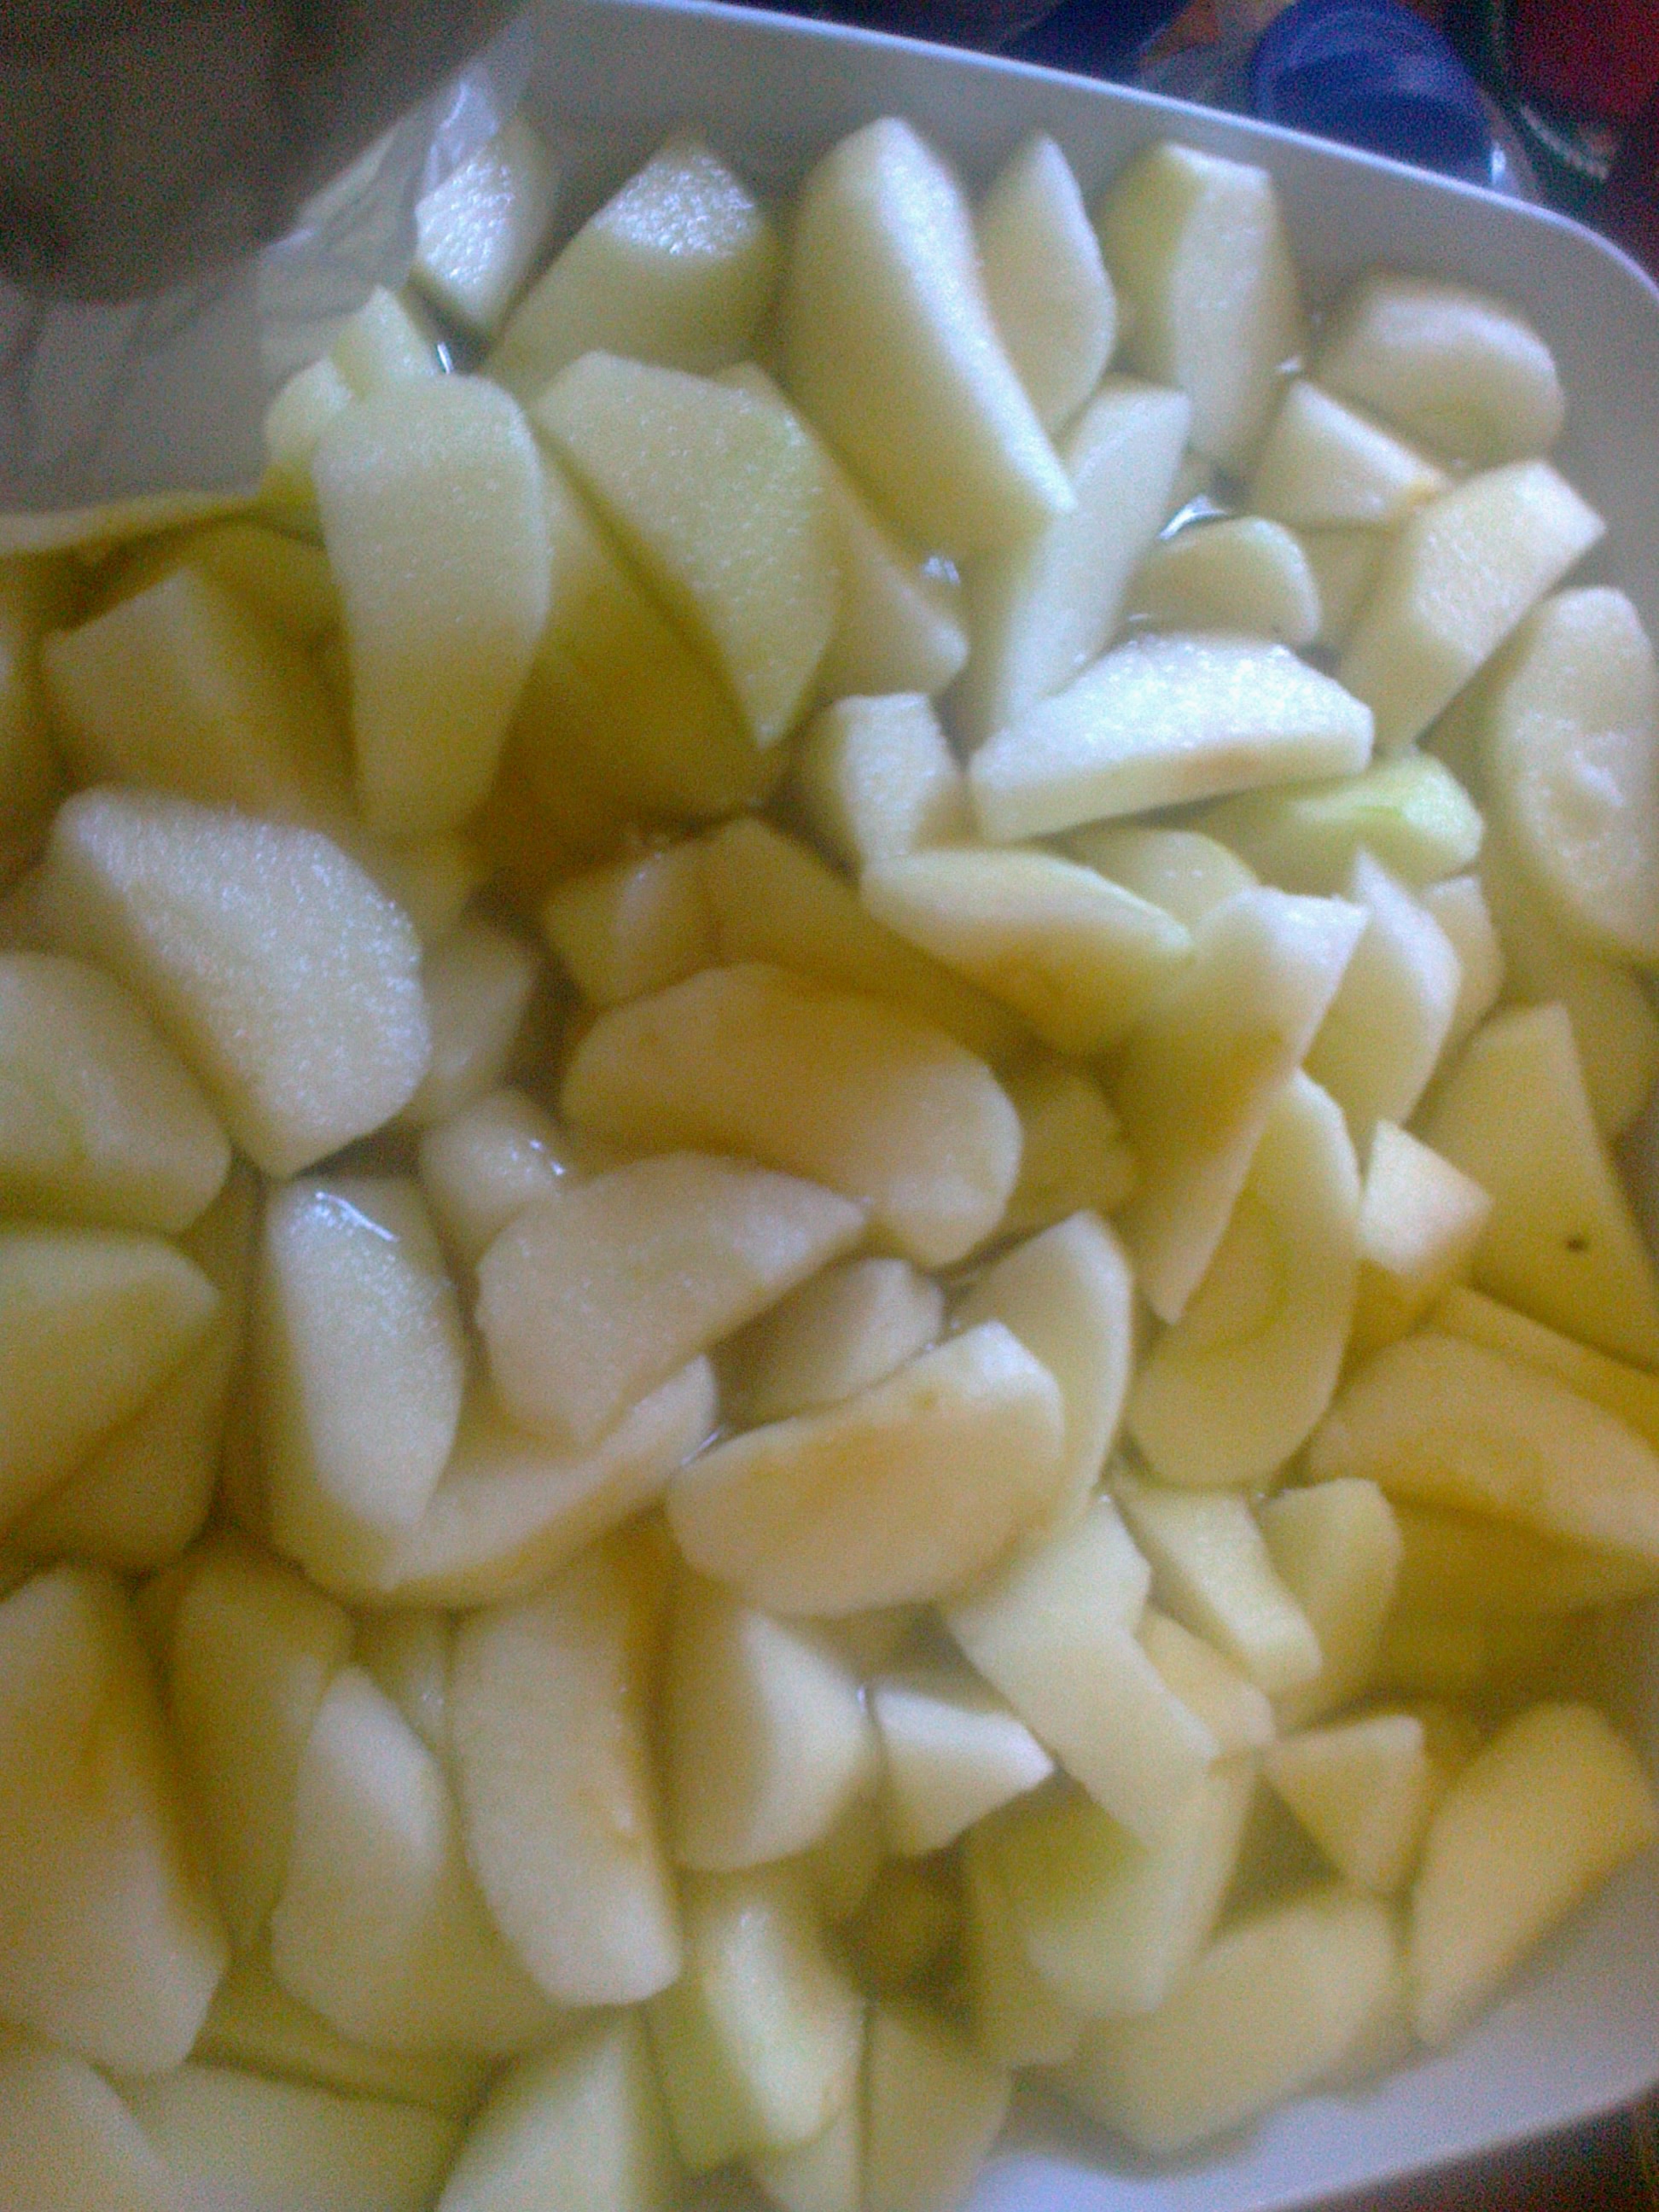
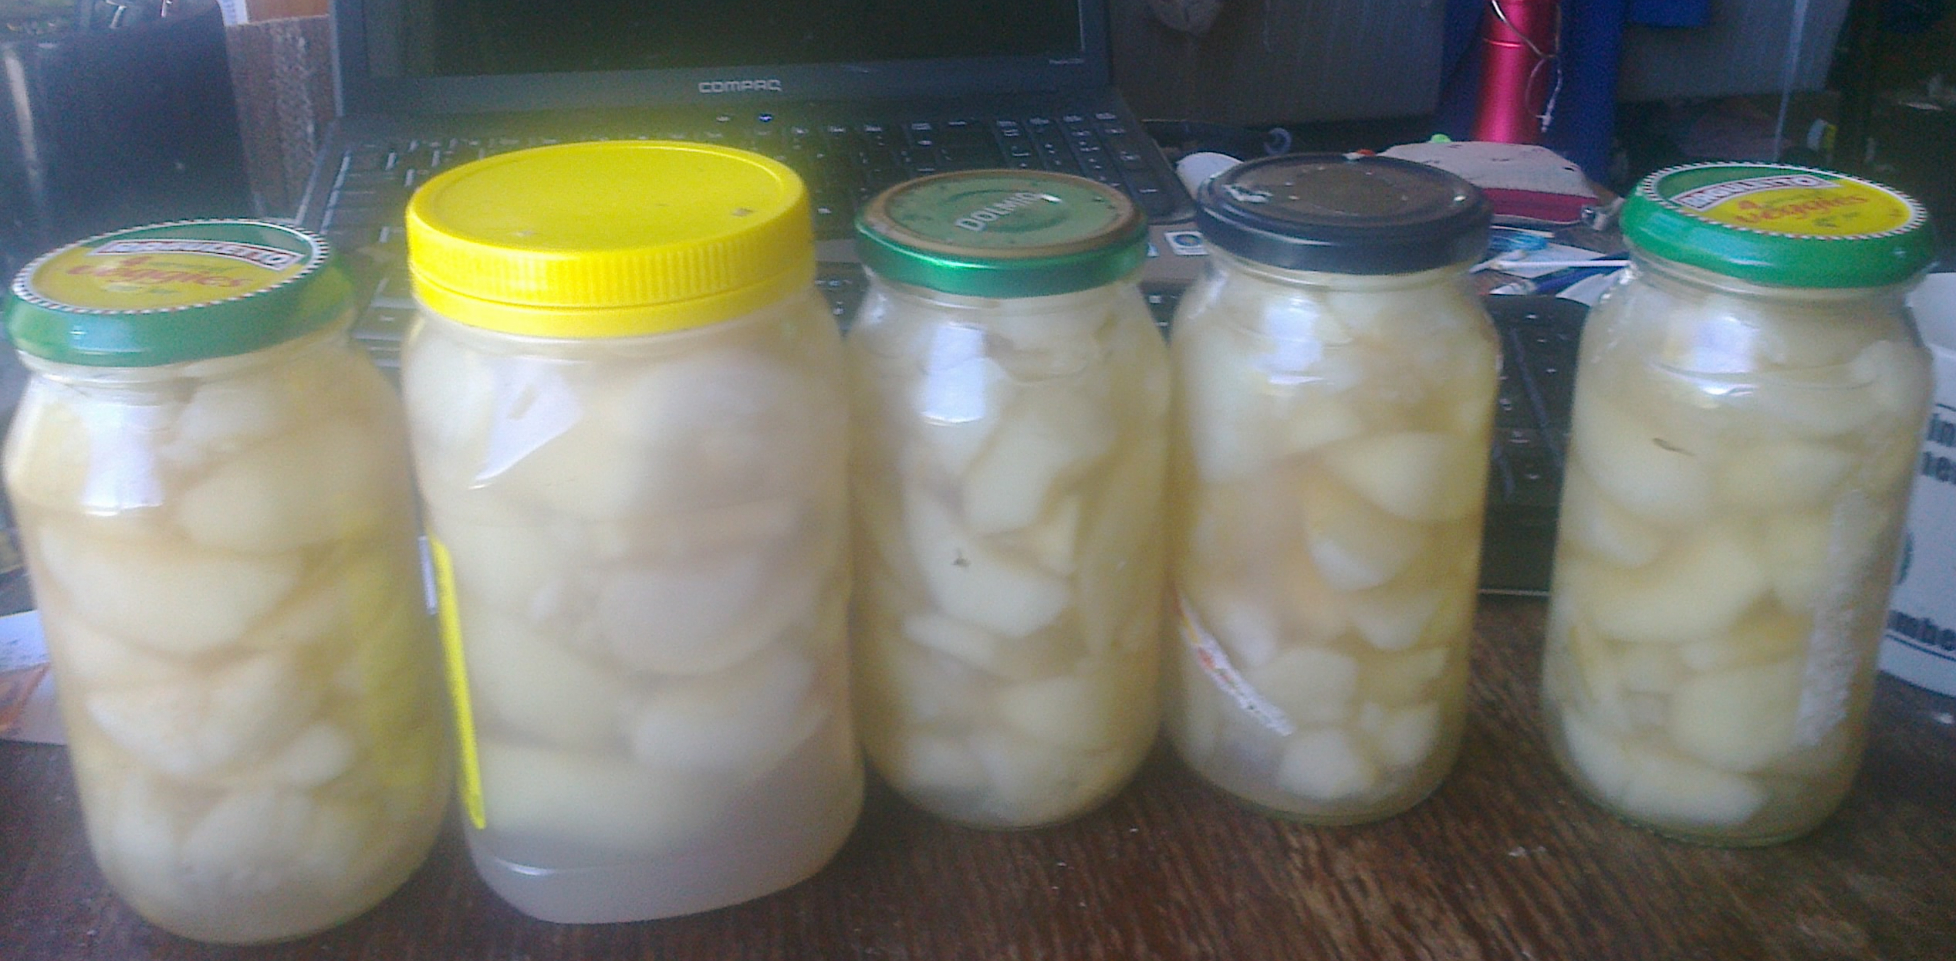
This is something I decided to test out when I saw a box of cooking apples when I went through the supermarket yesterday. This is a simple thing to do that preserves the walking fruit so you can keep it for longer using things you have around the house. This says apples but nothing says it only has to be apples – it could be any fruit you have too much of, perhaps even something like pumpkin and beetroot.
- Fruit (apples)
- One Shot of Vodka or gin per kilo of chopped fruit
- Teaspoon of honey per kilo
- Sweet vinegar (Apple Cider or equivalent.)
- Knife
- Bowl
- Large stockpot
- Storage Jars (Sterylised)
Cut up fruit up and put in bowl. For each kilo pour in a shot of the alcohol and a teaspoon of honey. Let up with water and leave overnight to steep. Cook till fruit tender but not falling apart with vinegar. When ready pour into bottles for storage.
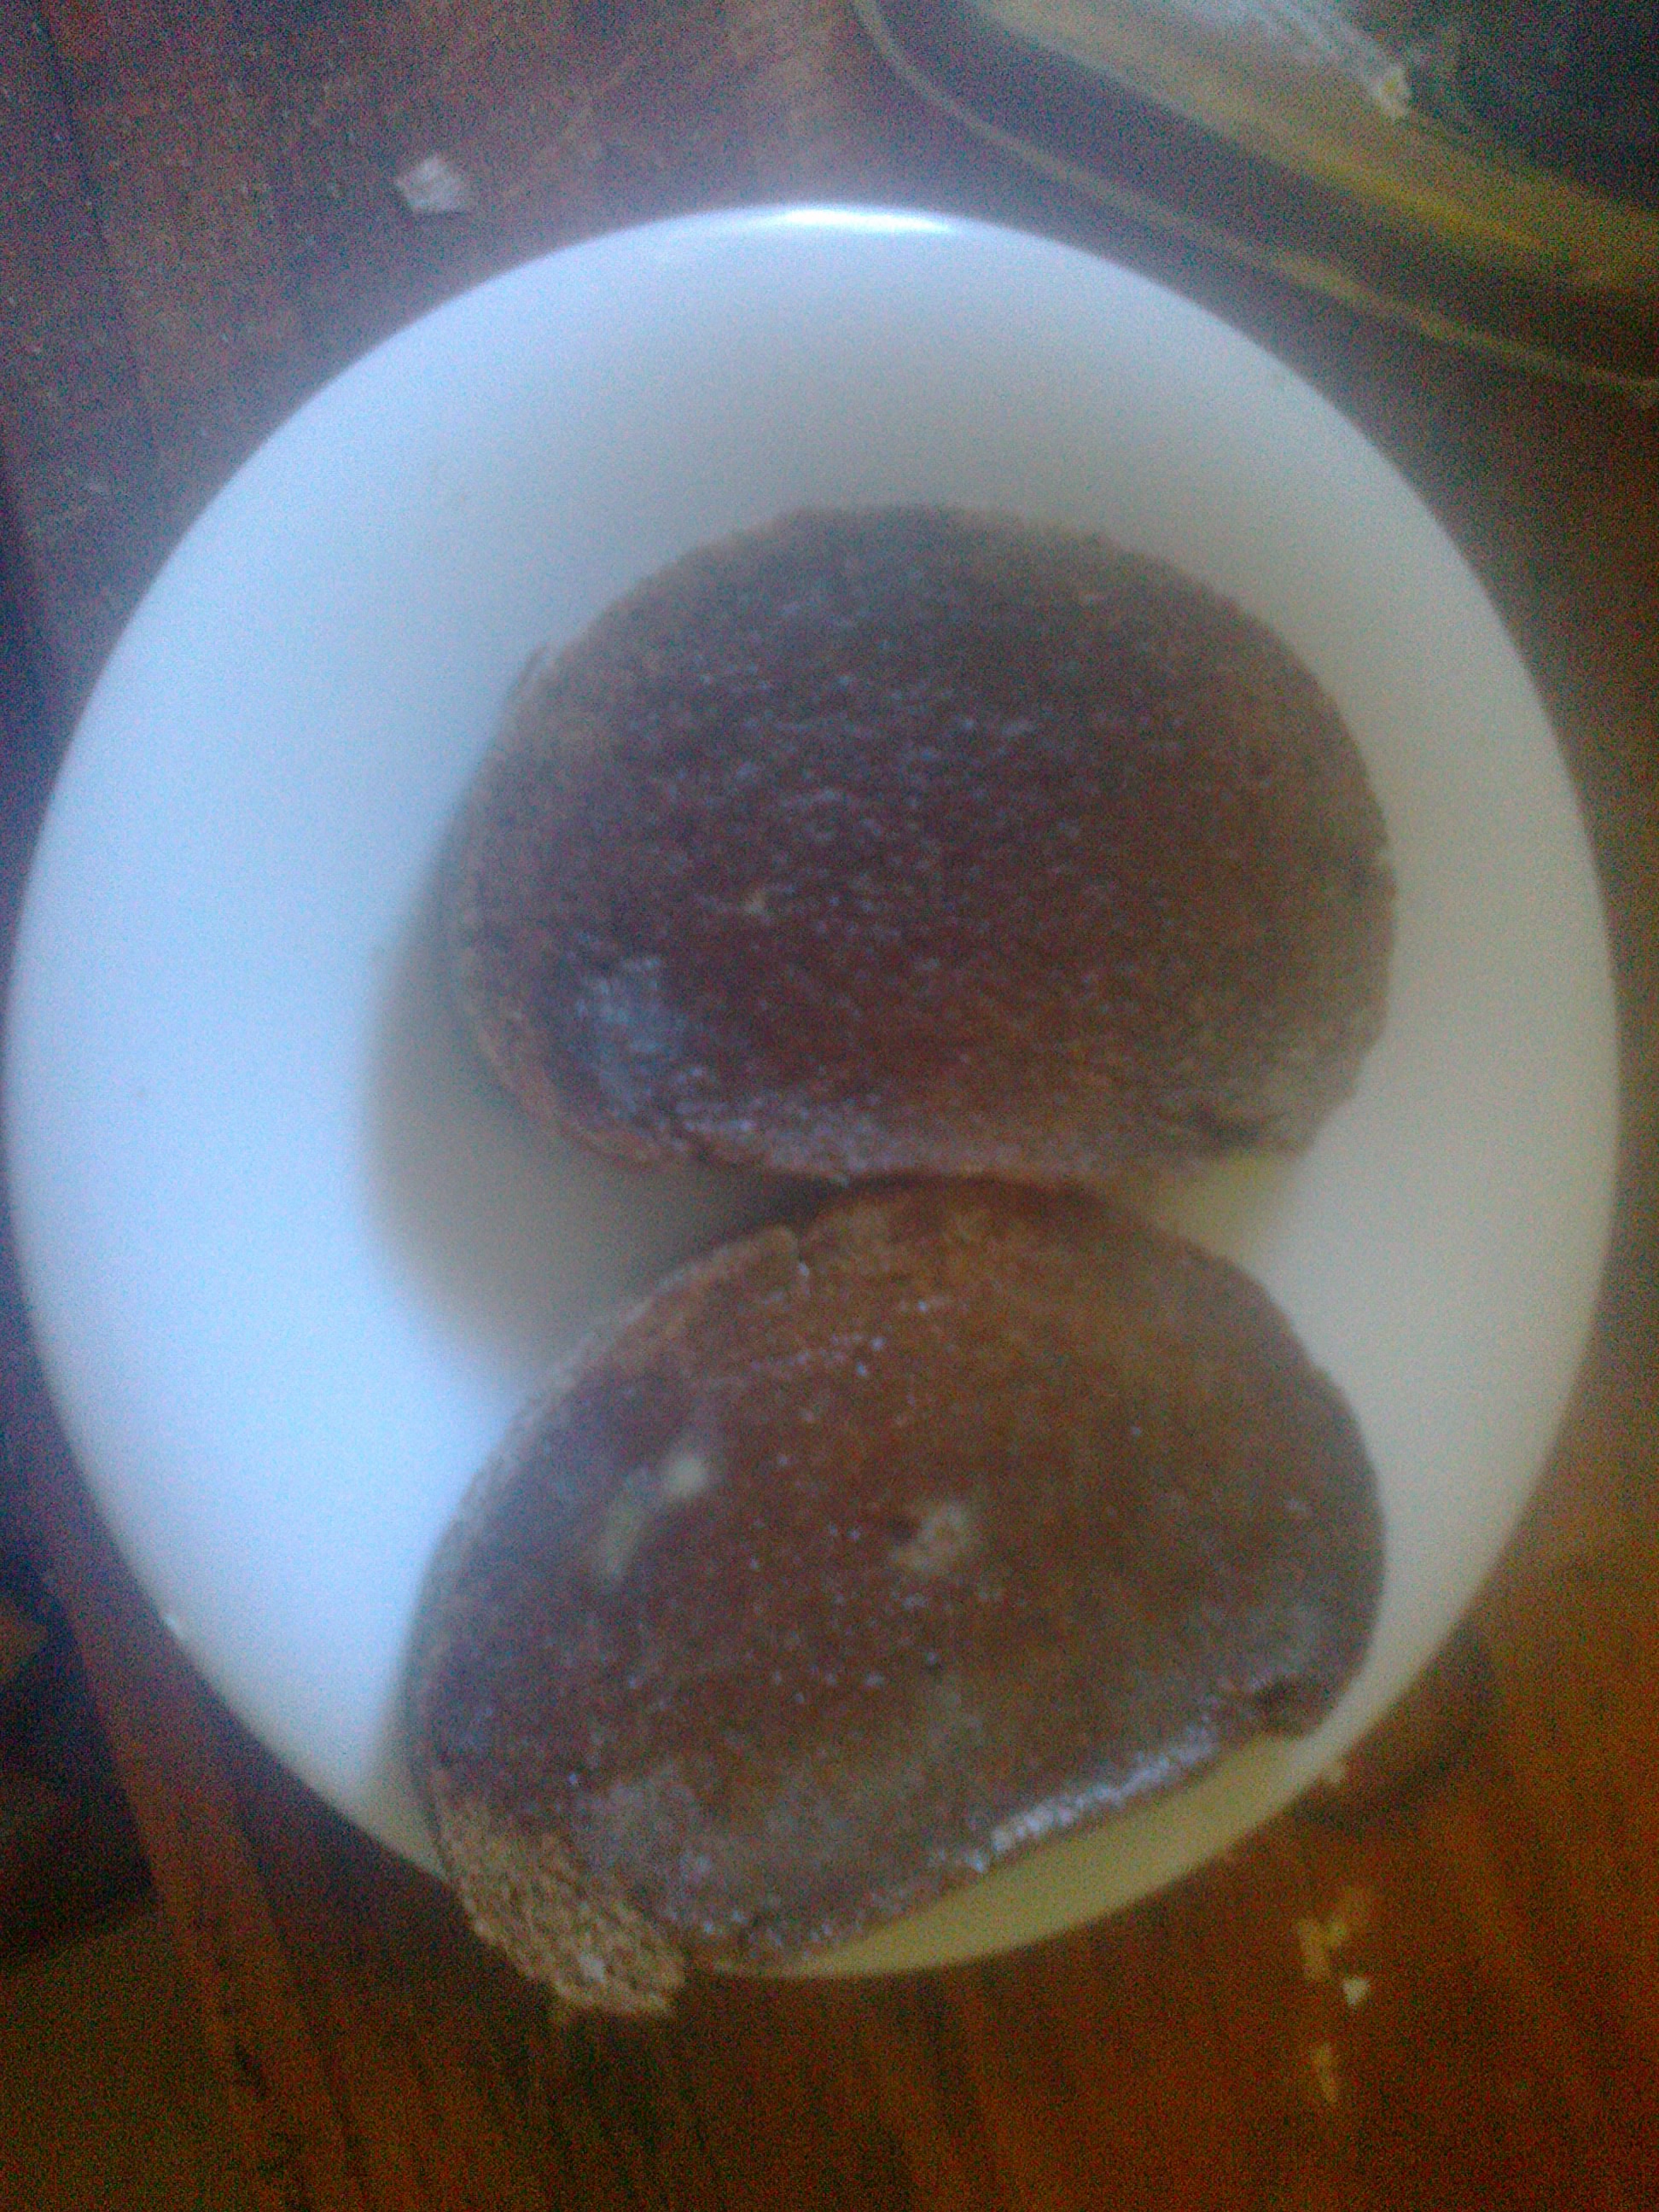
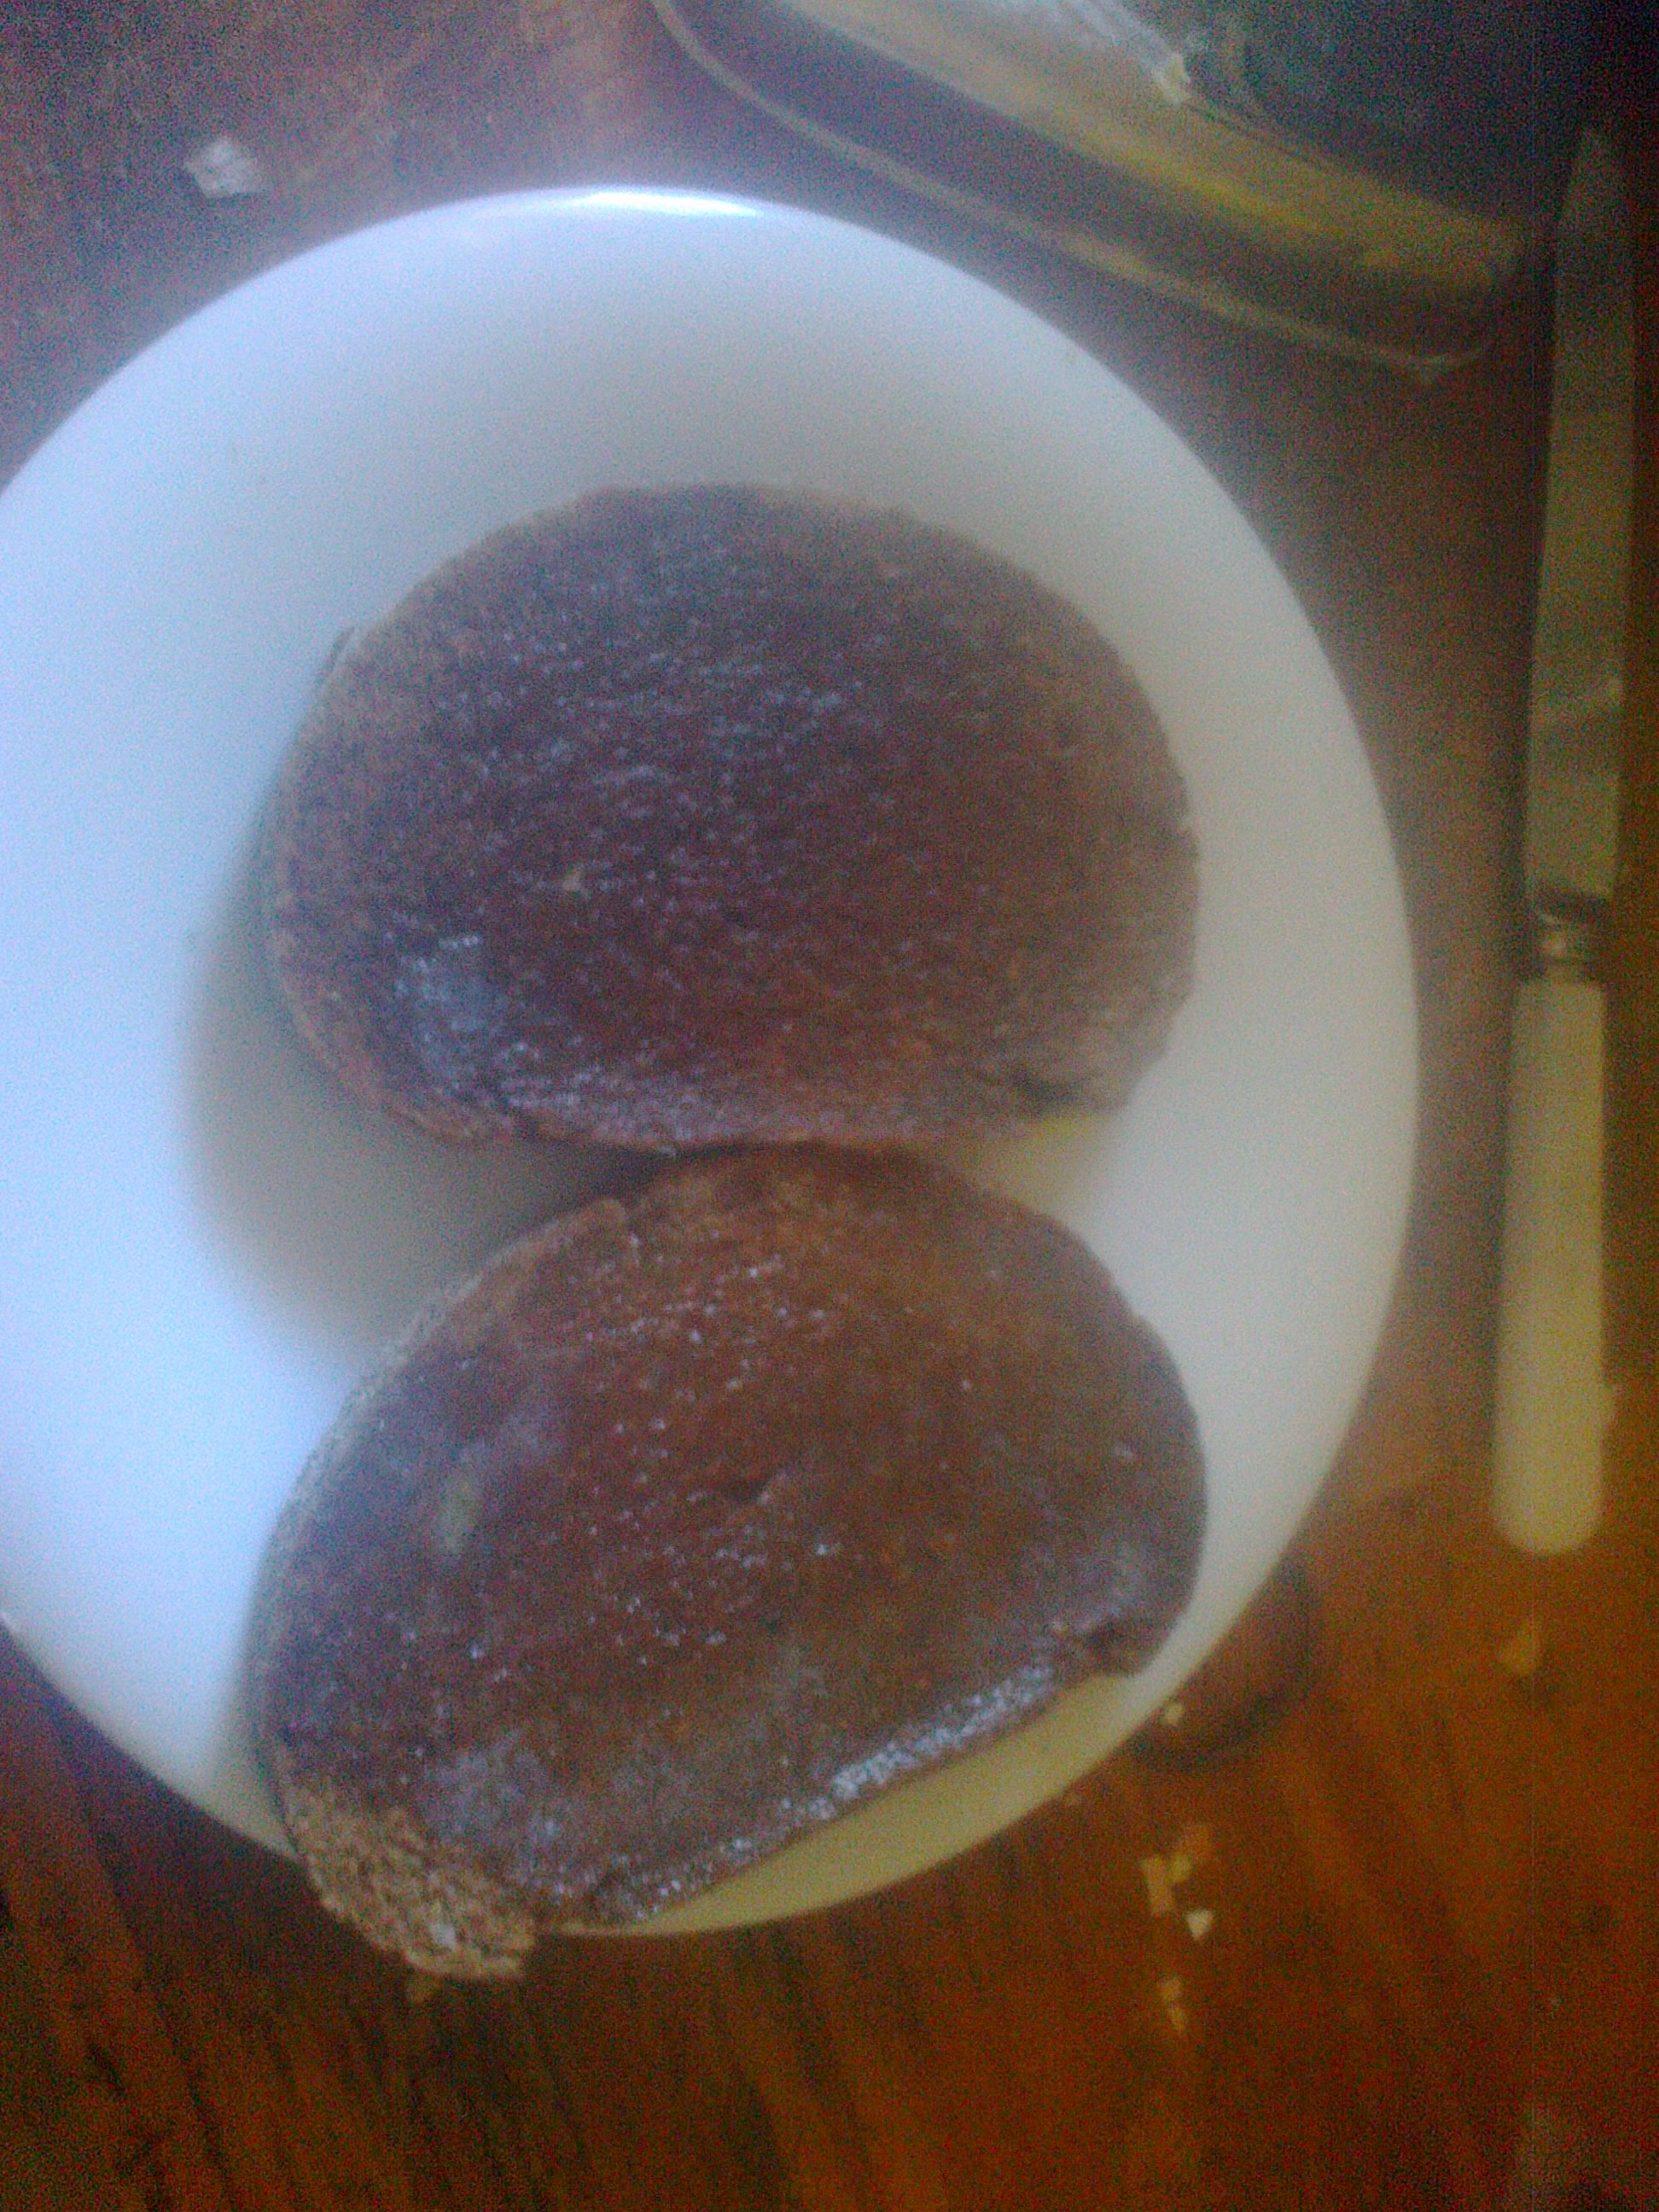
Jacket Baked Apples
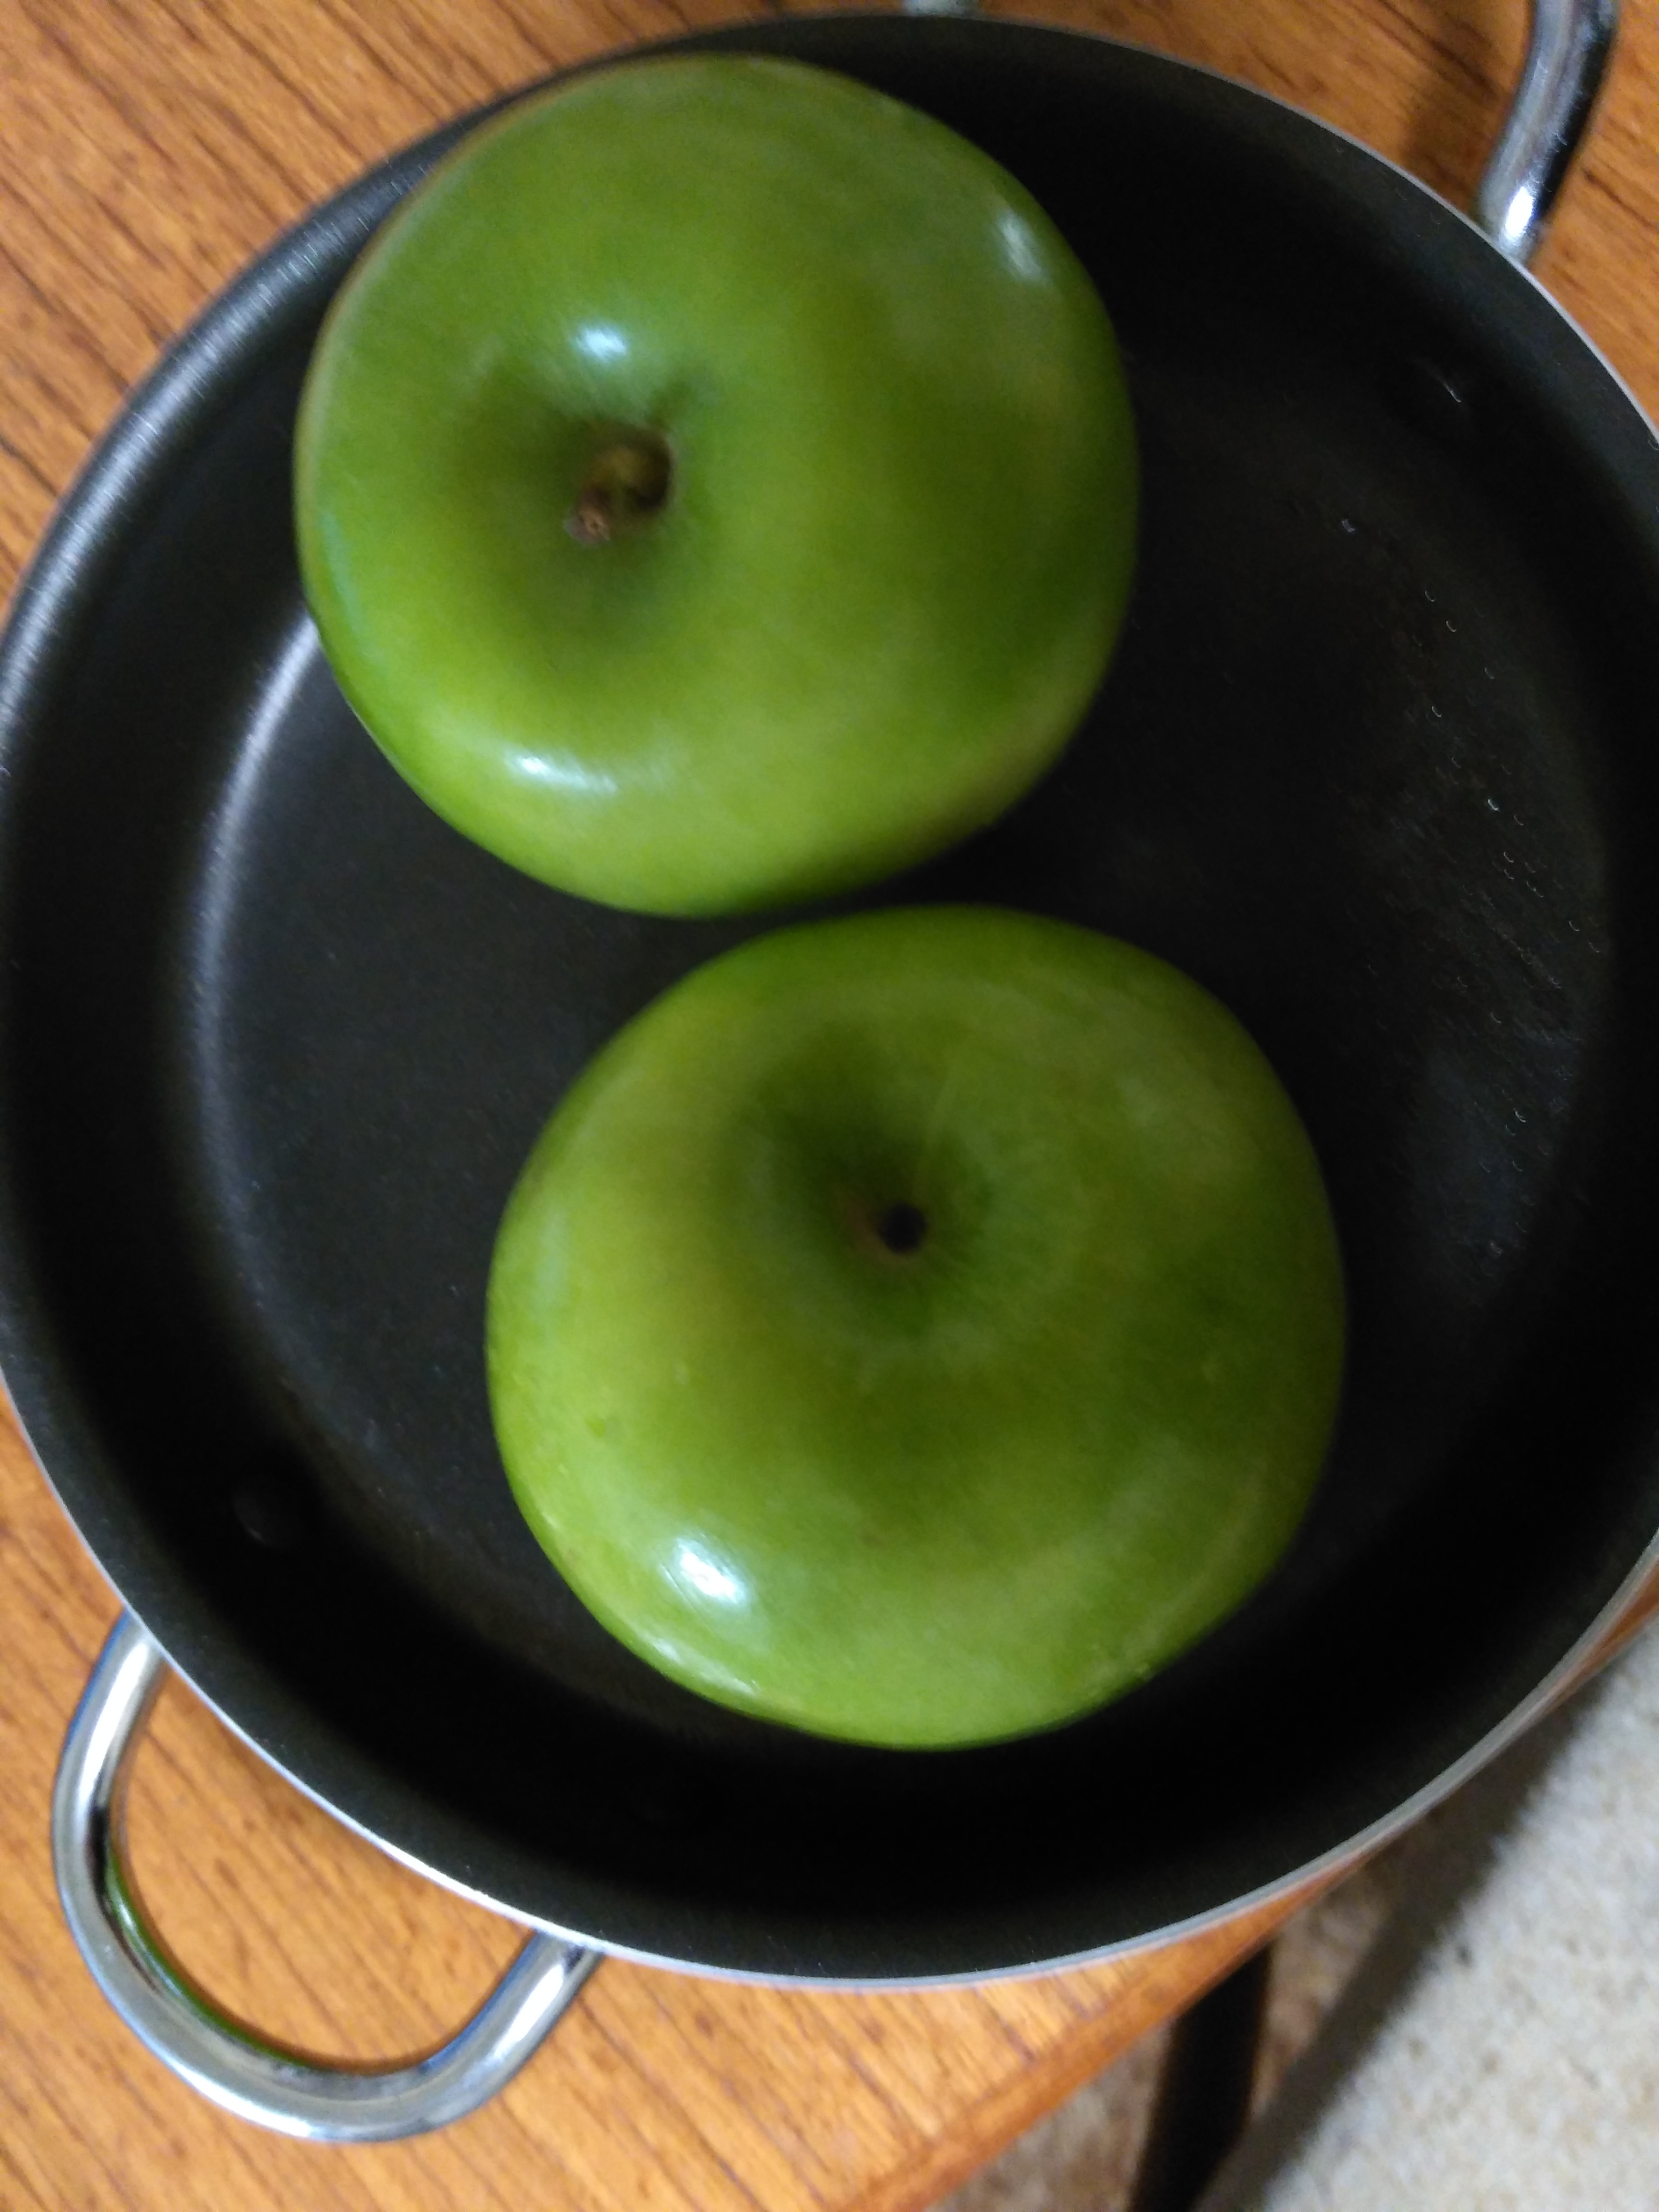
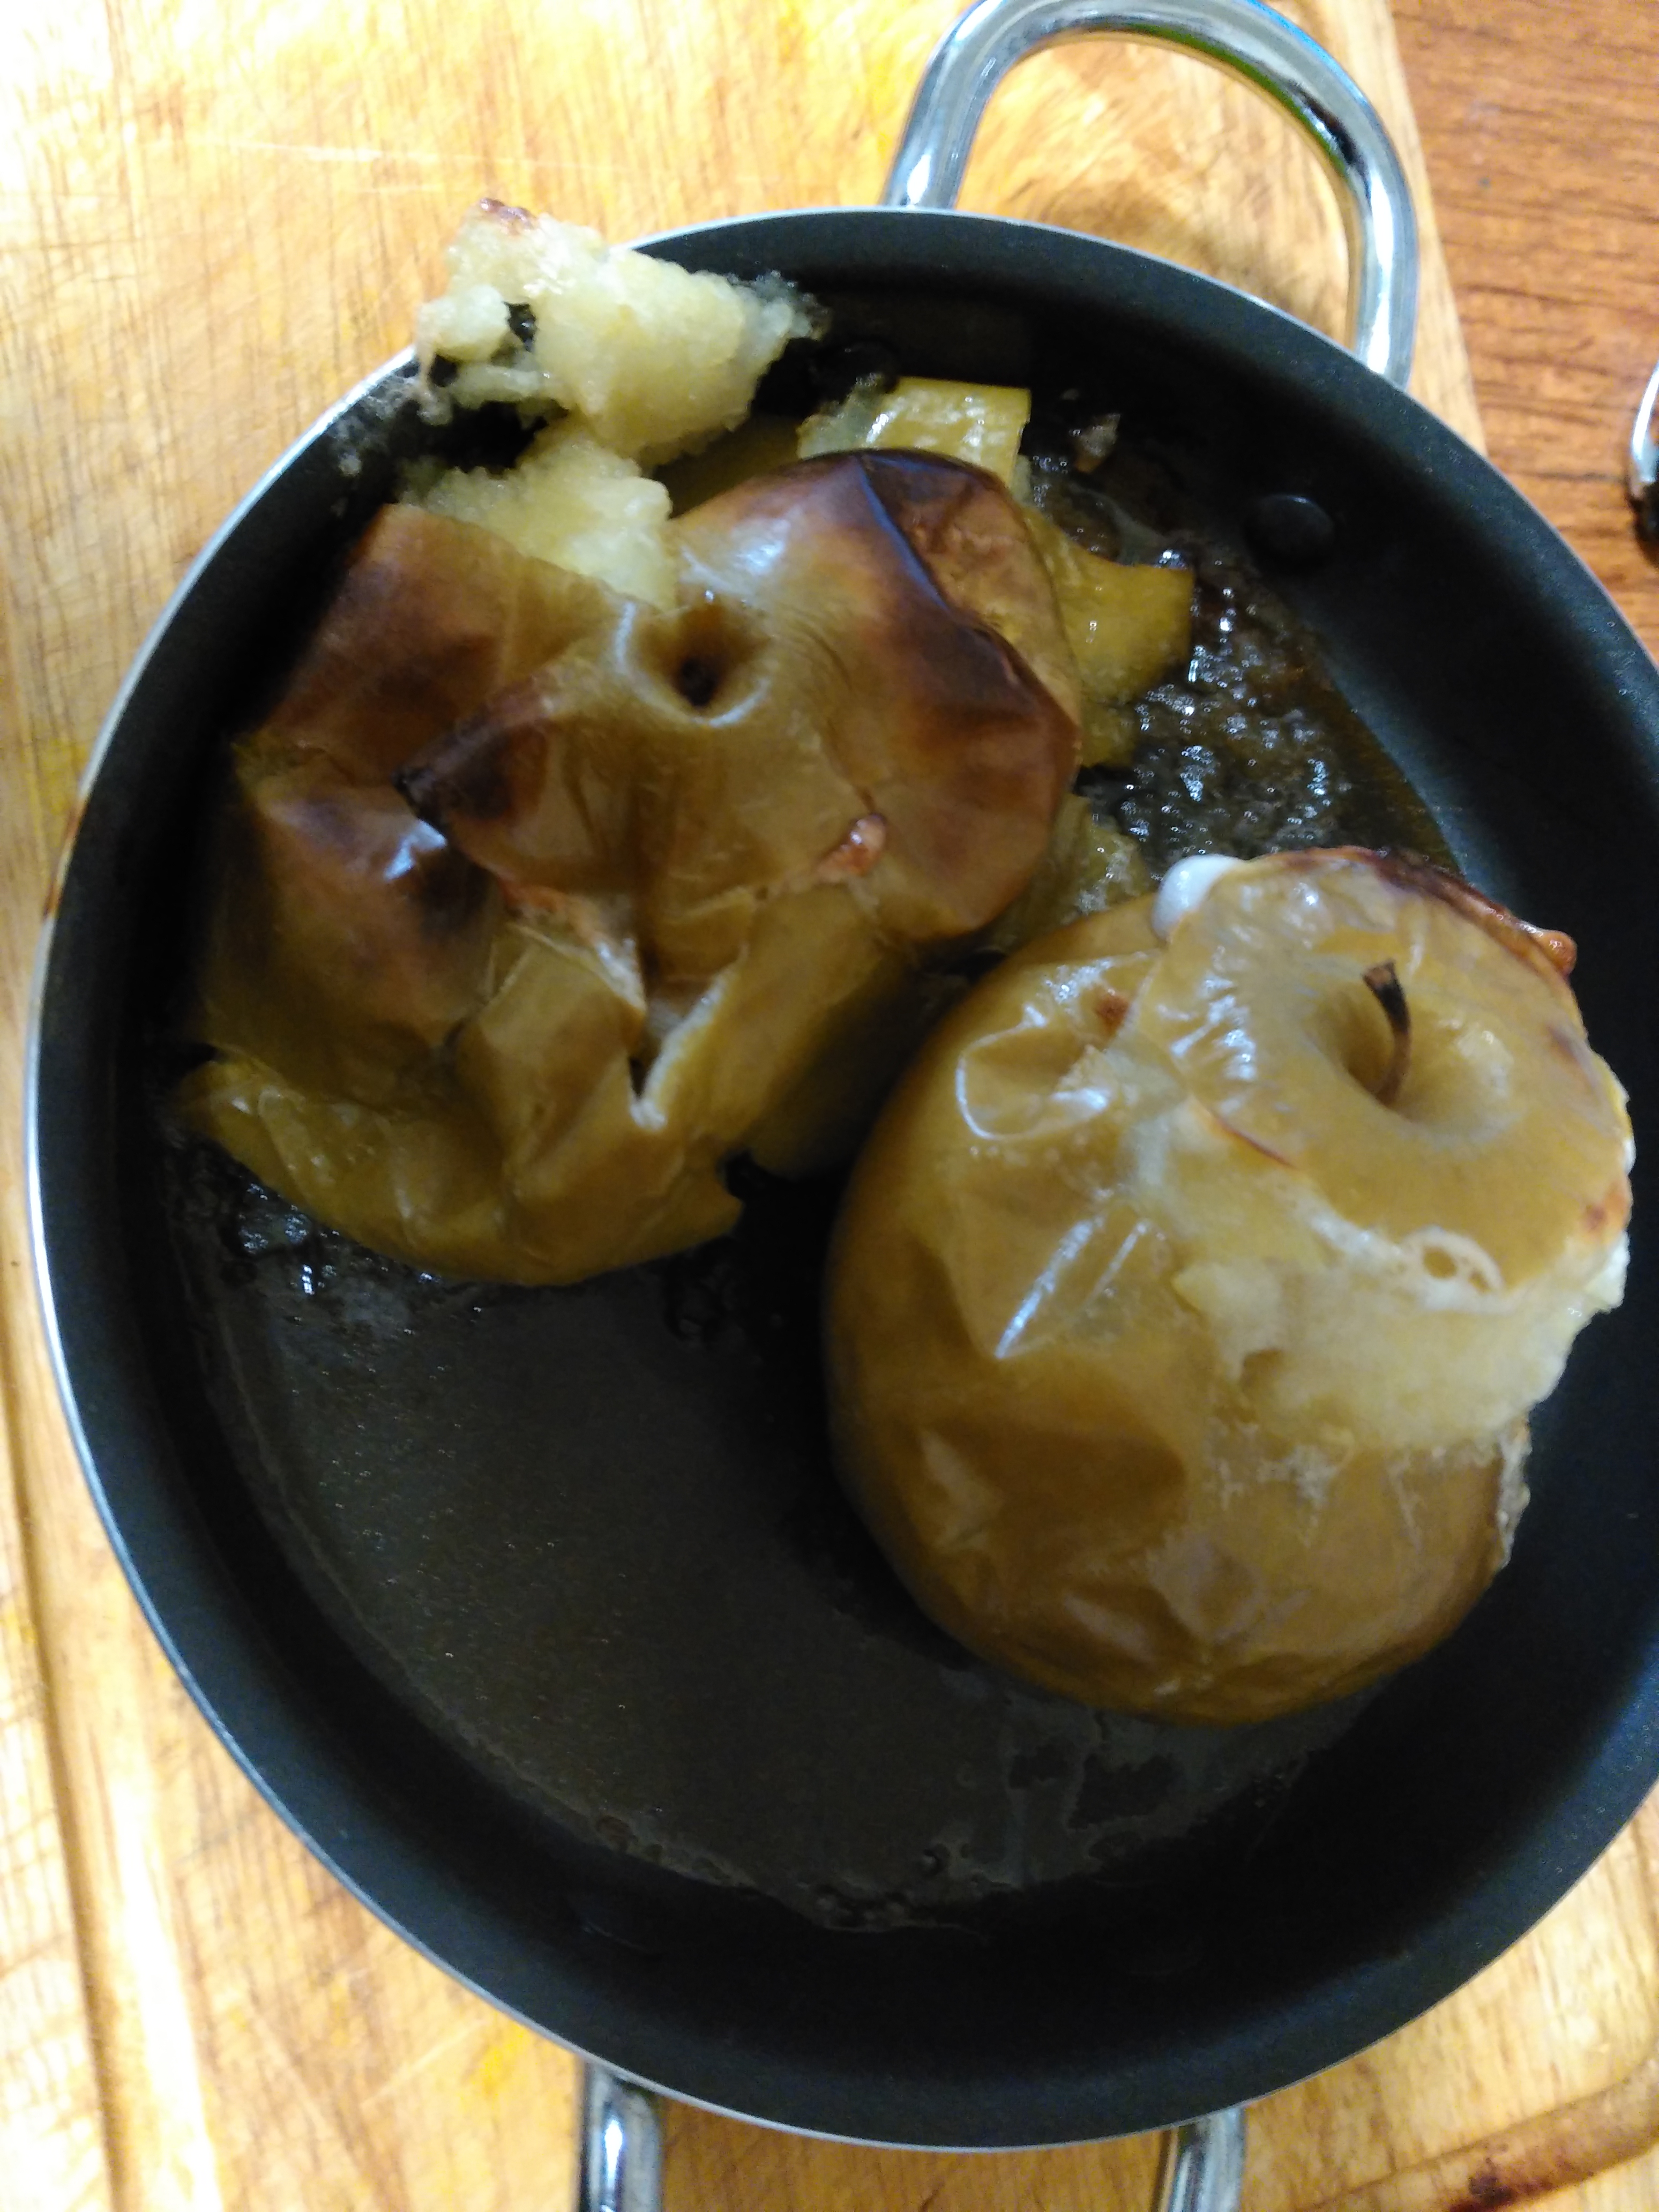
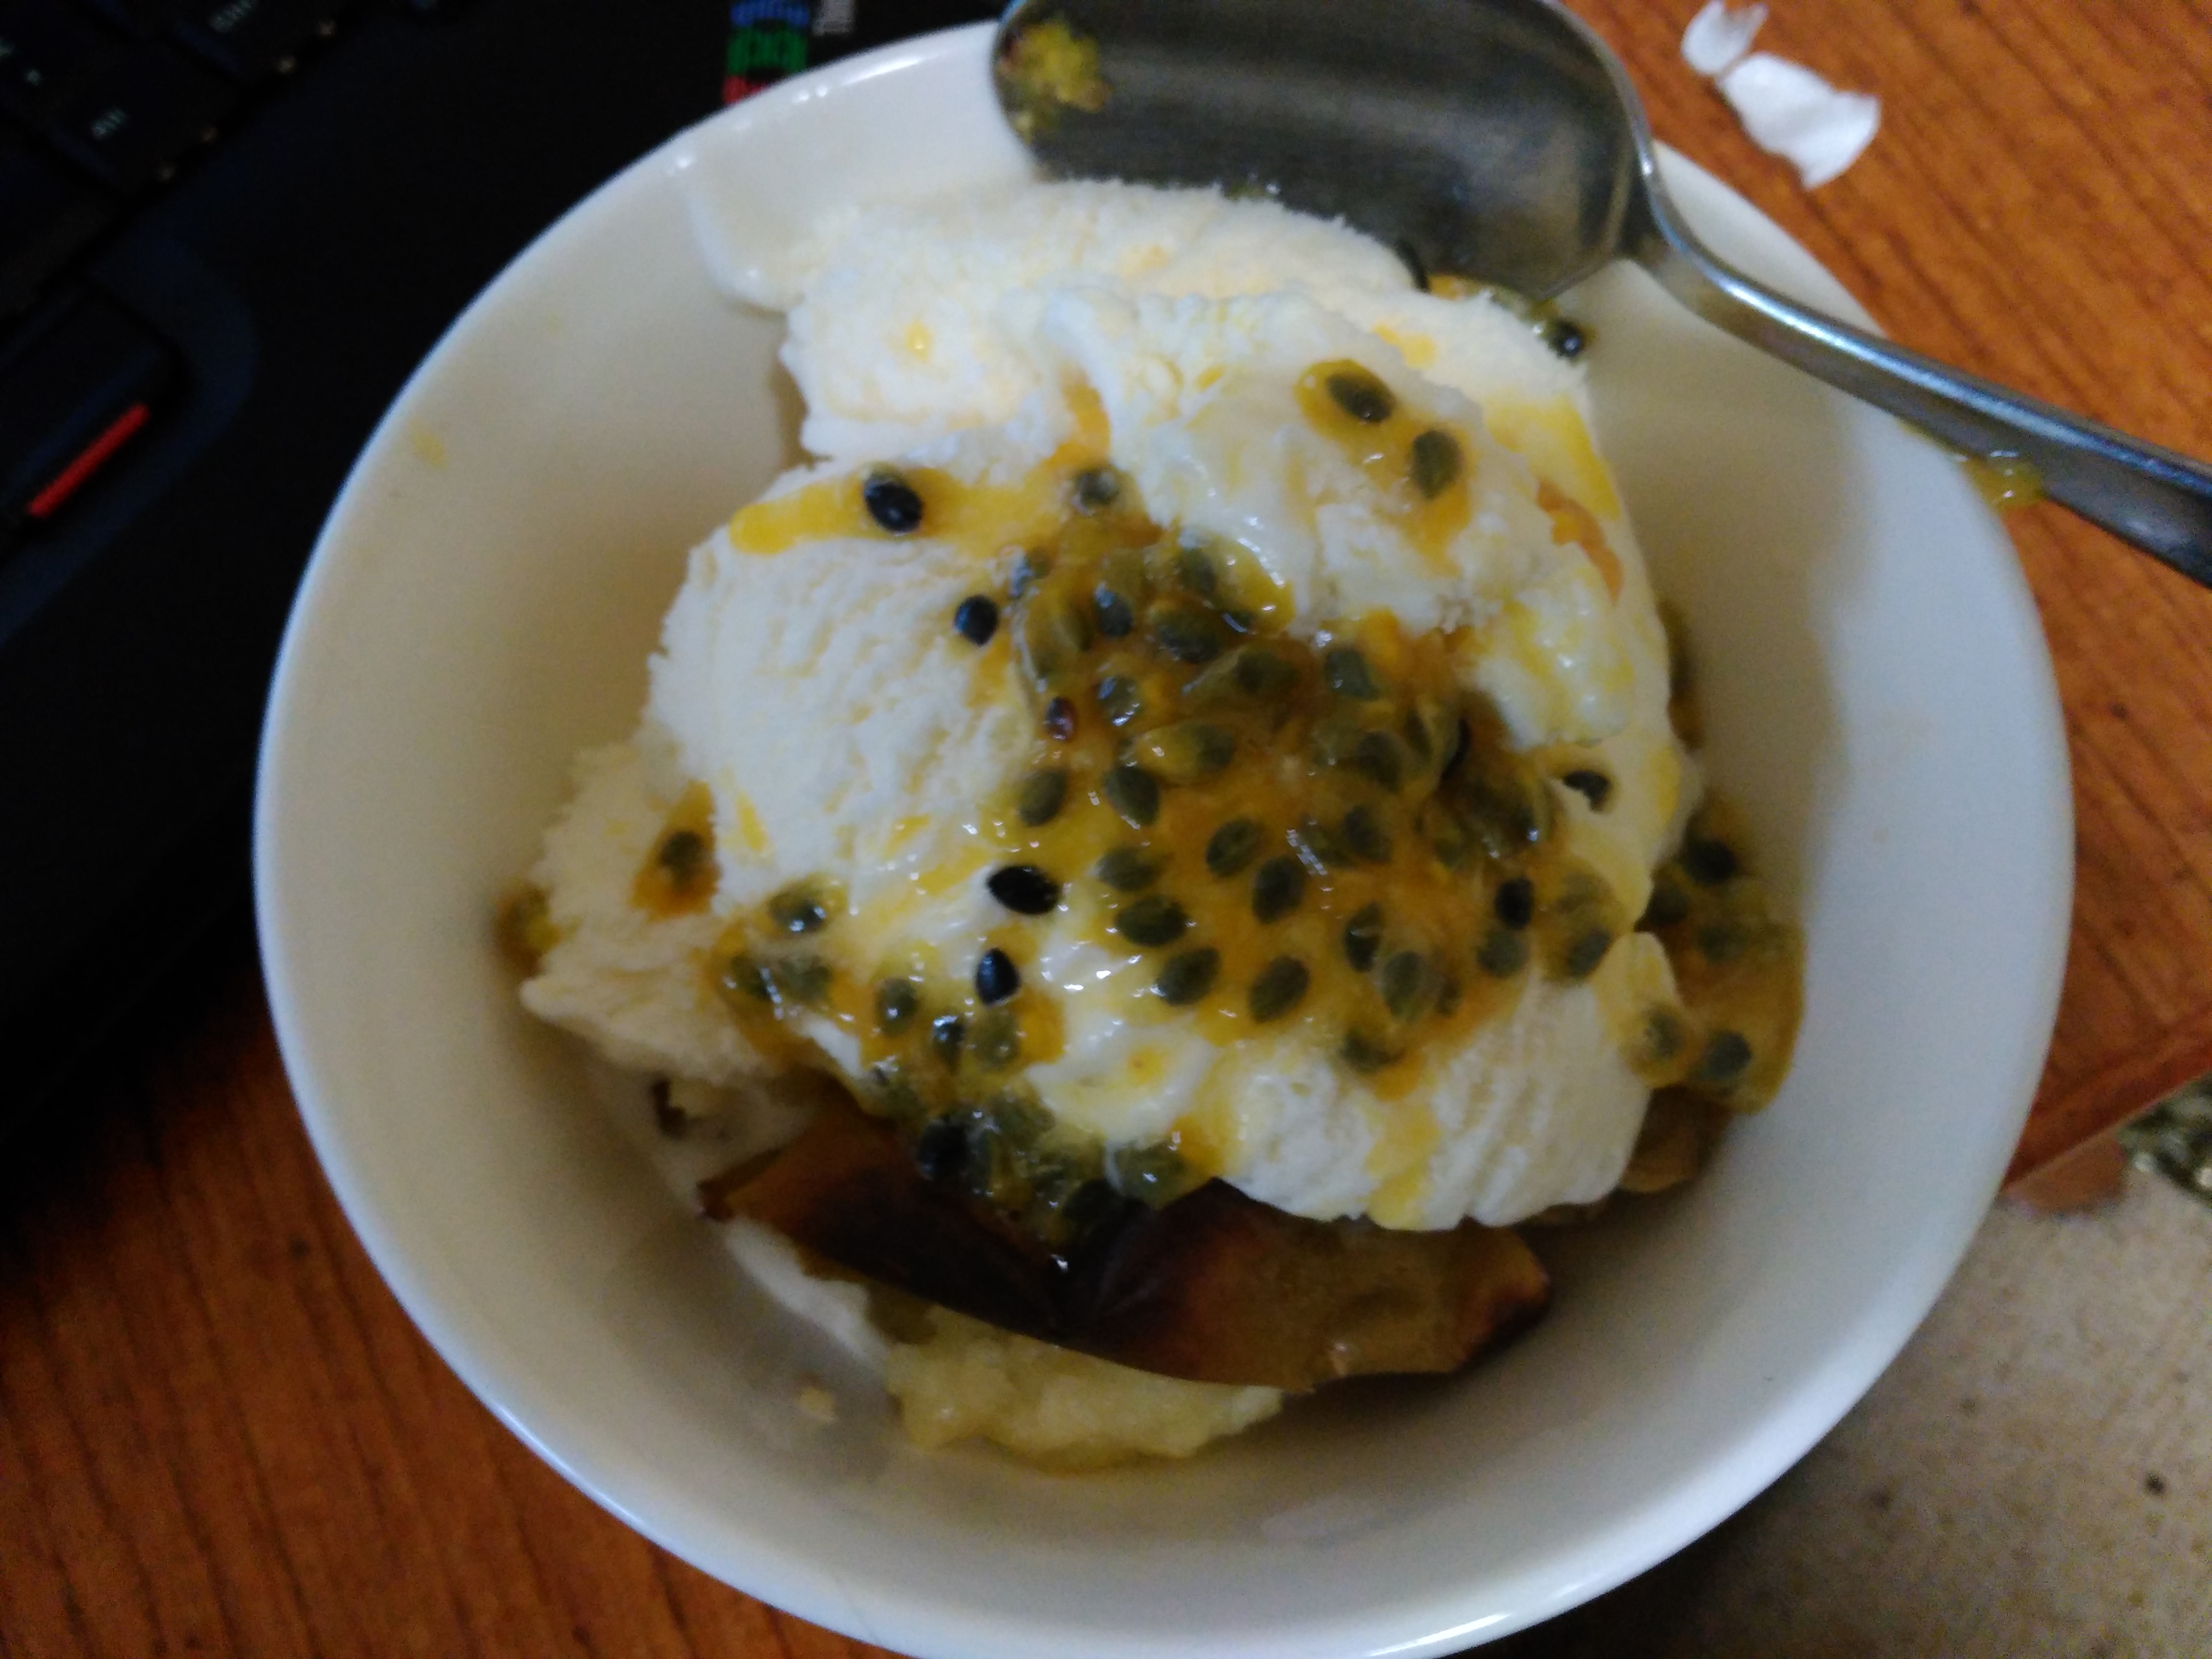
This was a childhood treat that I remember and started doing recently as a process of trial and error to get right. The recipie and execution is quite simple. It involves taking your apples, ensure that they are washed and have no stickers on them to melt and place in a pre-heated oven to 180 degrees. The result is a gooey, yummy mess in the jacket, aka skin, that you can eat with a spoon.
This was always traditionally served with cinnamon sugar, but in this case it is served with ice cream and some form of topping. I used passionfruit on mine, but sweeter tooth might use maple or golden syrup as theirs, which still goes well. As a seasonal dessert especially, it is a very good one. Probably quite healthy if you leave off the ice cream as well and serve with cinnamon sugar.
Jacket Baked Apples
- Apples (1 per person)
- Cinnamon Sugar
- Baking tray
- Fork
- Plates
- Clean apples, ensure that they have no labels on them, then prick with fork.
- Place in baking tray, bake for about forty minutes or until soft and gooey in the skin.
- Take out of oven, let cool if putting with any frozen or refrigerated sides.
- Sprinkle with cinnamon sugar or put with sides to serve.